Secure a Web App Using Multiple IdPs
Preview
In this tutorial, we will use the Datawiza Access Proxy (DAP) to enable SSO and granular access control for a header-based web app. The IdPs we will be using are Microsoft Entra ID (Azure AD) and Okta. The goal of this tutorial is to see how we can add multiple Identity Providers to a single deployment within the Datawiza Cloud Management Console (DCMC).
- We will use a built-in web application as the header-based web App.
- The DAP will run on
localhost:9772, which means the traffic to the app will reach DAP (running on port 9772) first and then be proxied to the web application. - We will provide the docker images for the DAP.
Part I: Identity Provider Configuration
You will need to register the application with an Identity Provider. For this tutorial, we will create one registration using Microsoft Entra ID and another for Okta. Refer to IdP Configuration Guide: Microsoft Microsoft Entra ID and IdP Configuration Guide: Okta for specific configuration instructions.
Part II: Create Deployment and Applications on Datawiza Cloud Management Console (DCMC)
After configuring both of our Identity Providers, we need to create a new deployment on the DCMC which will contain our application. We will also generate a keypair (PROVISIONING_KEY, PROVISIONING_SECRET) in order for the DAP to get the latest configurations and policies from the DCMC.
Sign Into DCMC
- Login to the DCMC.
Create New Deployment
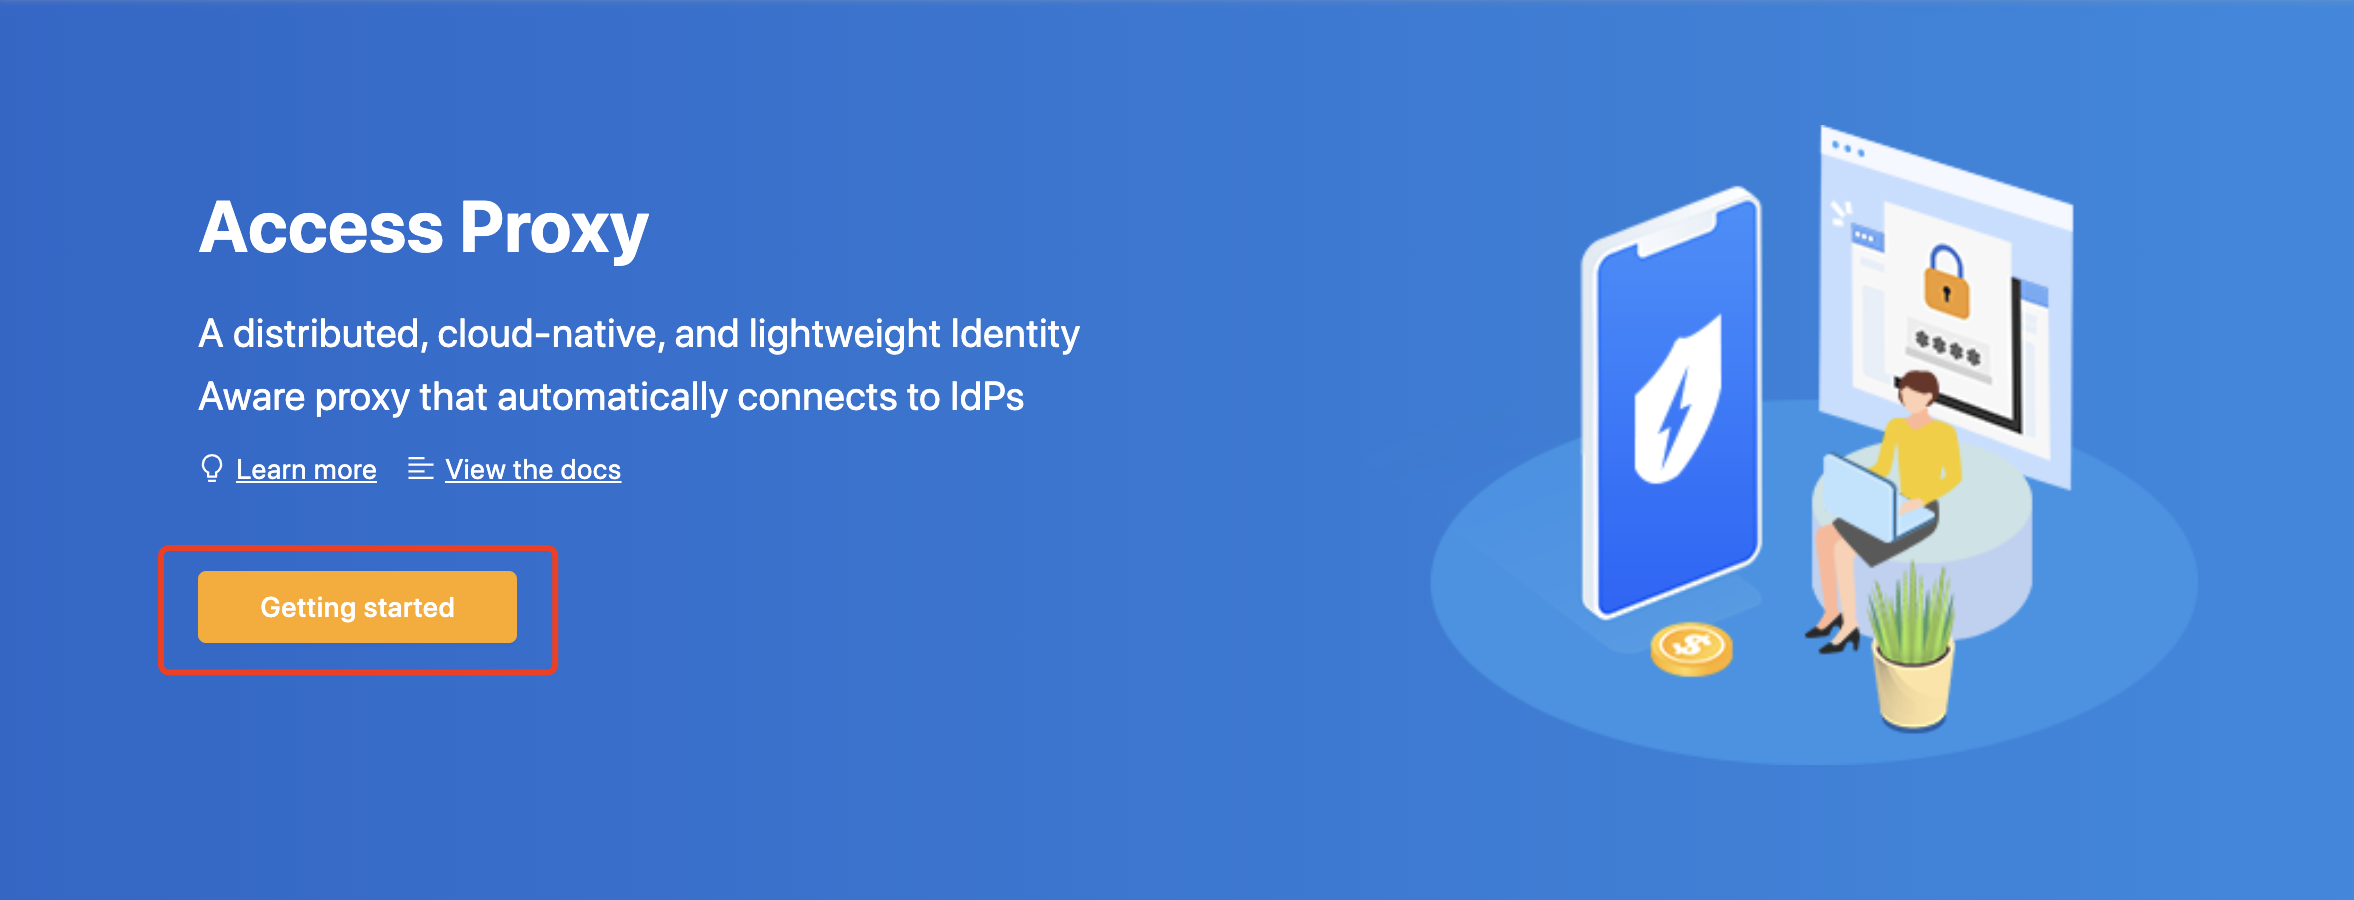
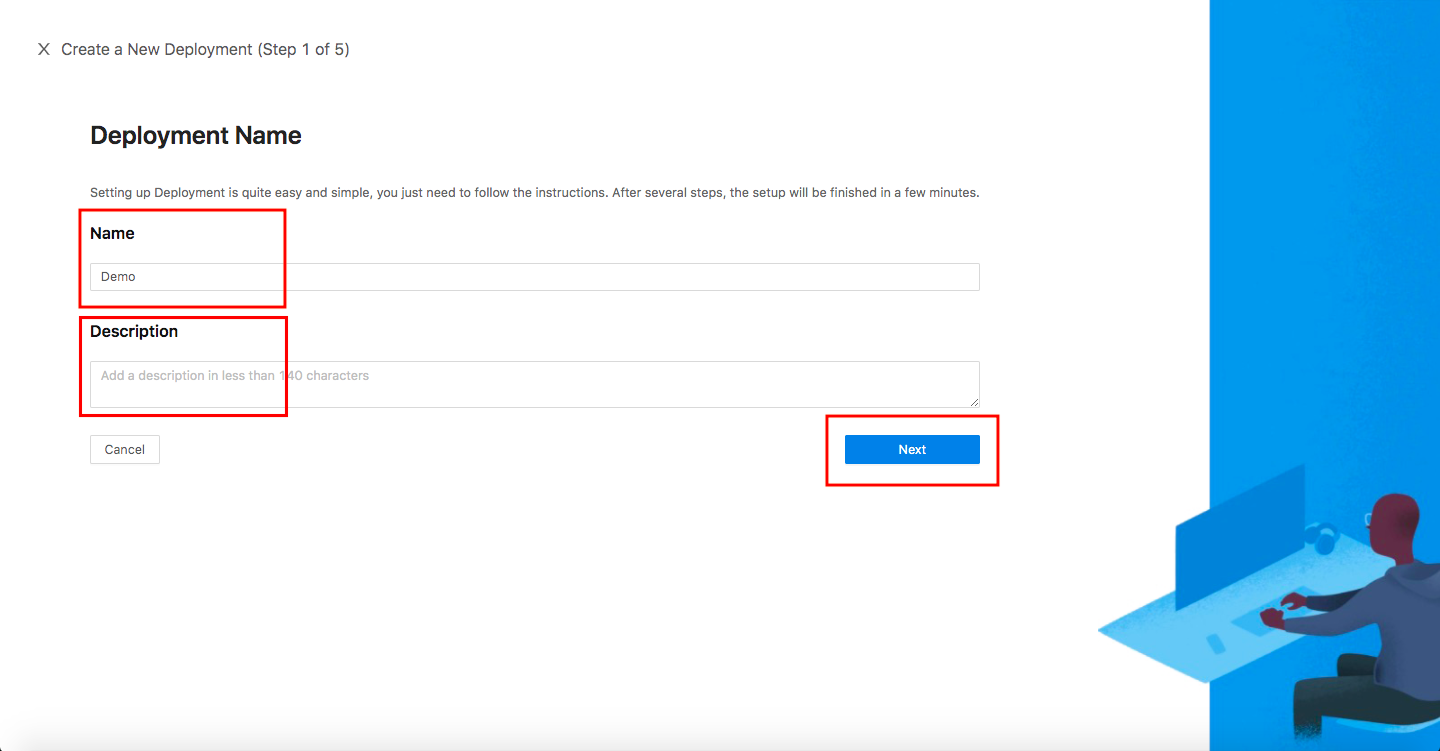
- Click the orange button
Getting startedand specify aNameand aDescription. ClickSave.
Add Application
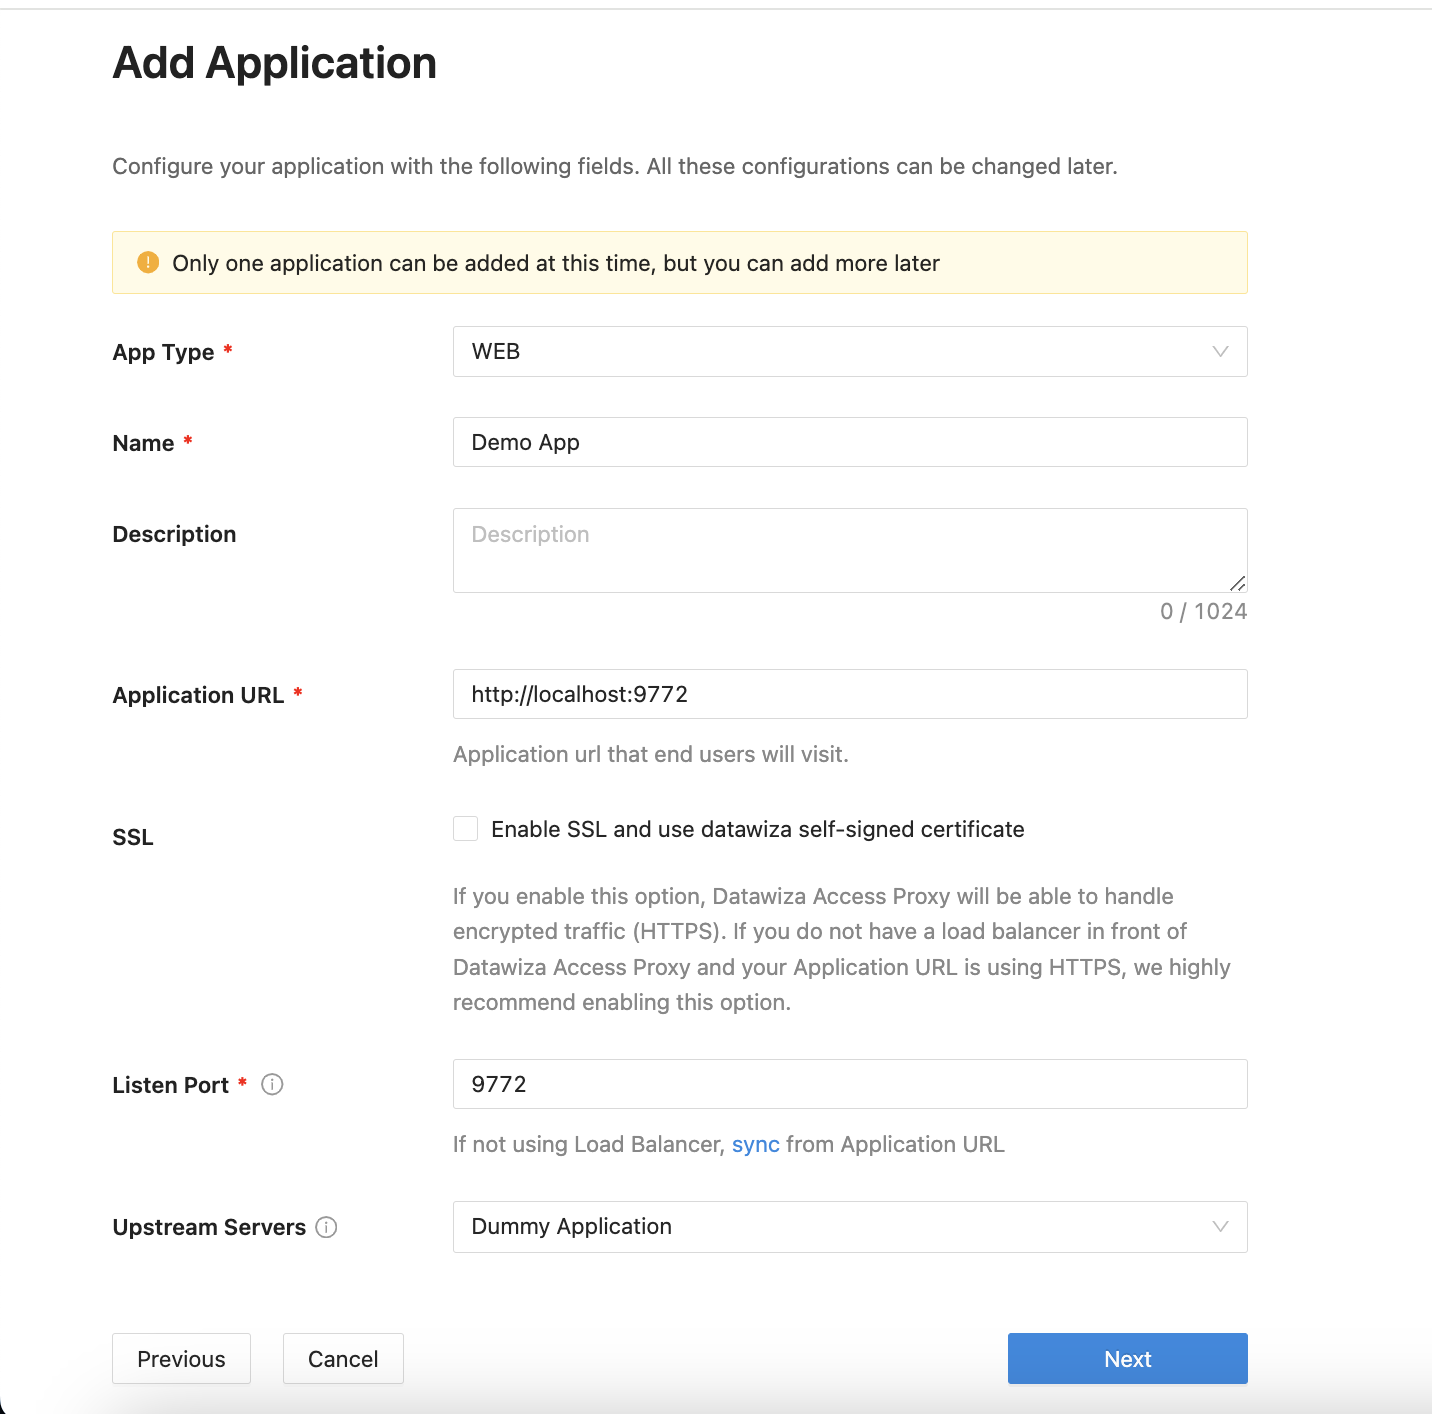
Configure our application with the following fields:
App Type:WebName: Demo AppApplication URL:http://localhost:9772Listen Port:9772Upstream Servers:Dummpy Application- Select
Next.
IdP Configuration
- Choose
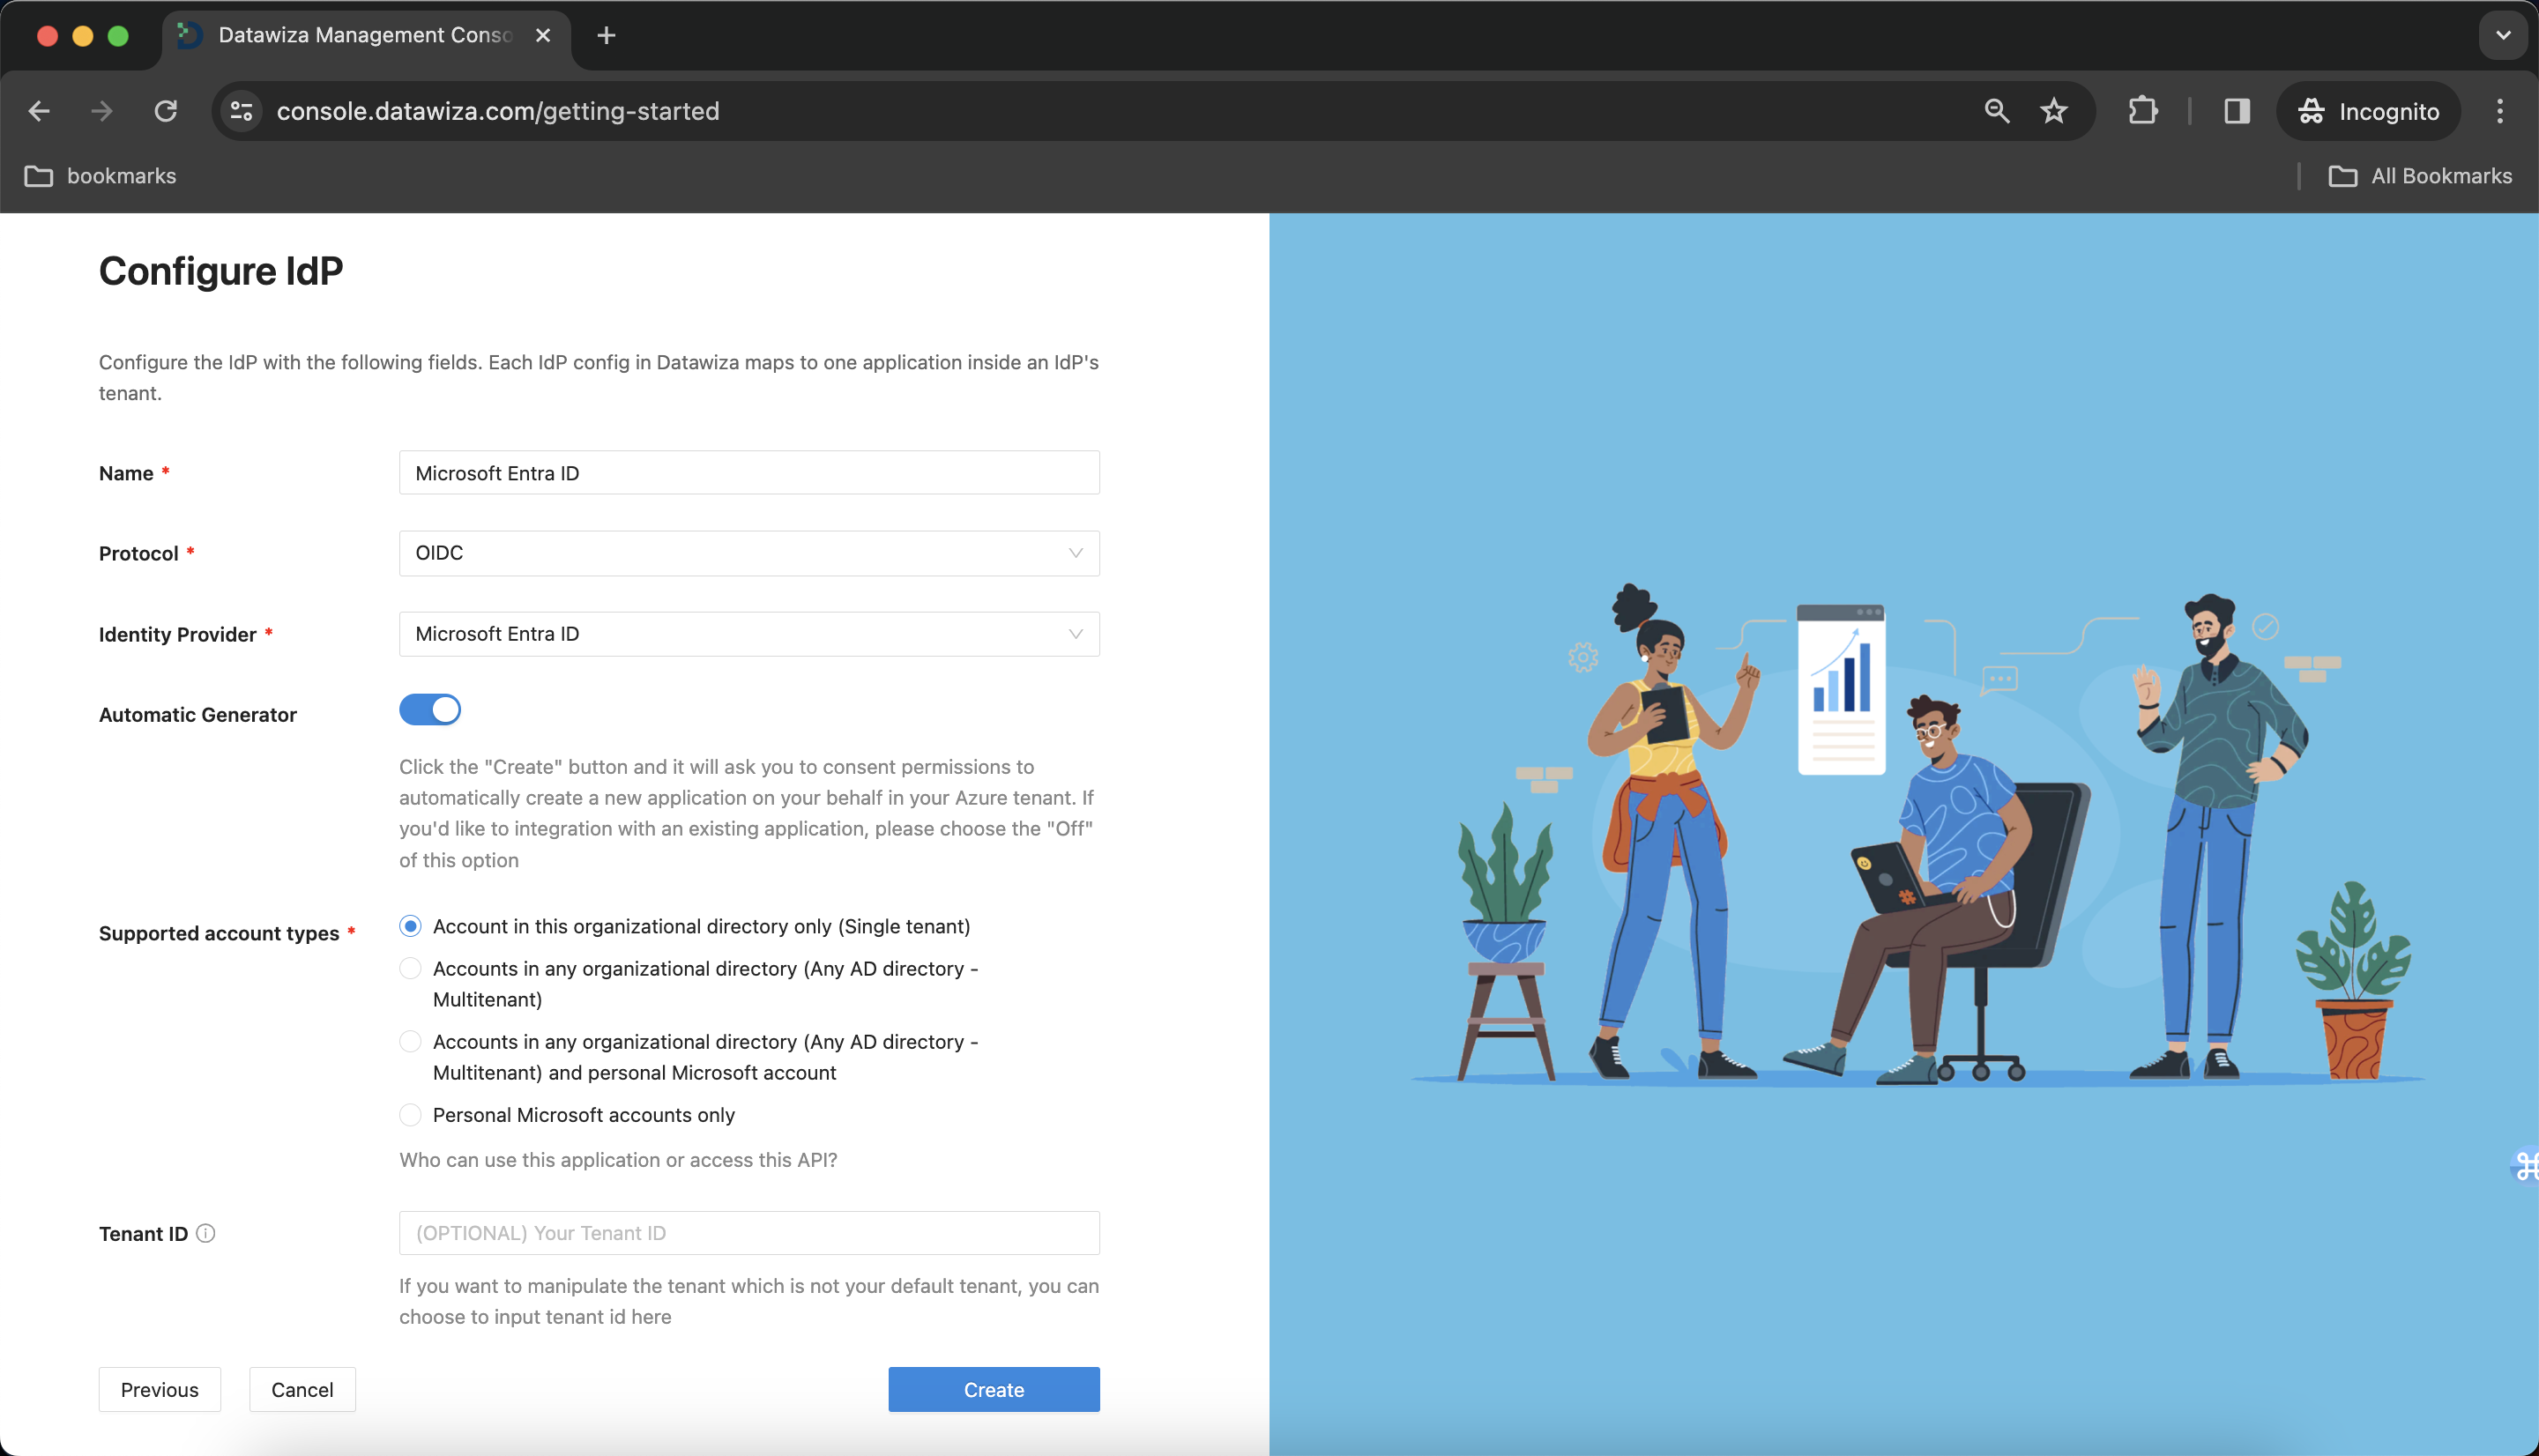
Microsoft Entra IDfrom the drop down menu. We'll addMicrosoft Entra IDfirst, and then addOktaas an additional IdP later.
Populate the fields of the form with the keys/values obtained from IdP Configuration Guide: Microsoft Entra ID.
Alternatively, you can use One Click Integration to configure the Microsoft Entra ID.
Note Down Provisioning Keys
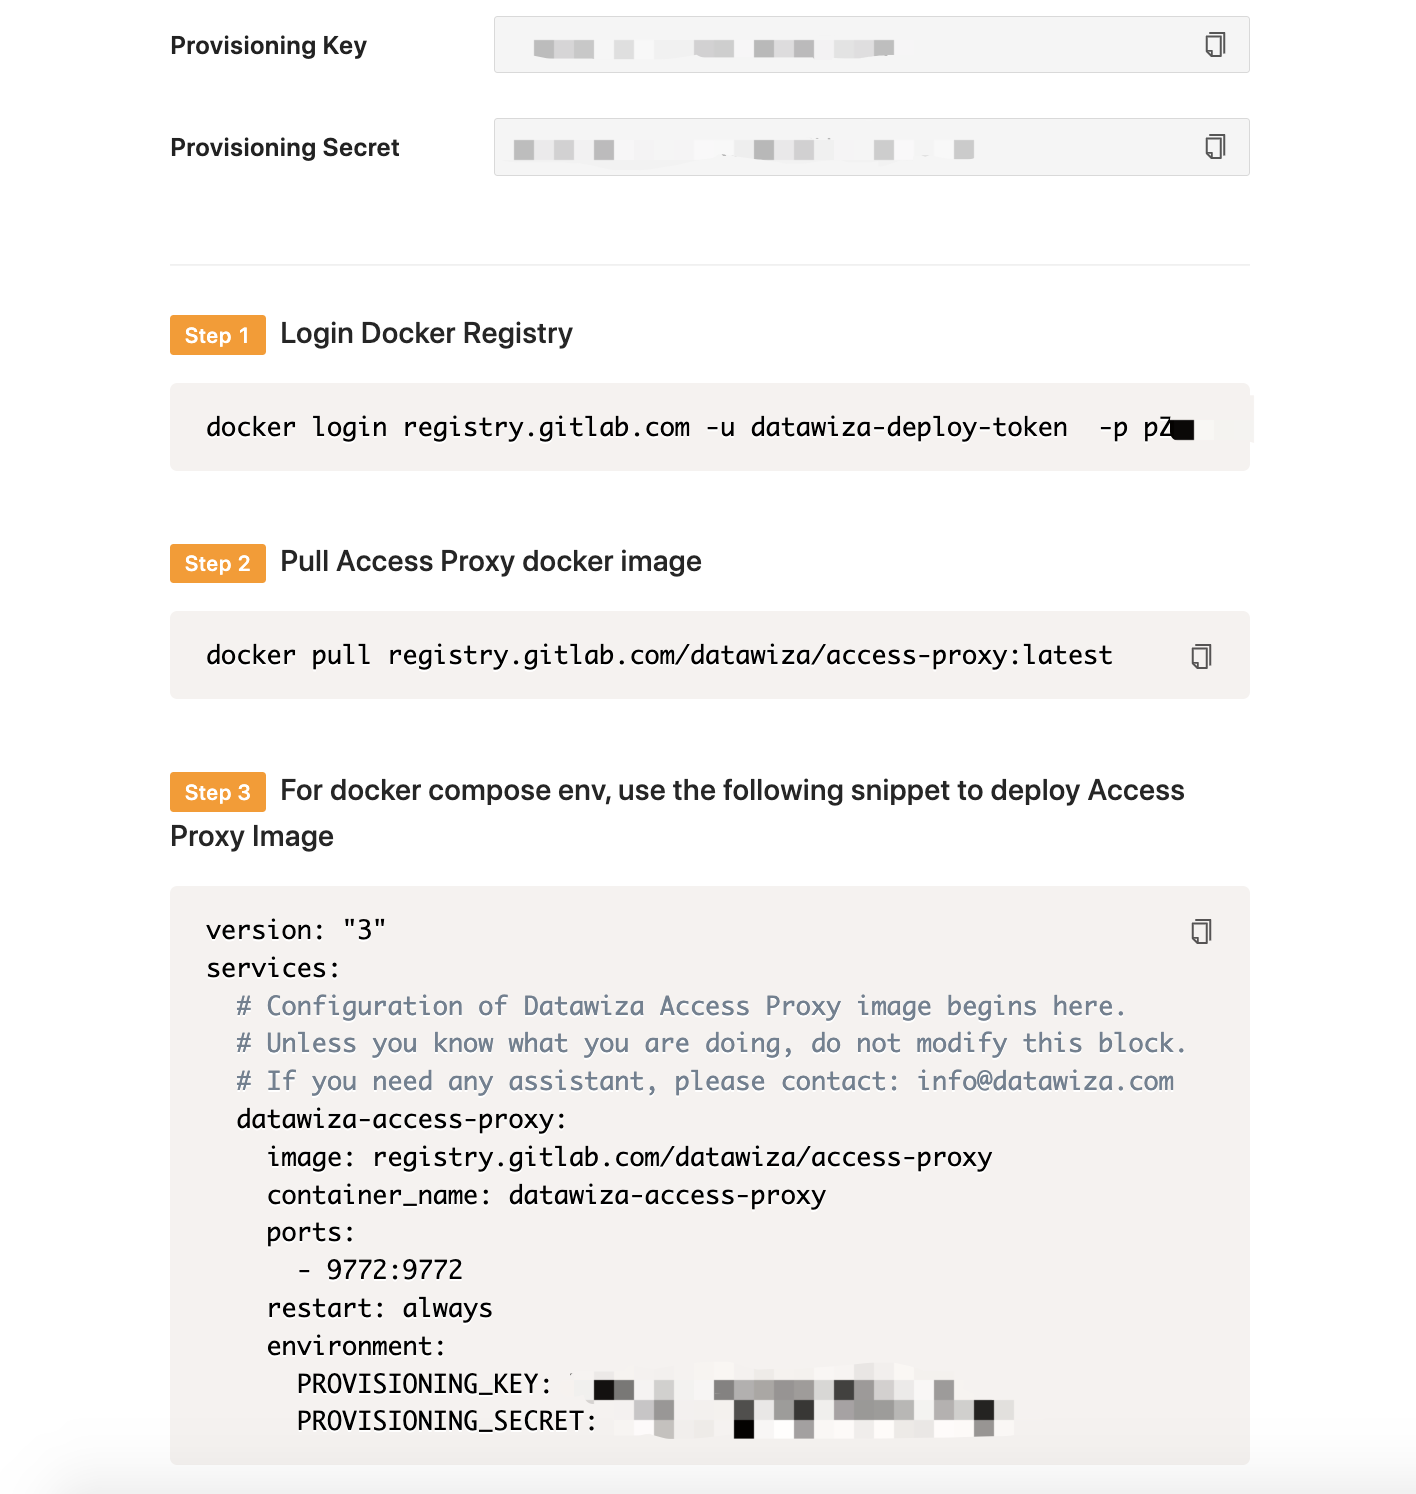
Note down your PROVISIONING_KEY and PROVISIONING_SECRET. We will need these values later when deploying the DAP.
Assigning IdPs to our Applications
- Return to the
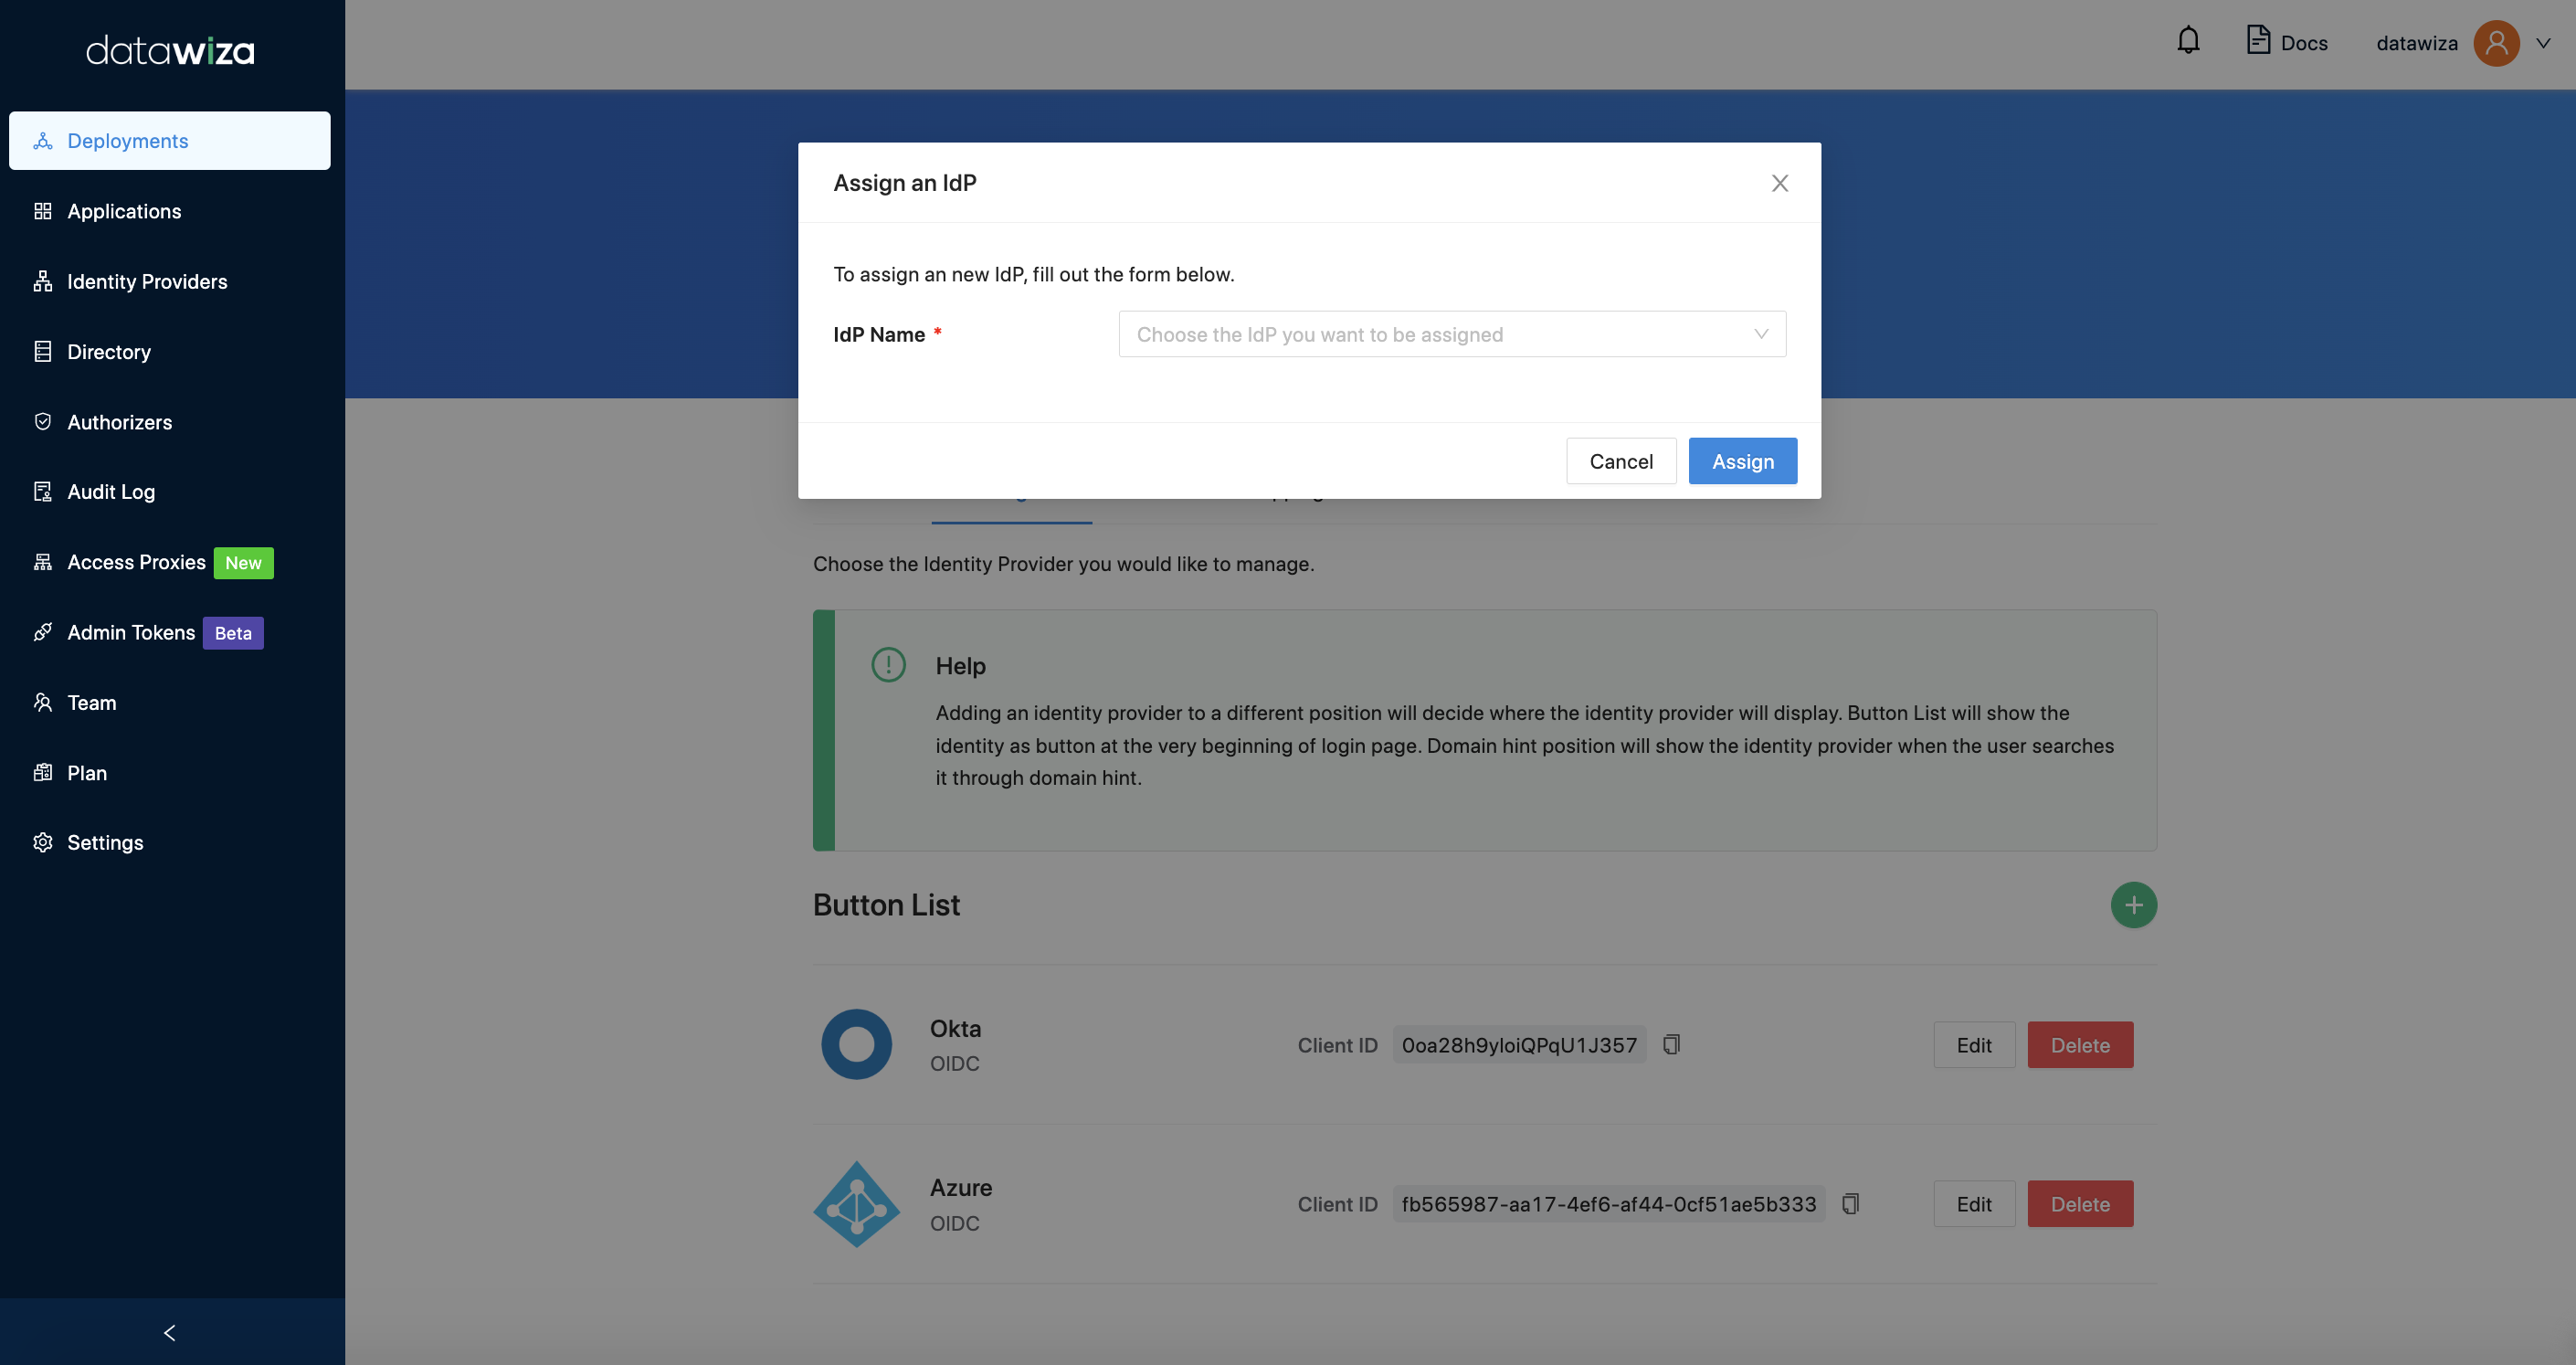
Applicationstab. Select your application, and go toIdP Configuration. SelectAssign IdP. From the drop down menu, you should see the IdPs that we have added to the DCMC. AssignMicrosoft Entra IDandOktato yourDemo App.
Part III: Run DAP
You can use either Docker or Kubernetes to run DAP. The following is an example docker-compose.yml file. You may need to login to our container registry to download the images of DAP and the header-based app. See Step3 : Configure DAP and SSO Integration for more details or Deploy DAP with Kubernetes for Kubernetes-specific instructions.
version: '3'

services:
  datawiza-access-proxy:
    image: registry.gitlab.com/datawiza/access-proxy
    container_name: datawiza-access-proxy
    restart: always
    ports:
      - "9772:9772"
    environment:
      PROVISIONING_KEY: #############################
      PROVISIONING_SECRET: #############################
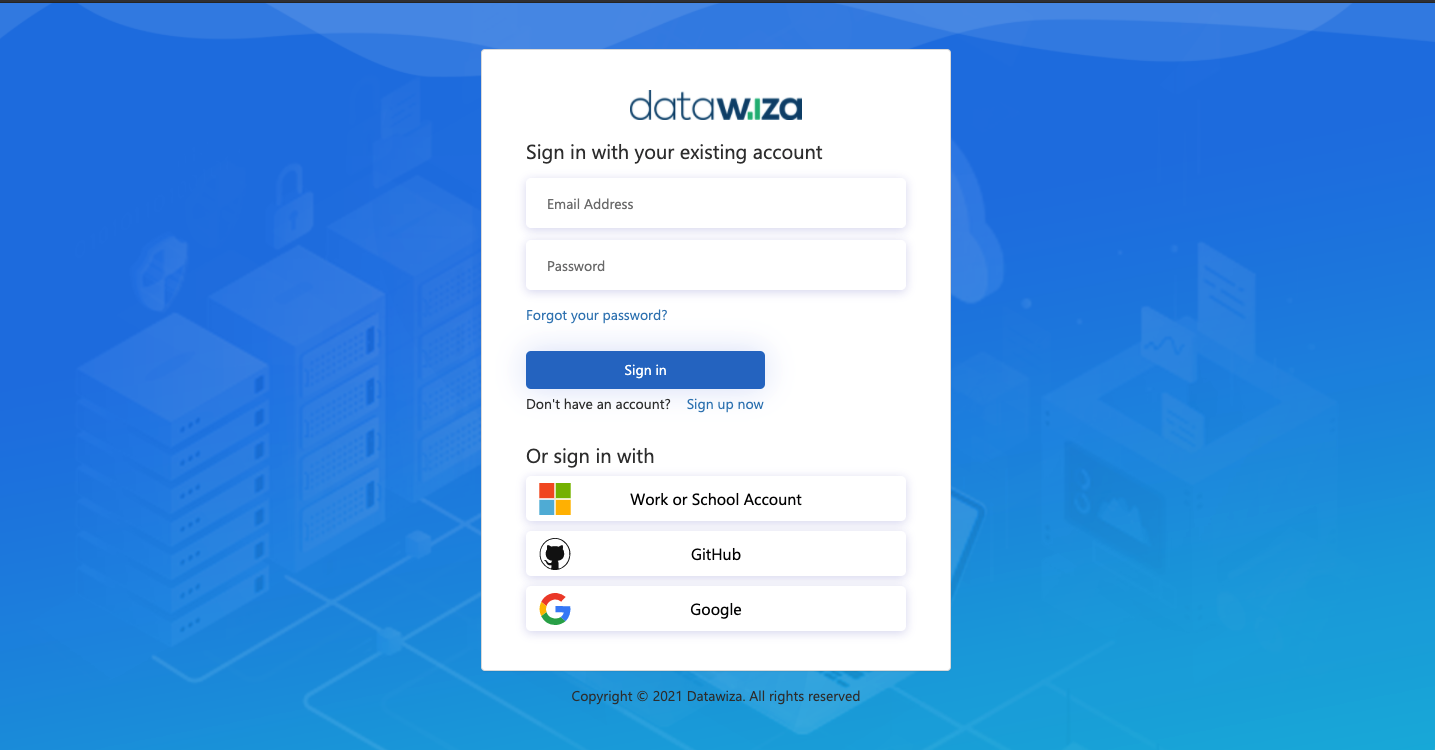
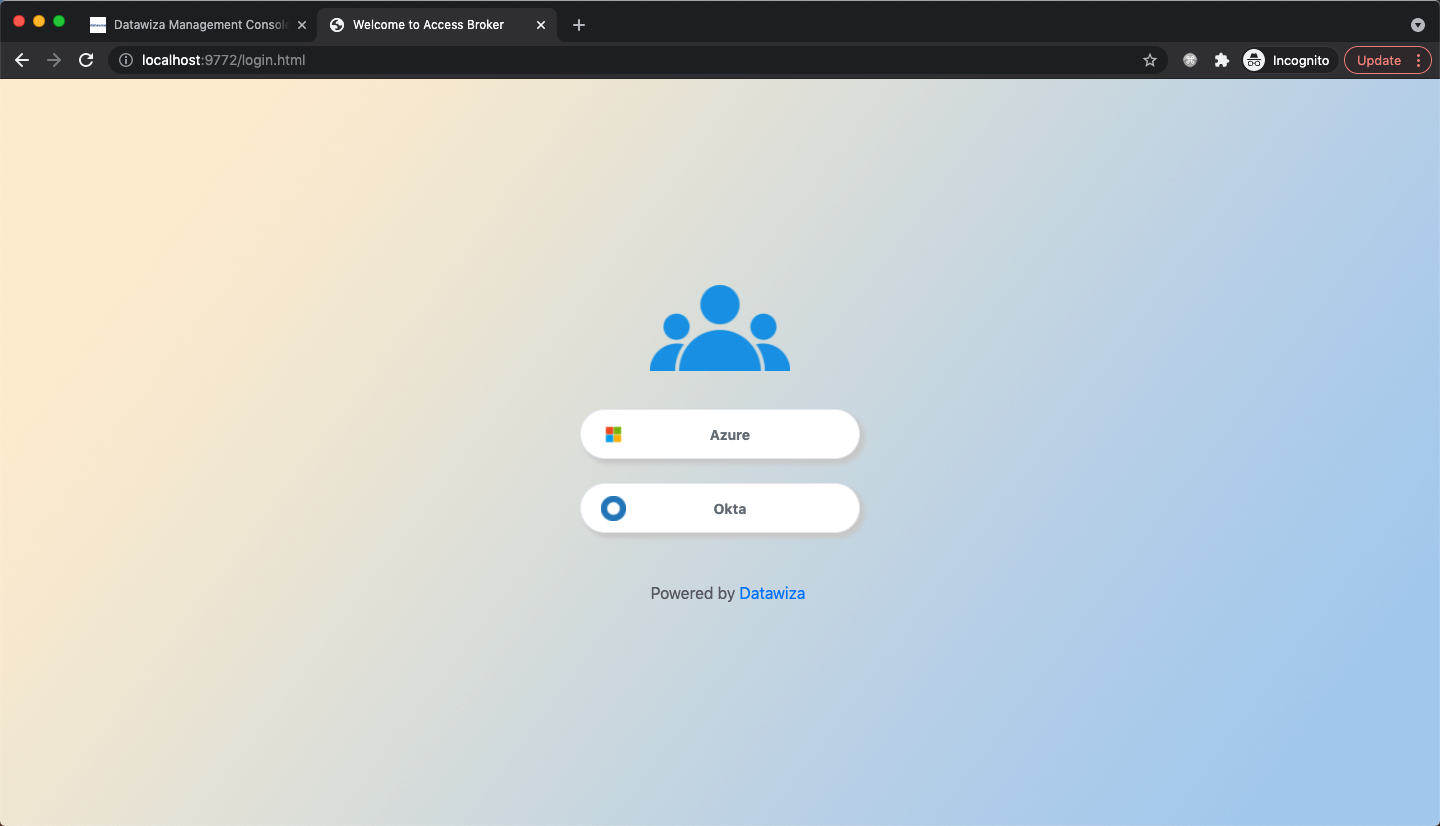
After executing docker-compose -f docker-compose.yml up, our web app should have SSO enabled with both Microsoft Entra ID and Okta. Open a browser and visit http://localhost:9772/. You should see a login page as follows, allowing you to select the IdP you would like to authenticate with:
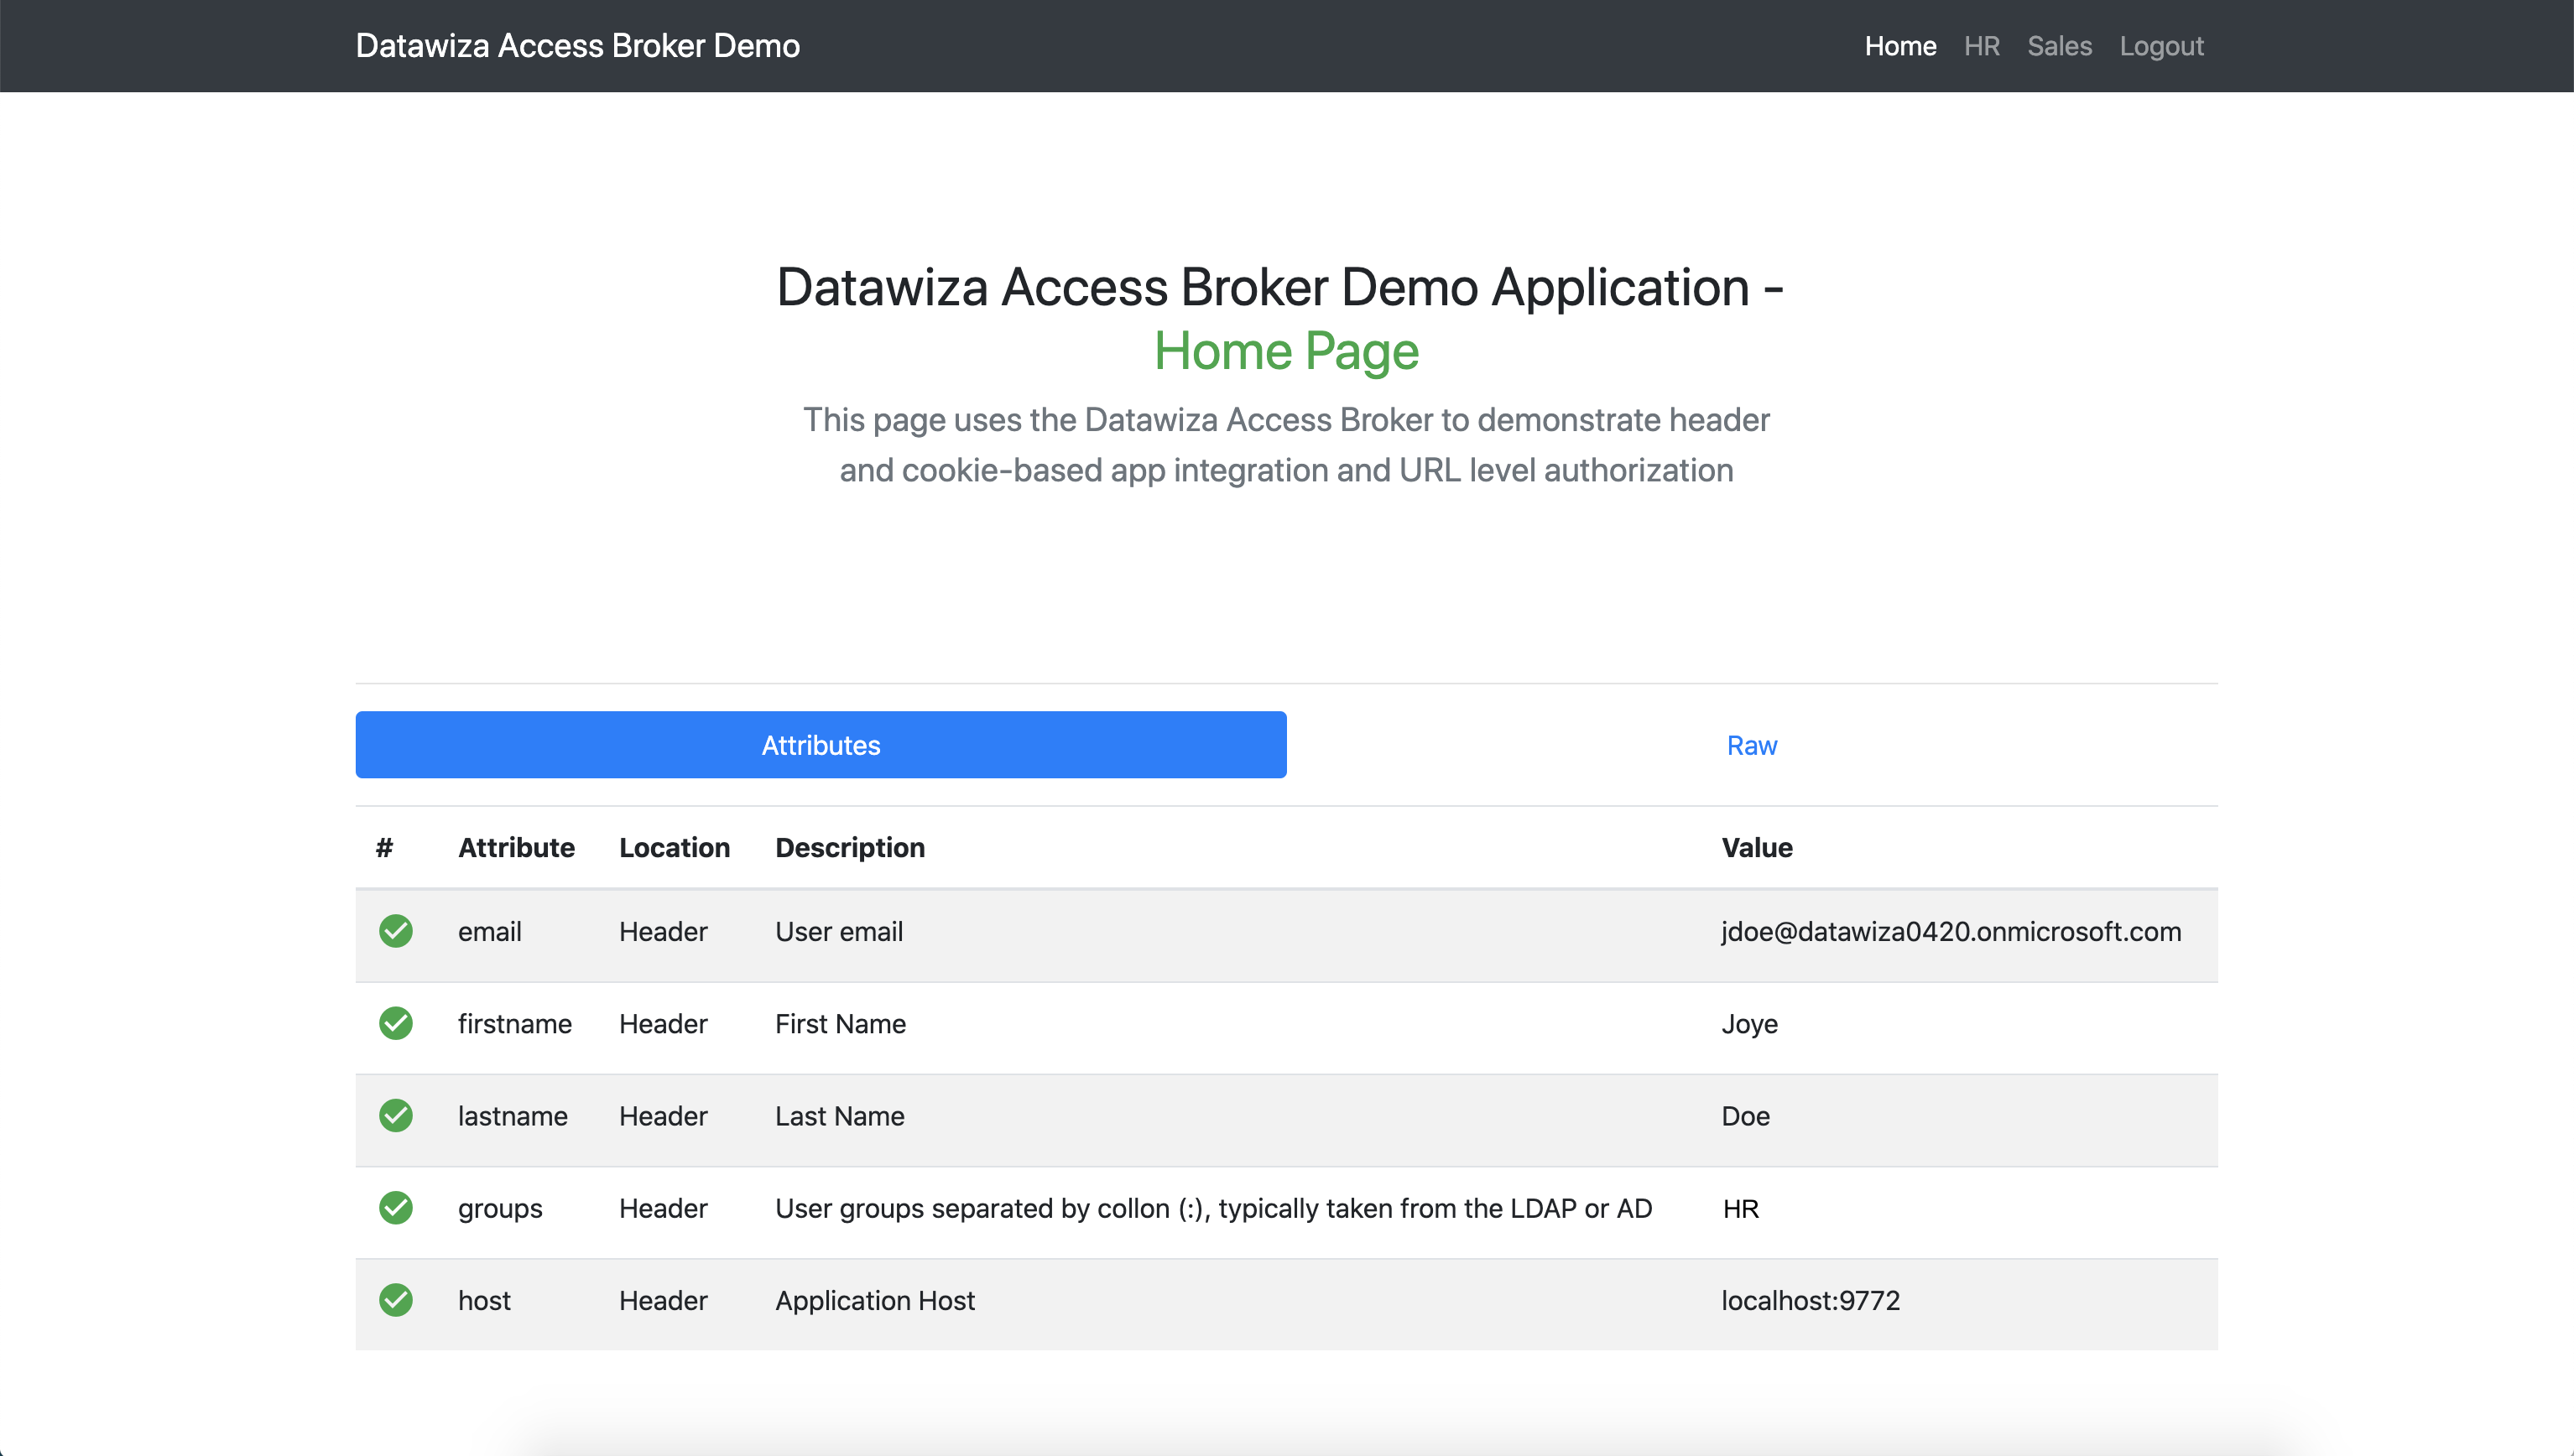
After successfully logging in with either IdP, we can see our web application:
Summary
In summary, we have seen how to deploy the DAP and implement SSO with multiple Identity Providers. Refer to Step4: Pass User Attributes and Step5: Achieve Granular Access Control to interact with the other features provided by the Datawiza Access Proxy.

