Deploy Datawiza Access Proxy using Helm
Deploy the Datawiza Access Proxy (DAP) with a Header-Based Web App using Helm to enable SSO and Granular Access Control
Preview
In this tutorial, we will use Helm to deploy the Datawiza Access Proxy (DAP) alongside our Header-Based App. After deploying the DAP, we will see how to enable SSO policies and granular access control. The IdP used in this example is Okta.
Part I: Okta Configuration
You will need to register an OIDC application in the Okta developer console and obtain the following values for this application:
- Okta Org
- Client ID
- Client Secret
- (Optional) Okta API Token
These values will later be used to set up our Application in the Datawiza Cloud Management Console (DCMC). Please follow IdP Configuration Guide: Okta on how to obtain those keys/values. Note that the values of Sign-in redirect URIs should be http://node-ip:30001/authorization-code/callback and Sign-out redirect URIs should be http://node-ip:30001 since we will use the NodePort as the type service in this tutorial.
Part II: Create Application on Datawiza Cloud Management Console (DCMC)
We need to create a new deployment on the DCMC, which will contain our application. We'll generate a PROVISIONING_KEY and PROVISIONING_SECRET which will be needed when configuring Helm values. This is in order for the DAP to get the latest configurations and policies from the DCMC.
Sign Into DCMC
- Login to the DCMC.
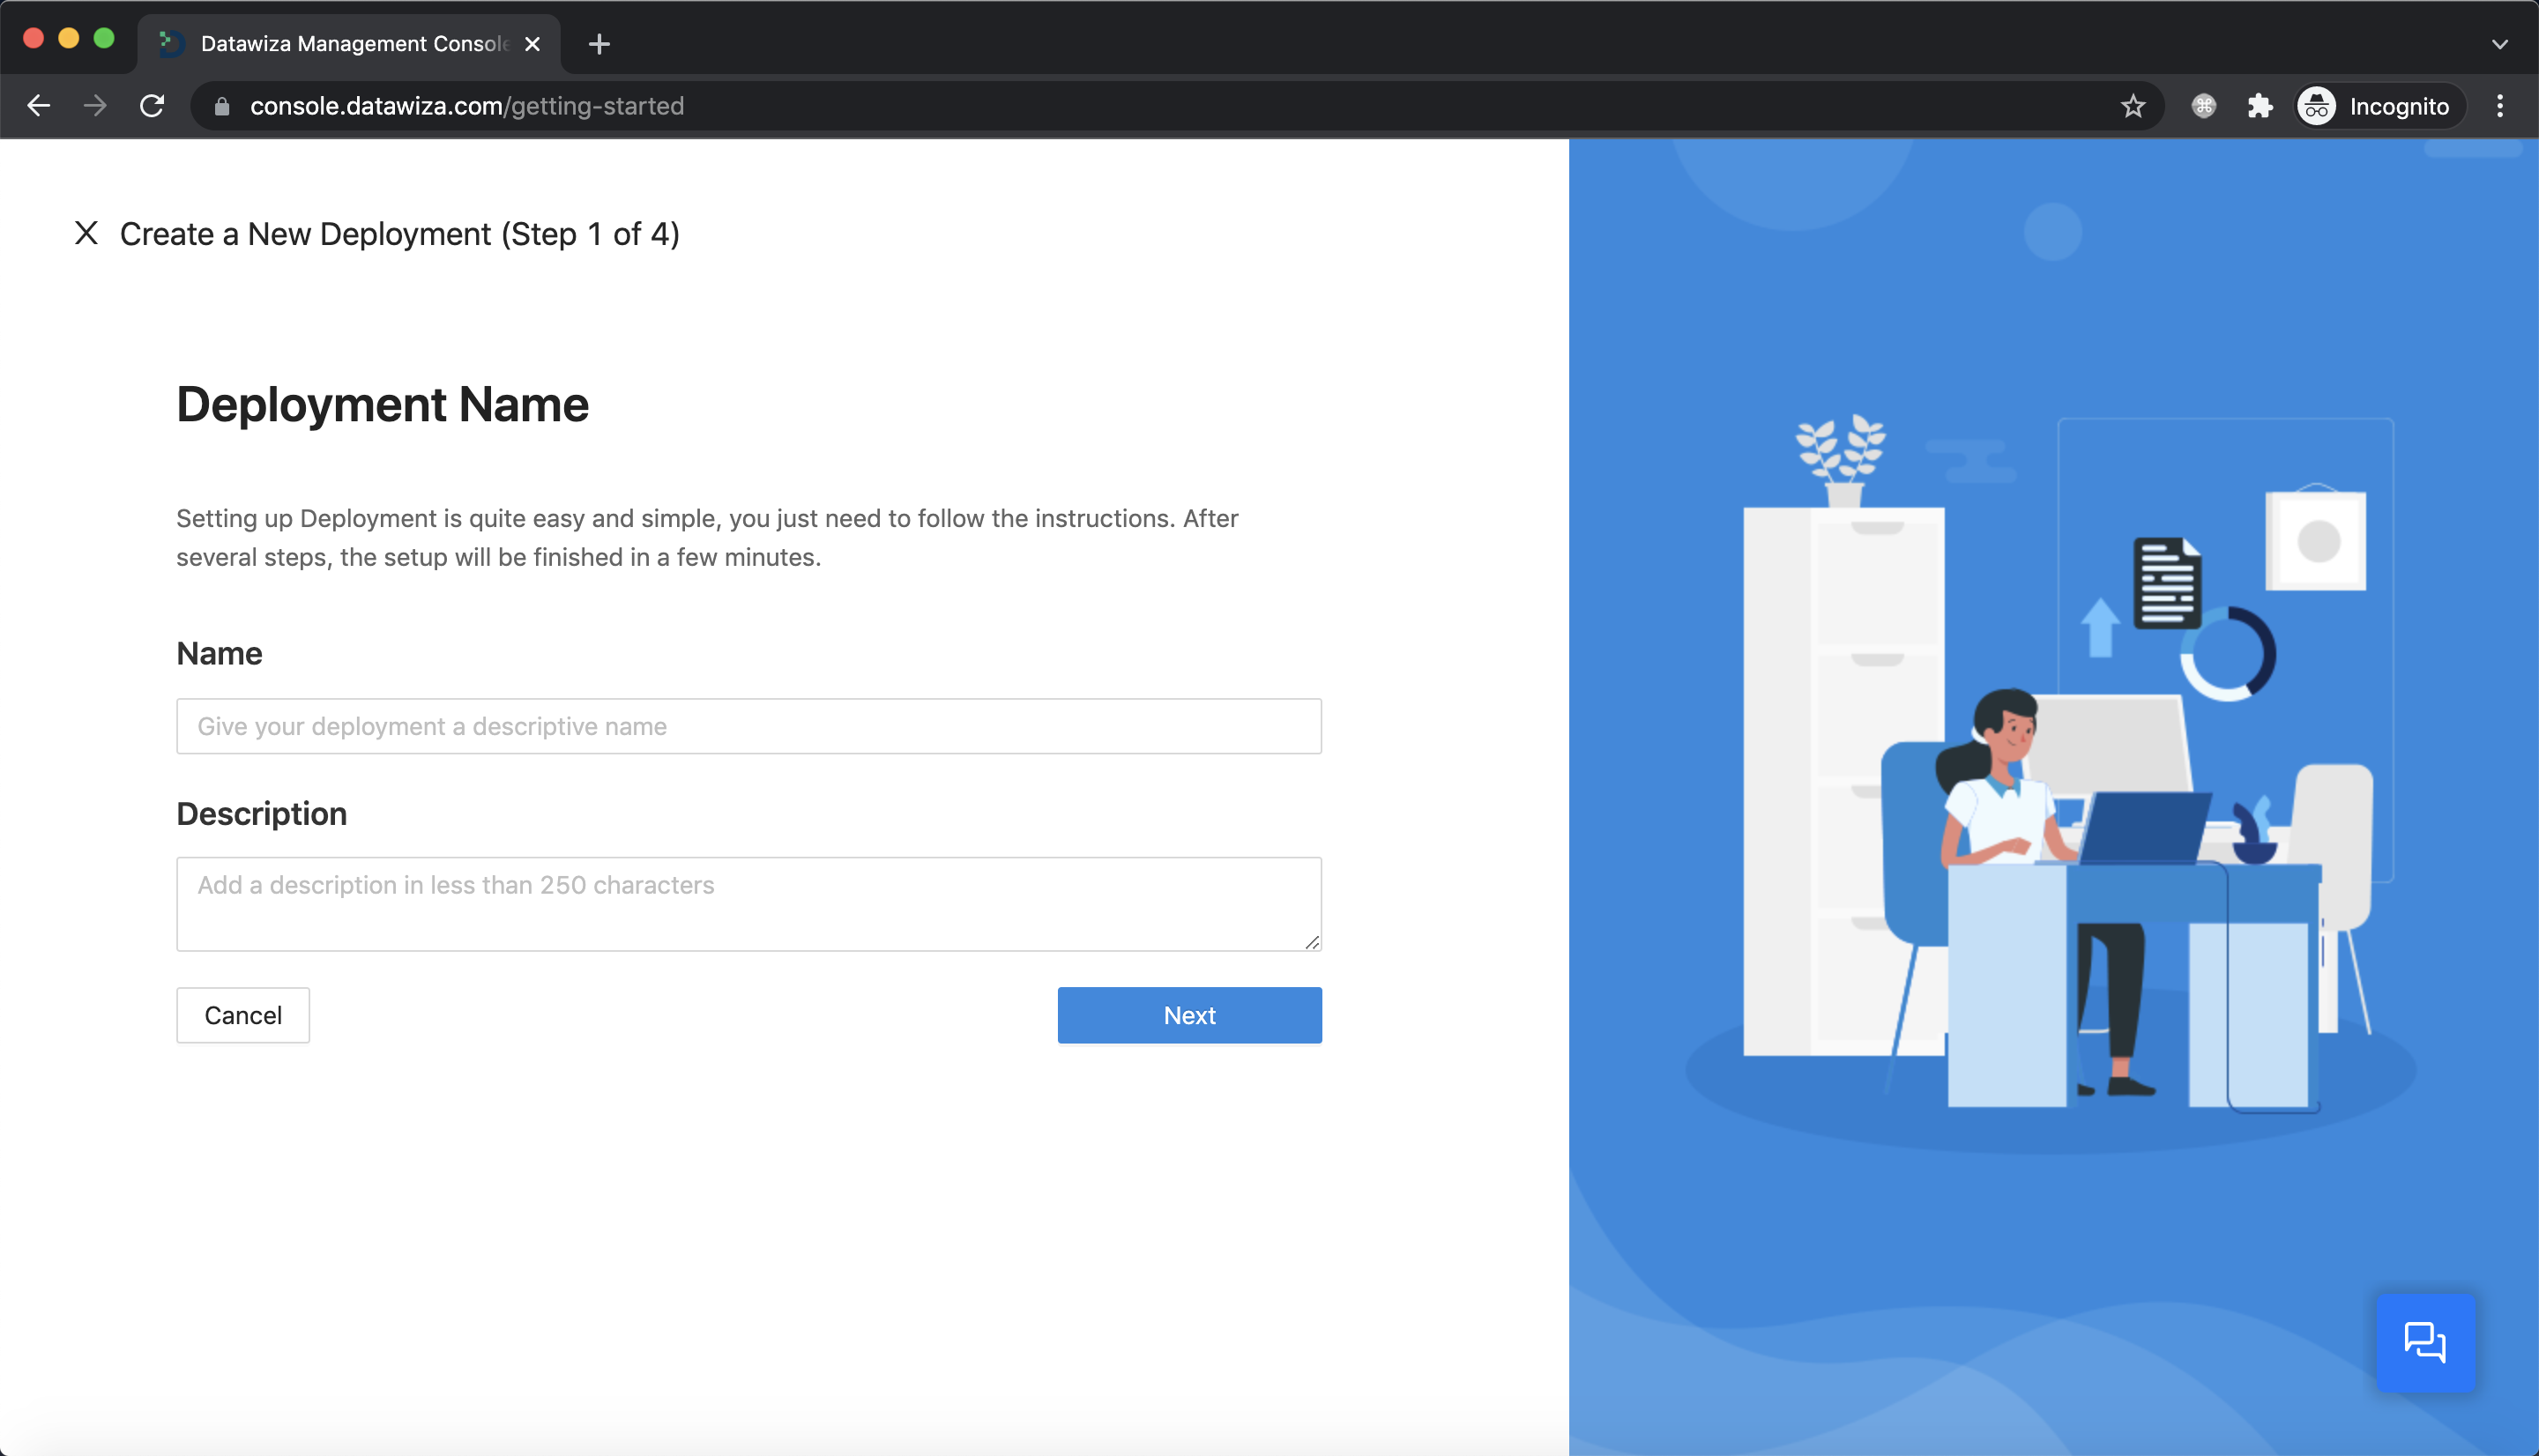
Create New Deployment
- Click the button
Getting started. Specify aNameand aDescription. ClickNext.
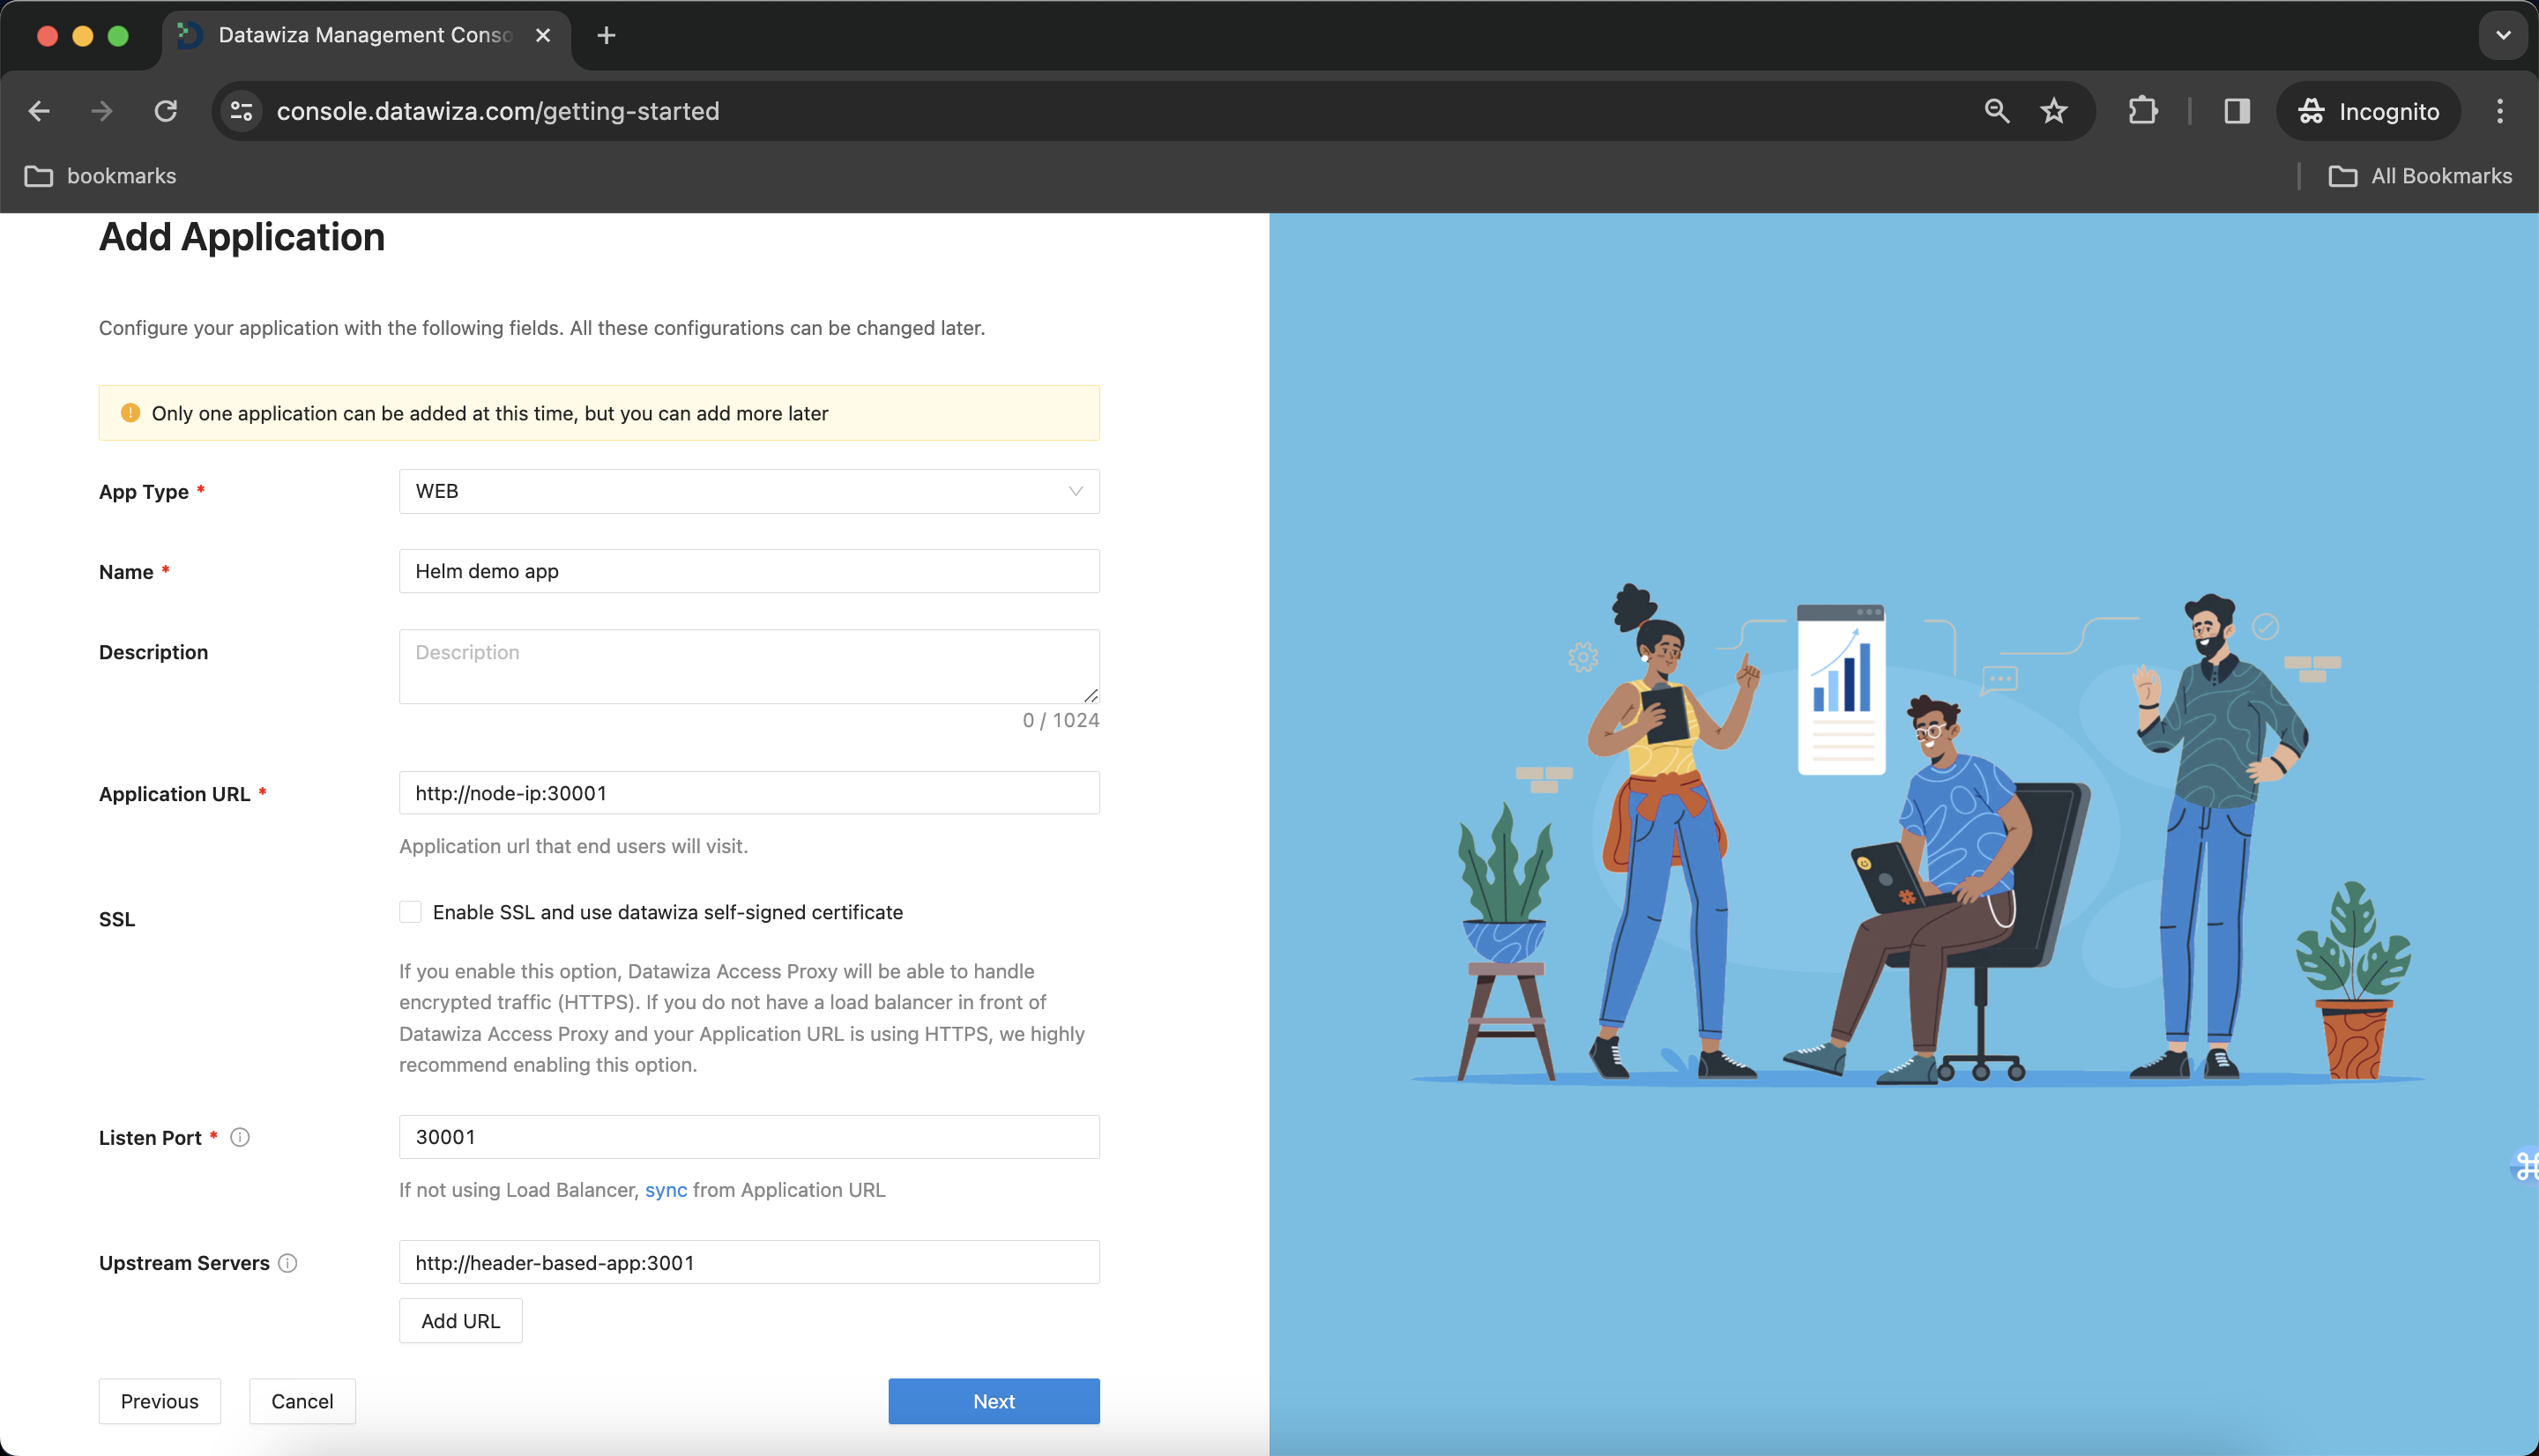
Create and Configure our Application
Configure our application with the following fields:
Name:Helm demo appApplication URL:http://node-ip:30001- Note: We manually configure the node port as 30001.
Listen Port:9772Upstream Servers:http://header-based-app:3001- We assume that both header-based app and DAP are in the same namespace
default, so we can make use ofkubednsby givinghttp://header-based-app:3001.
- We assume that both header-based app and DAP are in the same namespace
- Click
Next.
IdP Configuration
- Input the IdP name. Select
OIDCasProtocolandOktaasIdentity Provider. Populate the fields of the form with the keys/values obtained from IdP Configuration Guide: Okta.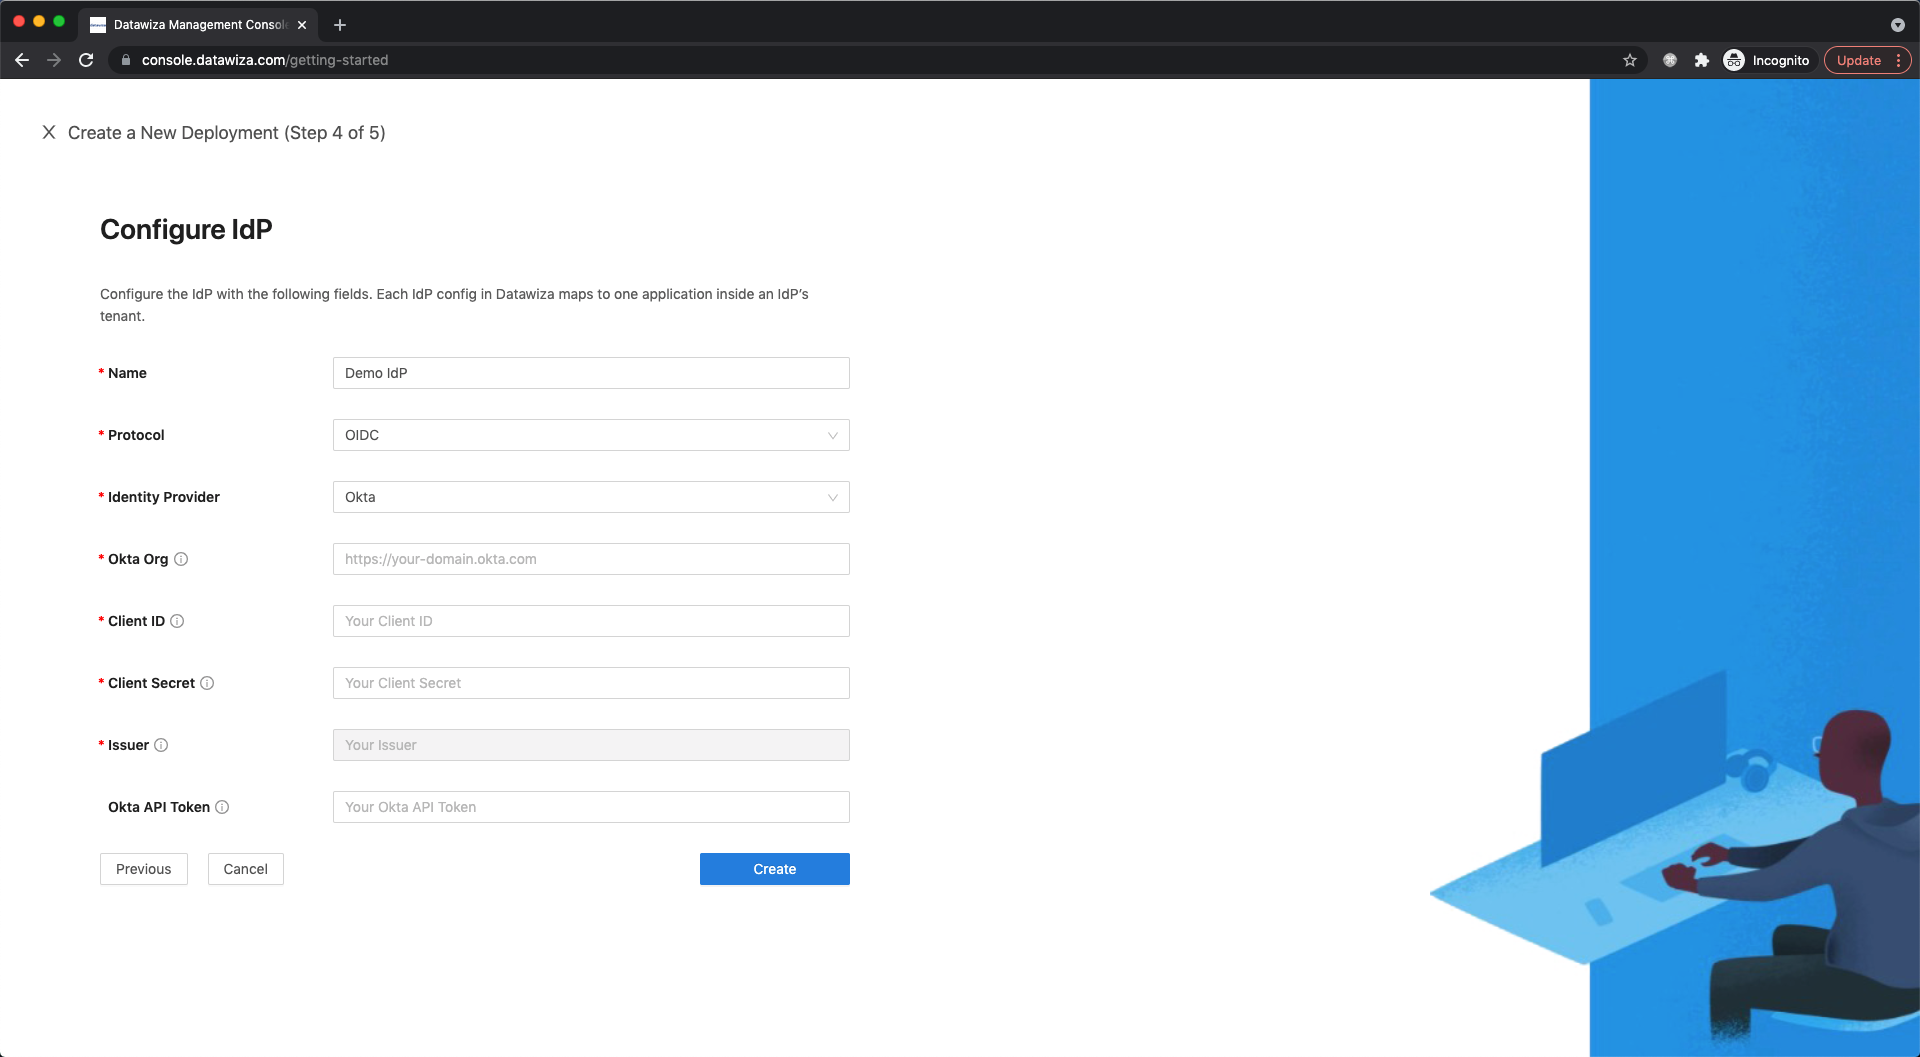
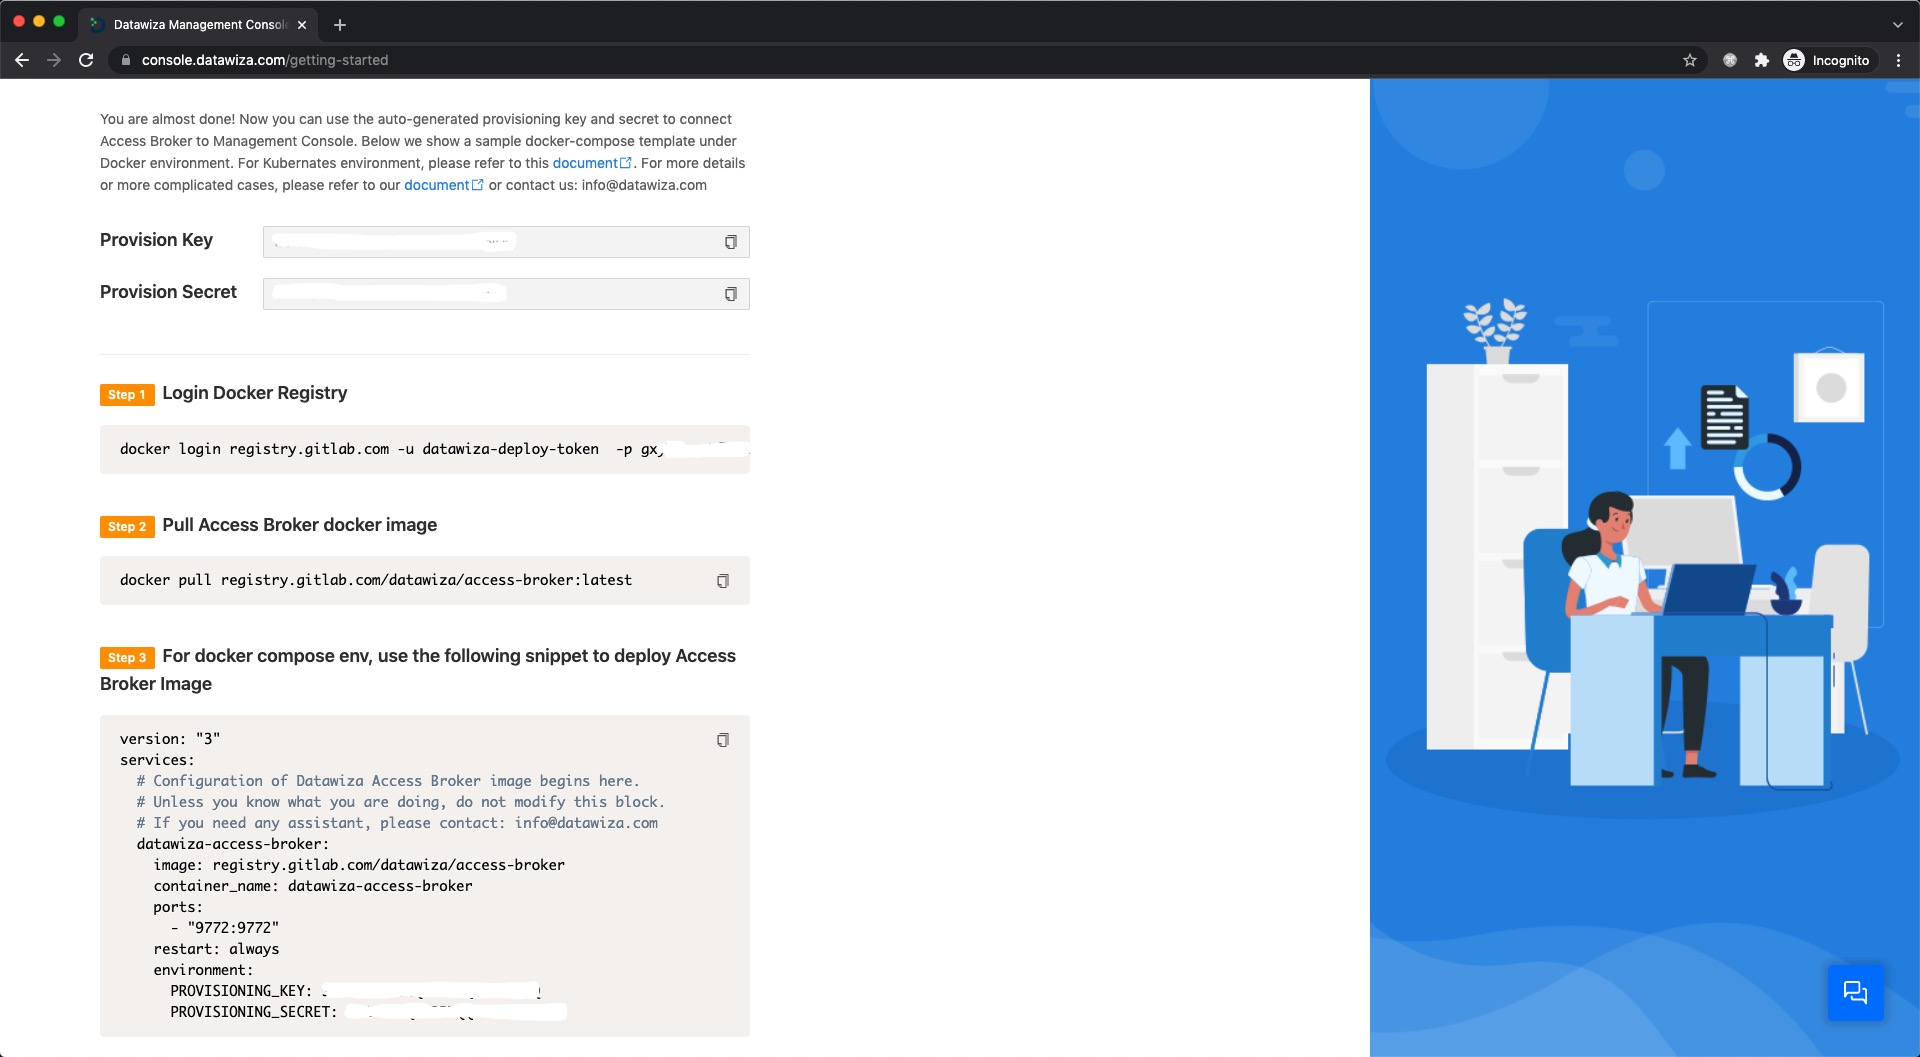
Note Down Provisioning Keys
Note down your PROVISIONING_KEY and PROVISIONING_SECRET. We will need these values later in our Helm example-values.yaml file. Meanwhile, we provide command lines to log in to our container repo and pull our docker image. Also, you can use kubectl create secret command to create a Kubernetes secret. You can see here for more details about pulling an Image from a Private Registry.
Part III: Deploying the DAP using Helm
Helm
Helm is the package manager for Kubernetes and you can see here for more information.
Get Repo Info
helm repo add datawiza https://datawiza-inc.github.io/helm-charts/
helm repo update
Installing the Chart
Then, create a value file for Helm to use when installing DAP. Here is a simple example named example-values.yaml:
PROVISIONING_KEY: replace-with-your-provisioning-key
PROVISIONING_SECRET: replace-with-your-provisioning-key
containerPort: 9772
imagePullSecrets: replace-with-you-secret
service:
  nodePort: 30001
To install the chart with the release name my-release:
helm install my-release -f example-values.yaml datawiza/access-broker
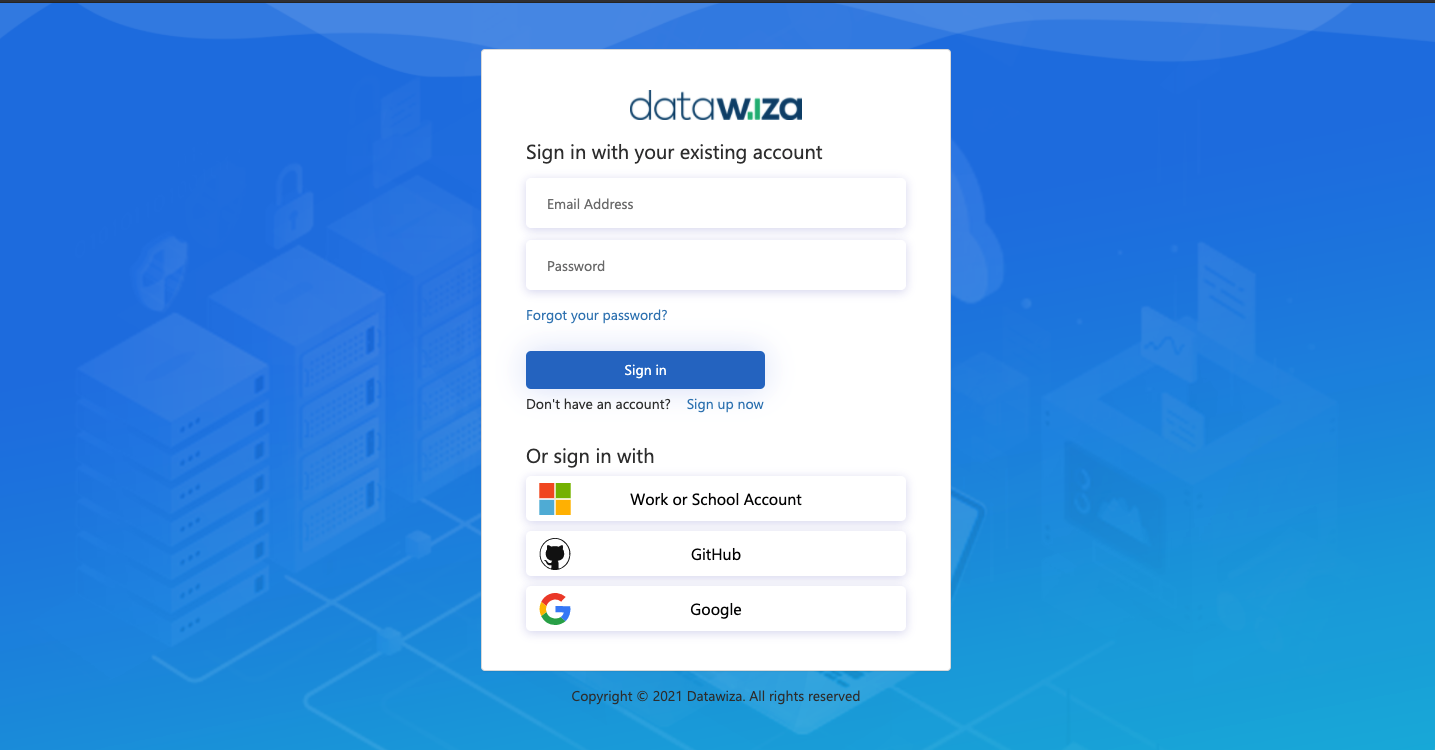
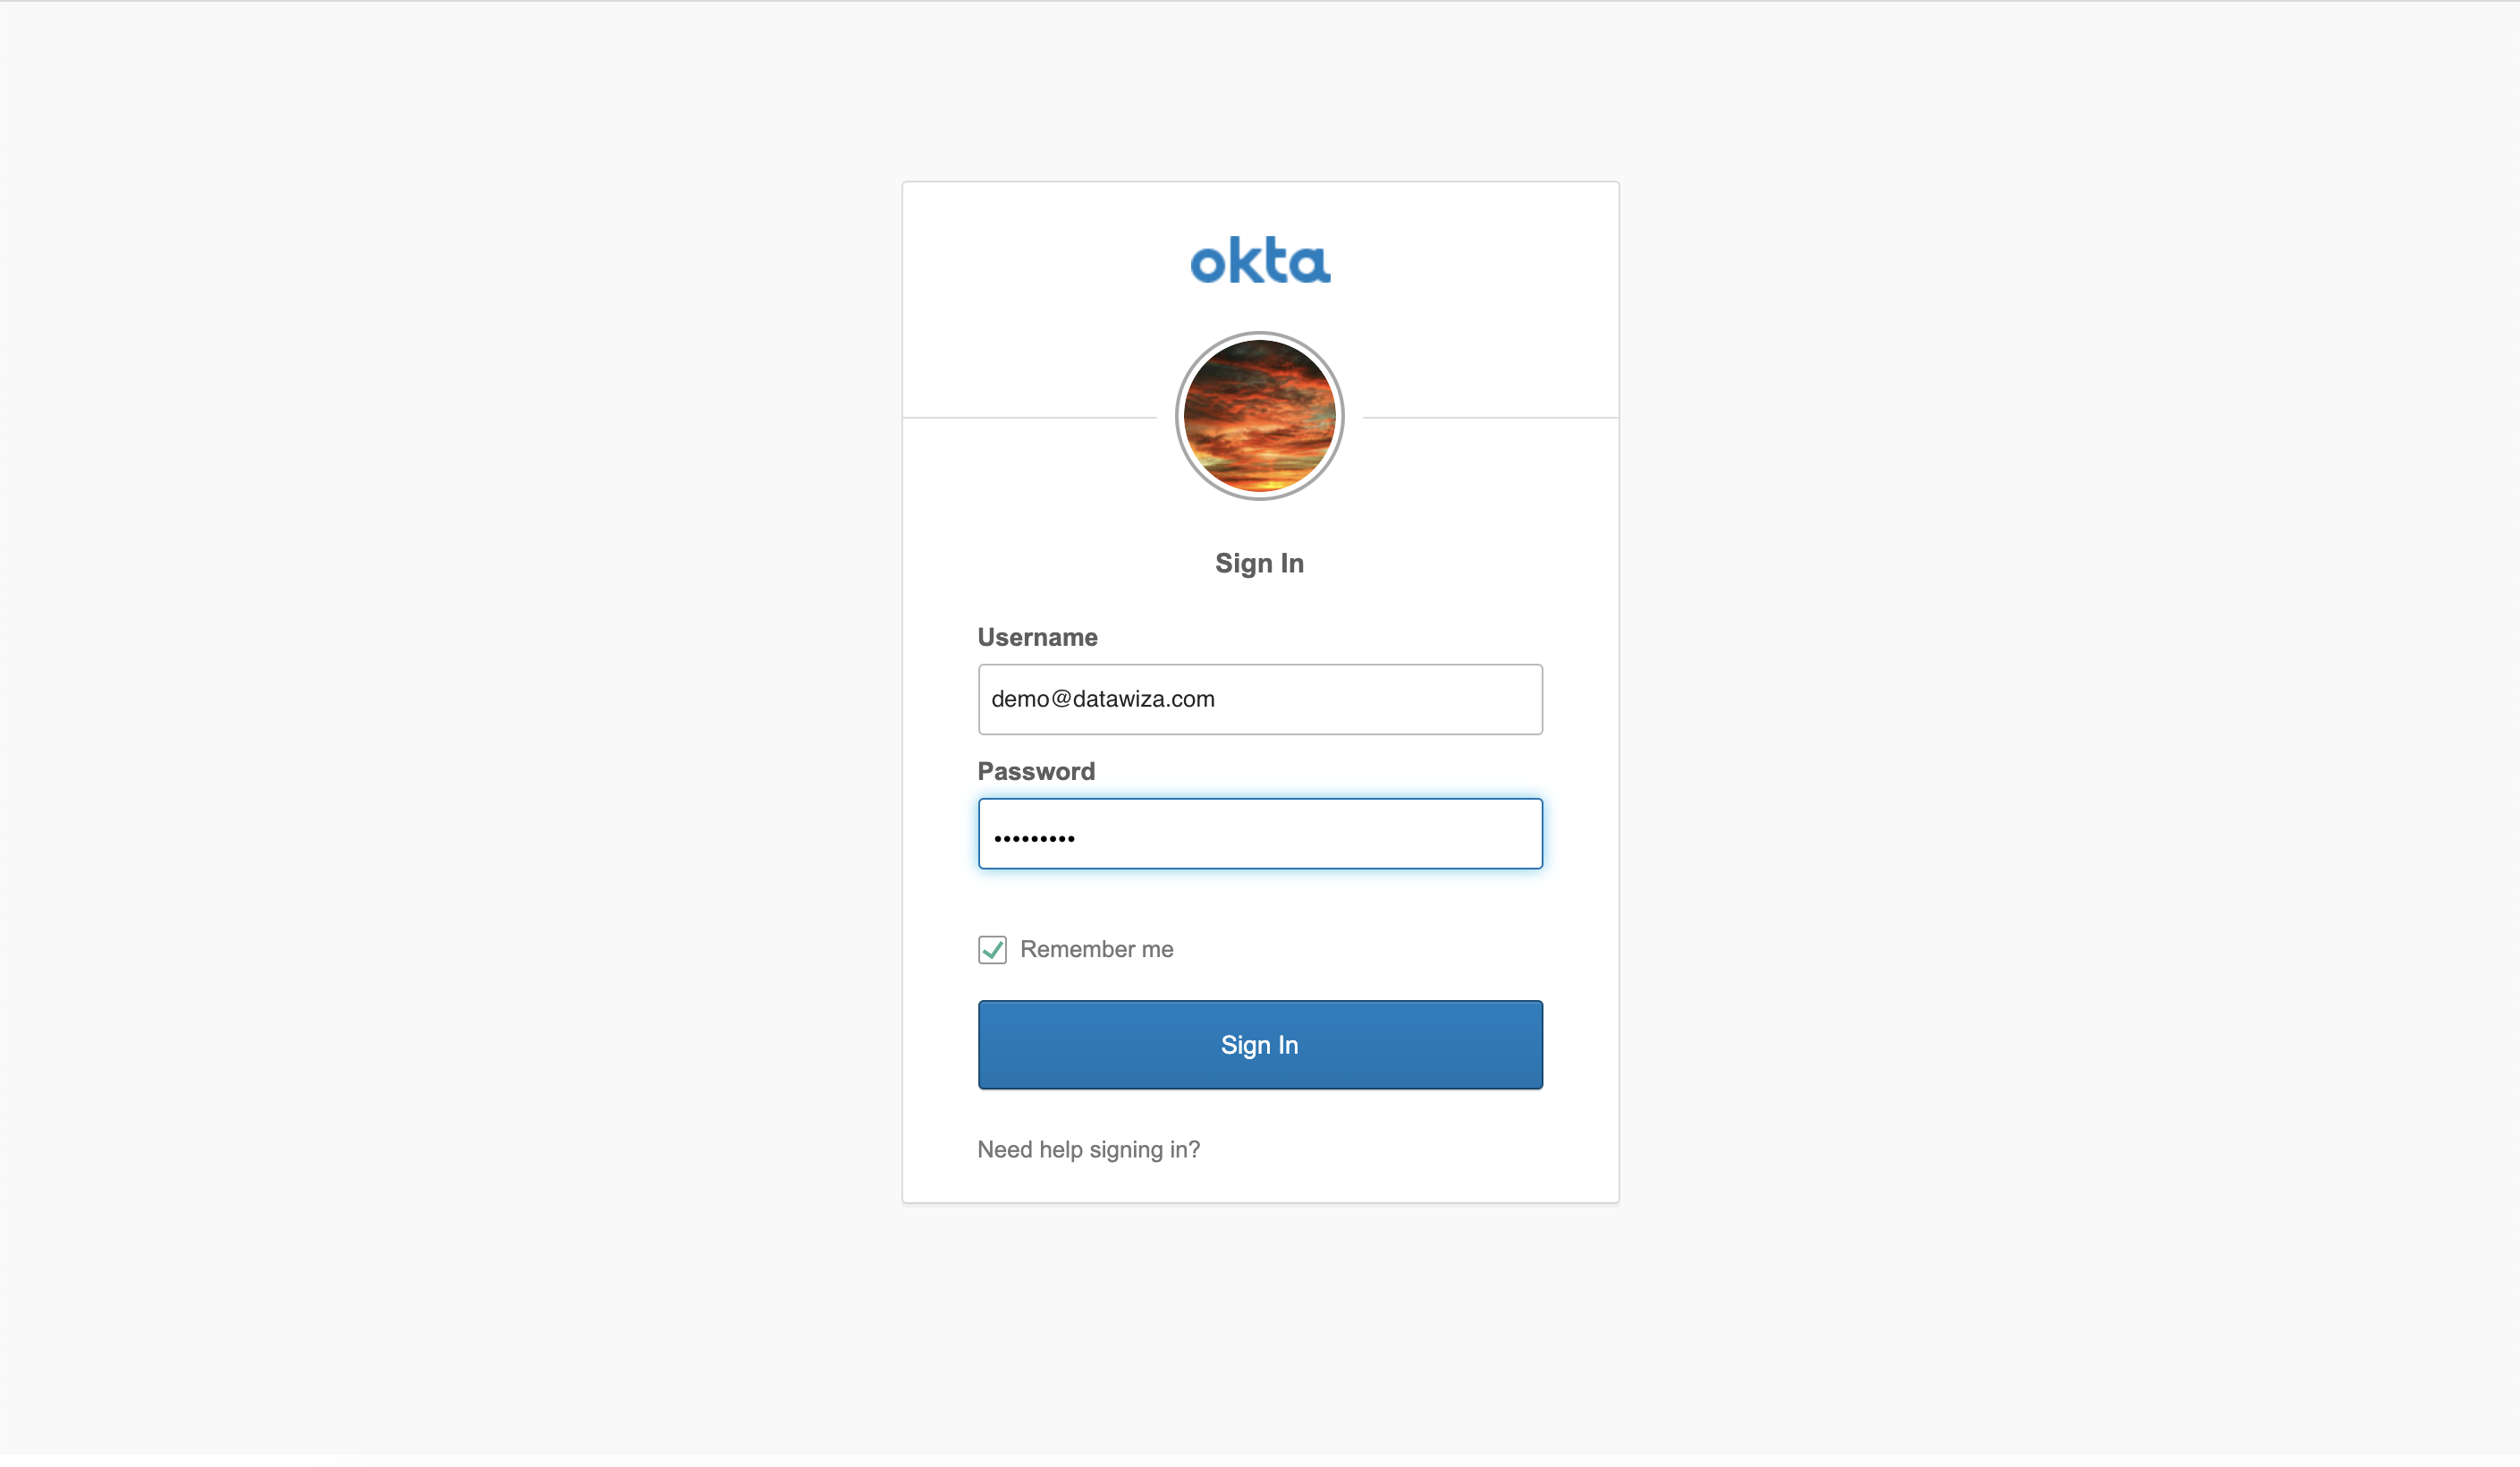
After installing chart successfully, the header-based app should have SSO enabled with Okta. Open a browser and type in http://nodeIP:30001/. You should see the Okta login page as follows.
Part IV: Granular Access Control and Further Steps
Please refer to Step4: Pass User Attributes and Step5: Achieve Granular Access Control to interact further with the additional features provided by the Datatwiza Access Proxy.
Summary
In summary, we have seen how to use Helm to deploy the DAP in a Kubernetes environment.