Configure Datawiza Cloud Management Console
Preview
In this section, we will show you how to create an application on the Datawiza Cloud Management Console (DCMC) and generate a pair of PROVISIONING_KEY and PROVISIONING_SECRET for this app. This key pair is used by the Datawiza Access Proxy to get the latest configurations and policies from the Datawiza Cloud Management Console. We will use one dummy application built by us as the example upstream server.
Sign into DCMC
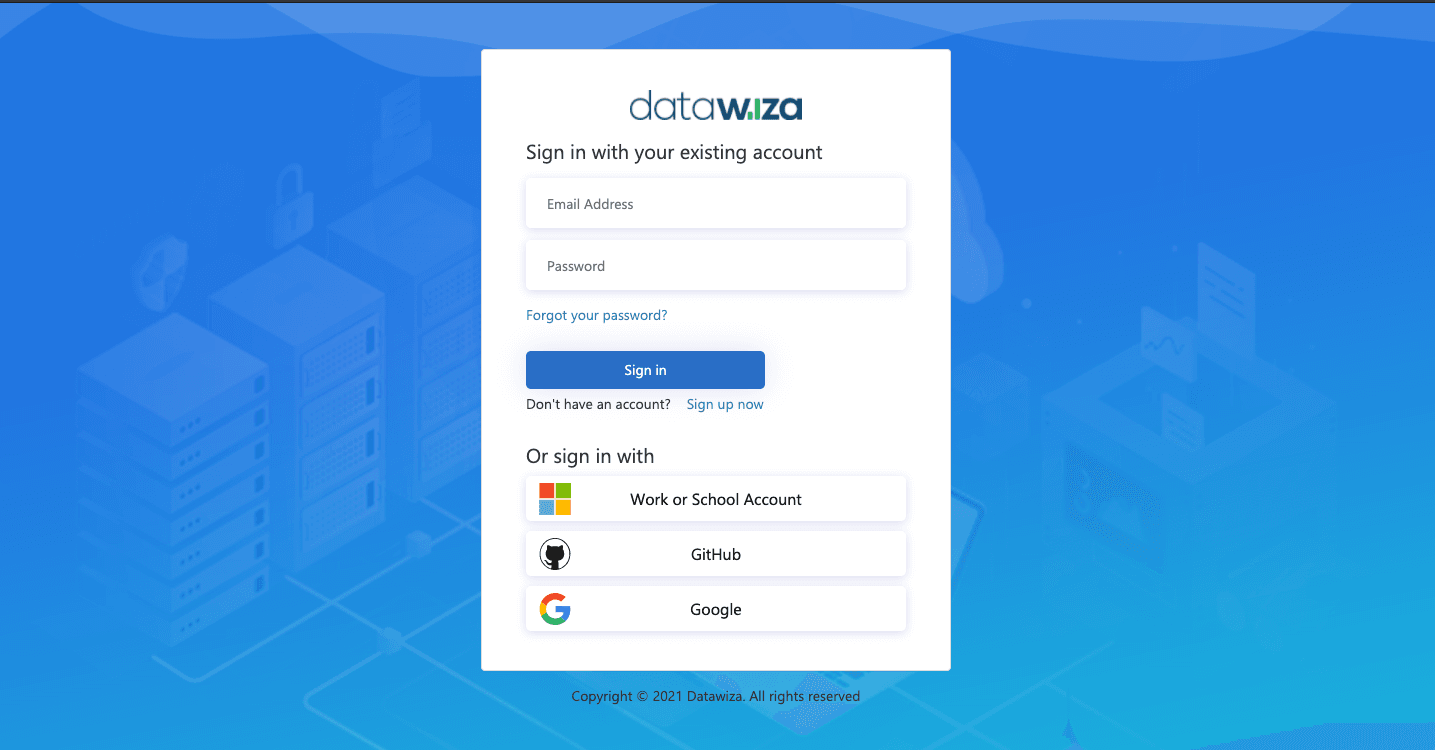
- Log into the DCMC.
Create New Deployment In DCMC
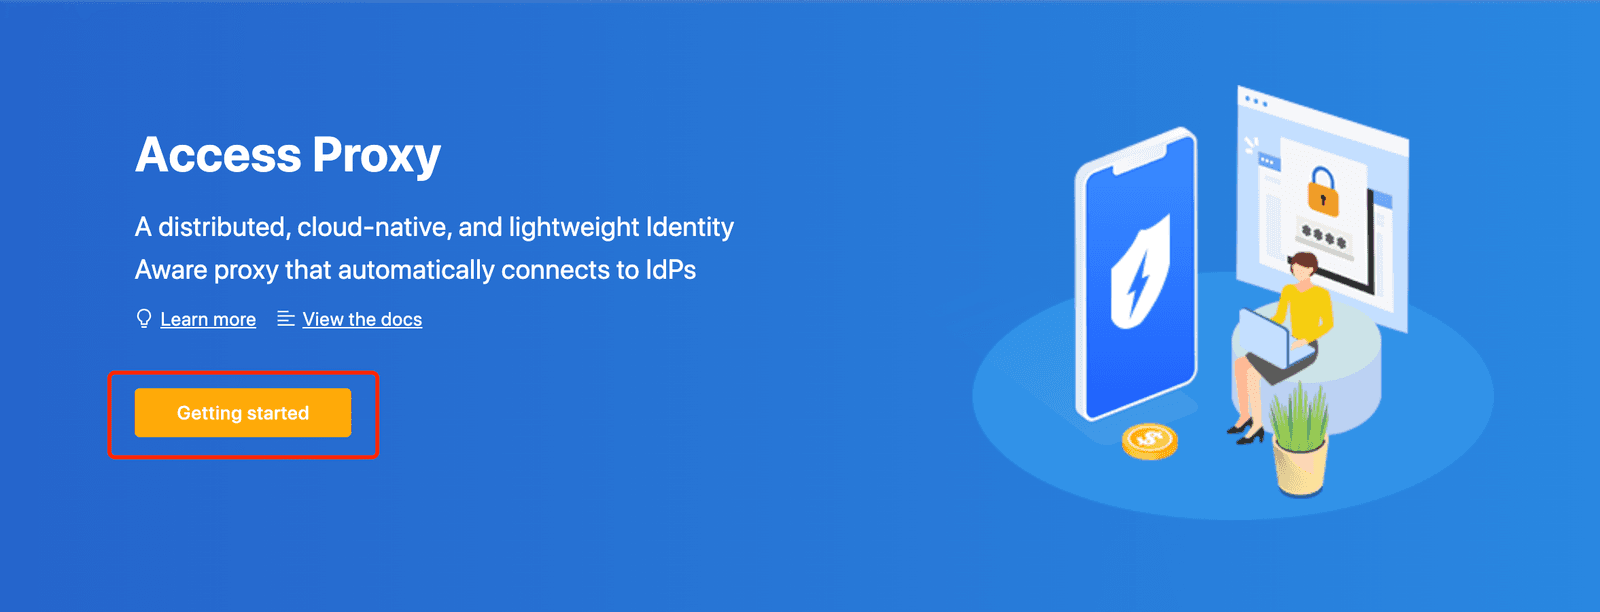
Welcome to the DCMC homepage! Let's get started:
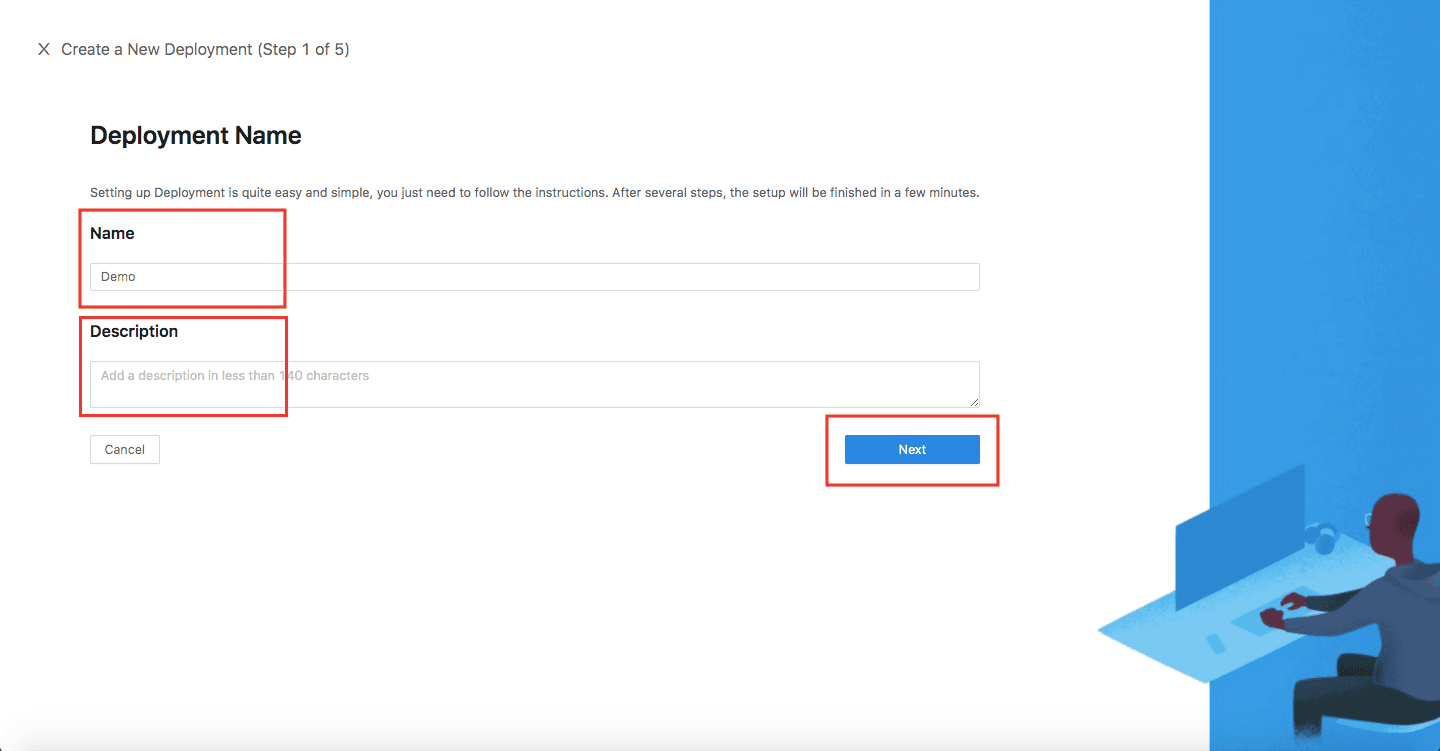
- Click the orange button
Getting started. Specify aNameand aDescription, and clickNext.
Add Application
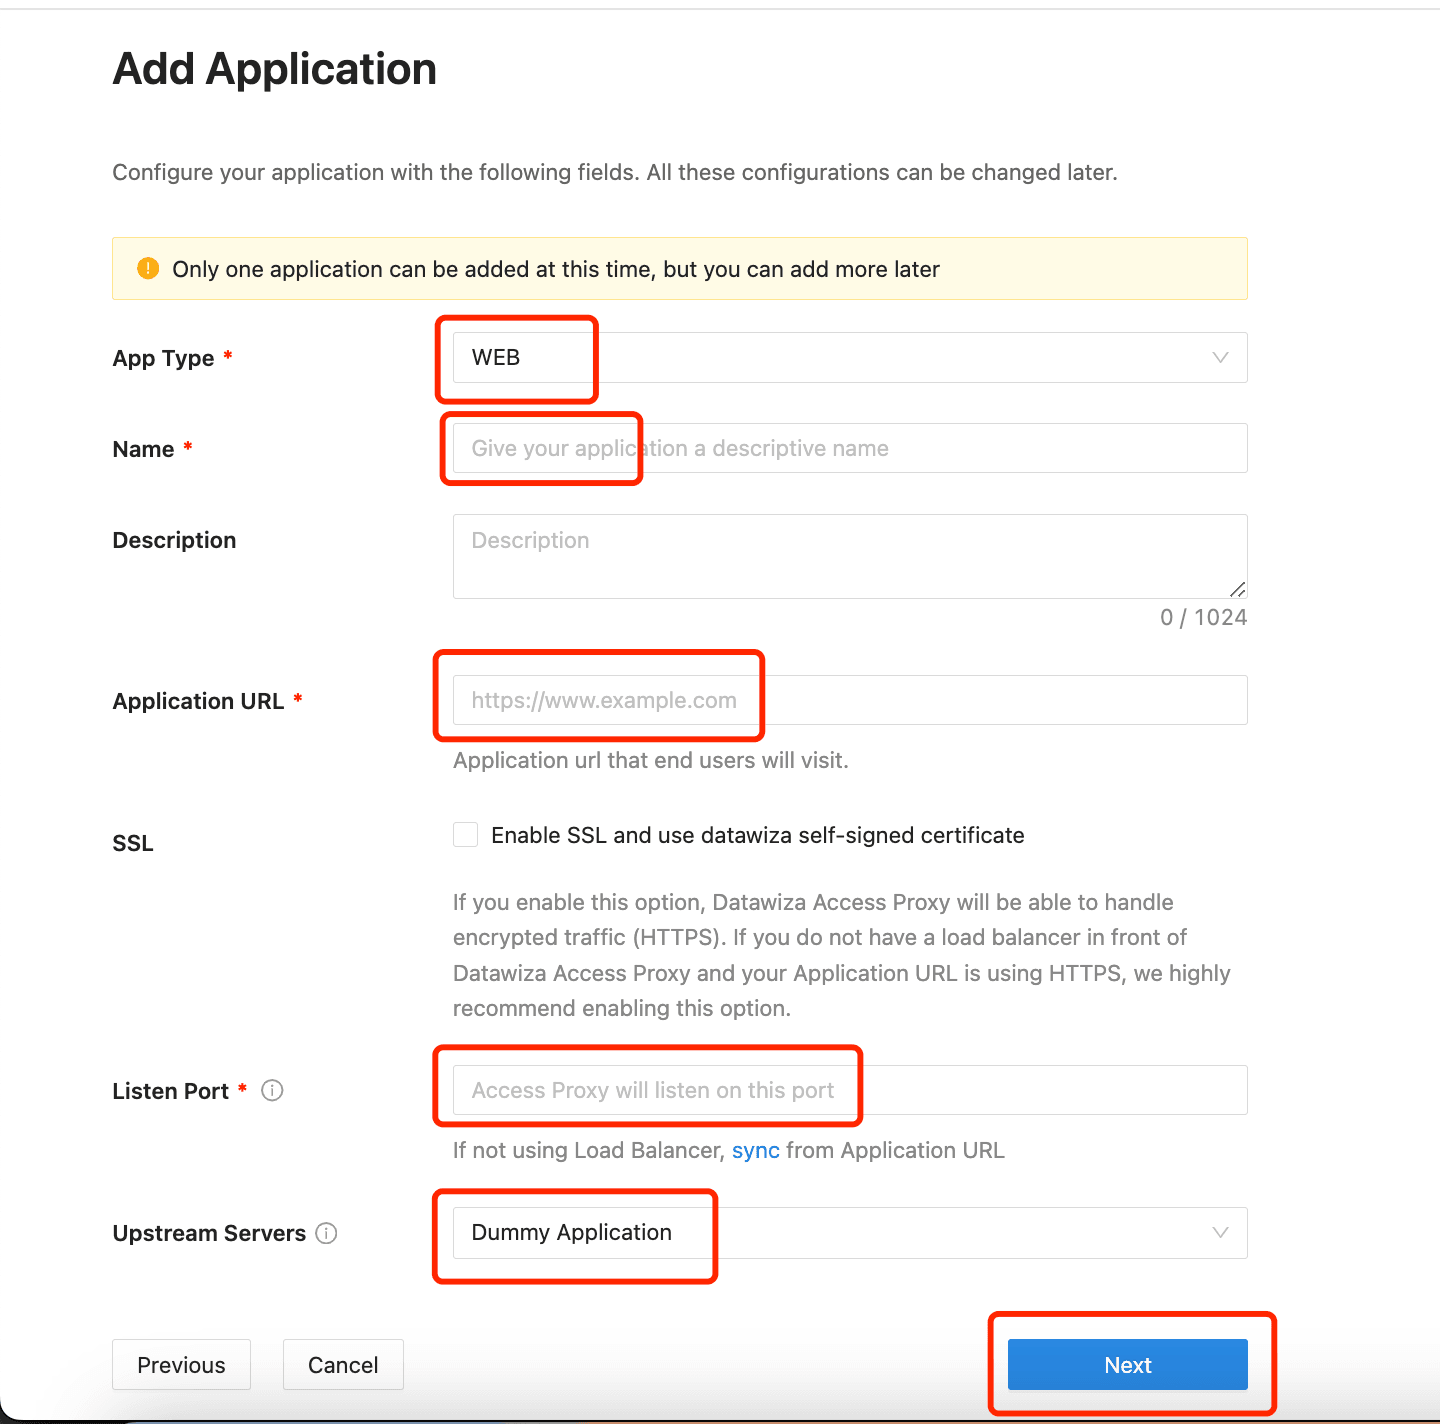
Configure your application with the following values:
- App Type:
WEB,API,AWS Elastic Map Reduce,Oracle E-Business Suite, orOracle PeopleSoft - Name:
Demo App - Application URL:
http://localhost:9772 - Listen Port:
9772 - Upstream Servers:
Dummy Application - Select Next.
Note that Upstream Servers is the address of the application that you want to enable SSO.
- If you use the DAP in sidecar mode and your application is running on
localhost:3001on Mac or Windows, then set theUpstream Serverstohost.docker.internal:3001(Docker 18.03+). - If your application is running on Linux, use
ip addr show docker0to get docker host IP (e.g.,172.17.0.1) and then setUpstream Serversto172.17.0.1:3001(see this for more details). - If you do not have any prepared application, you can use our pre-built-in application and set
Upstream ServerstoDummy Application.
IdP Configuration
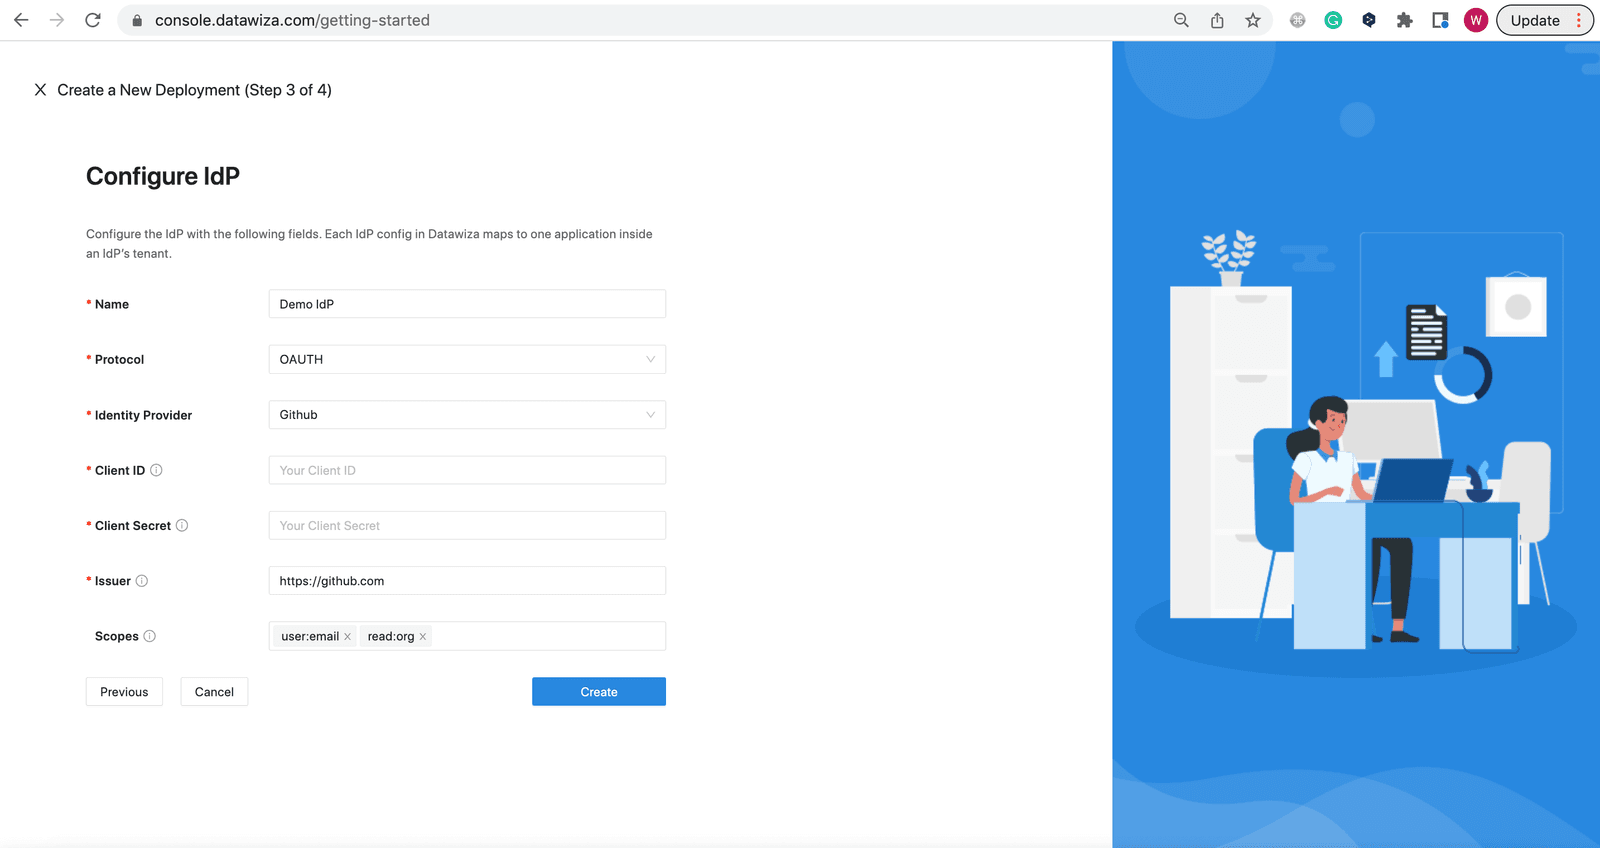
If you select WEB, AWS Elastic Map Reduce, Oracle E-Business Suite, or Oracle PeopleSoft as your App Type, you need to Configure IdP:
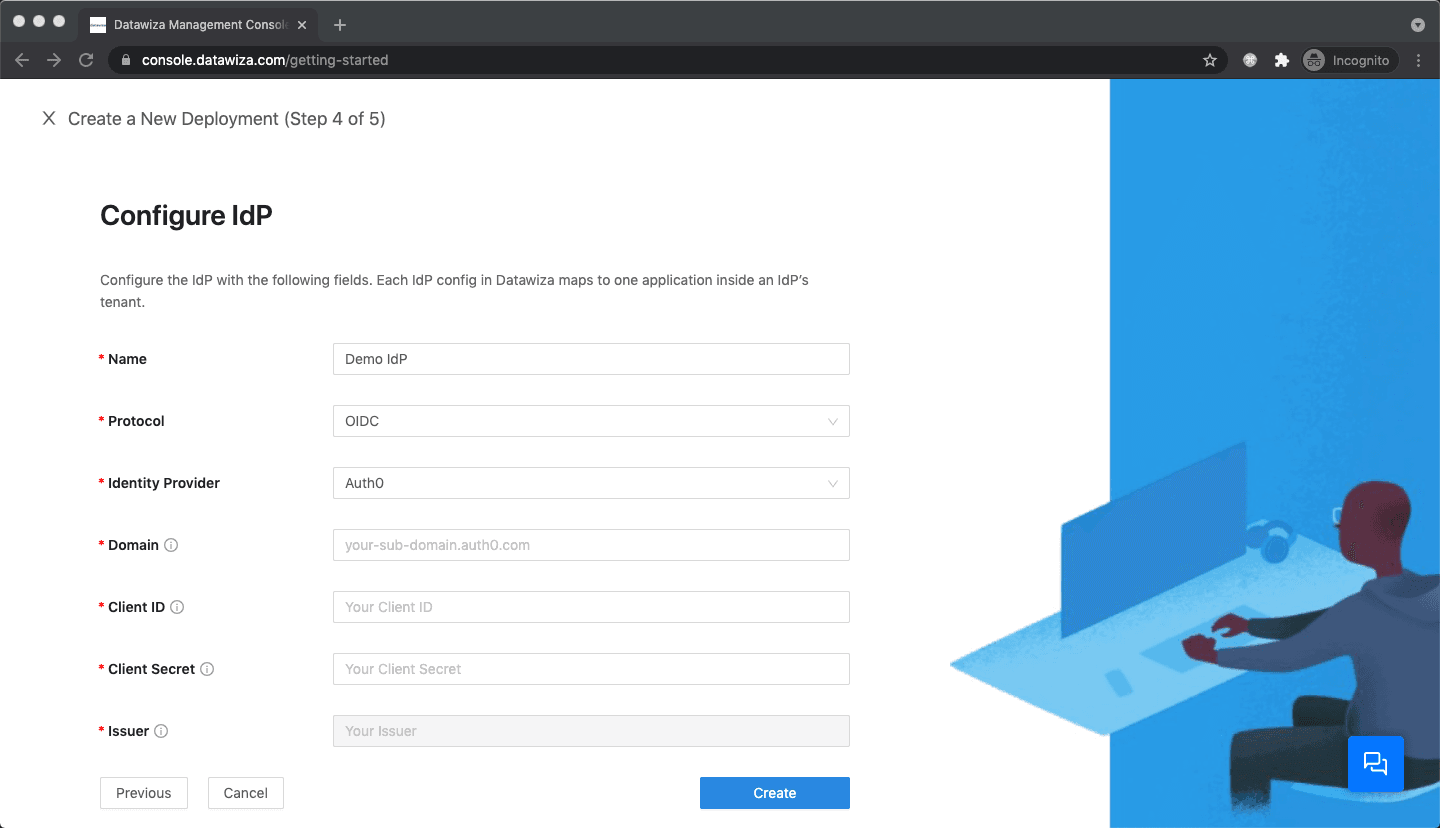
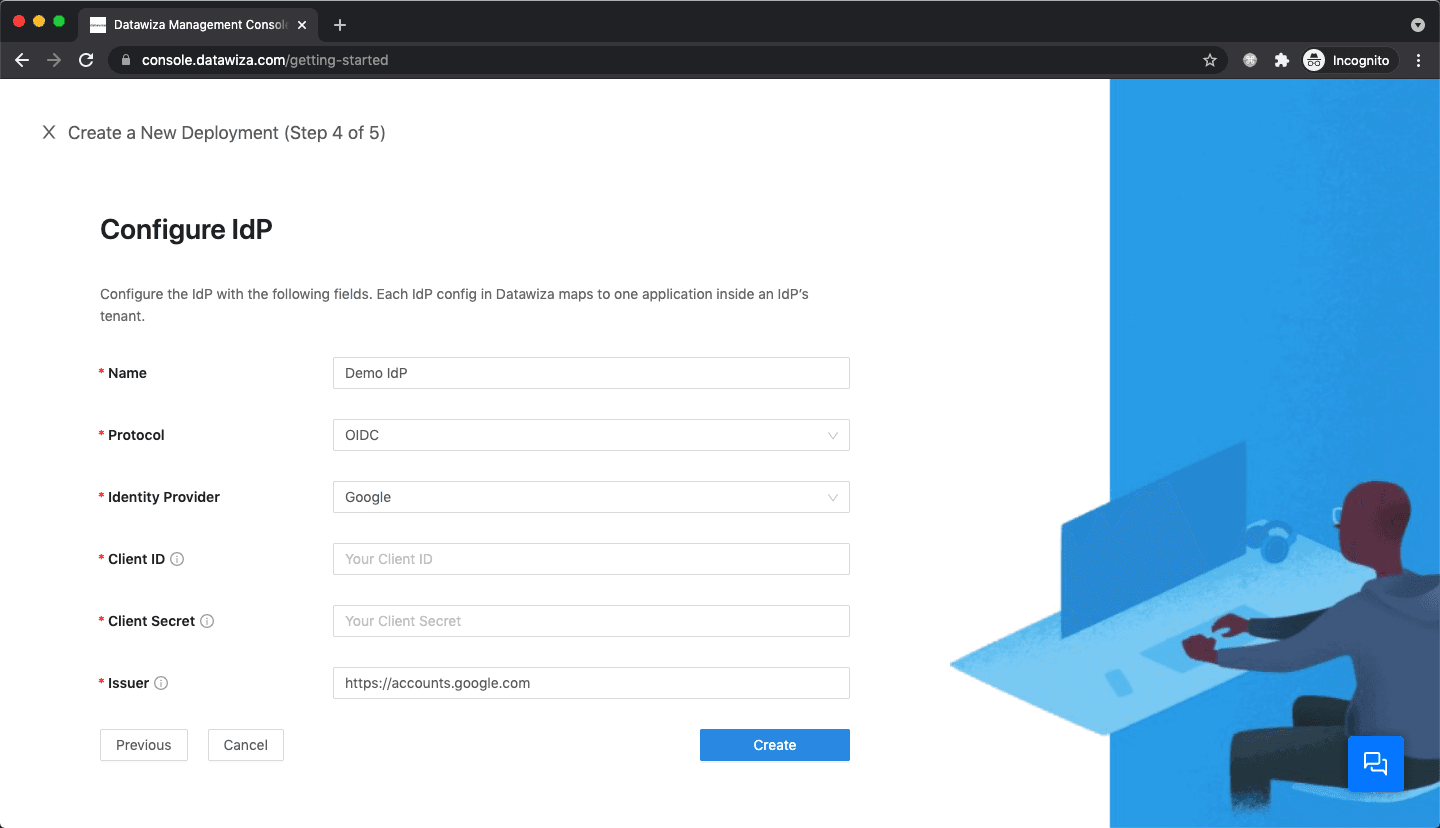
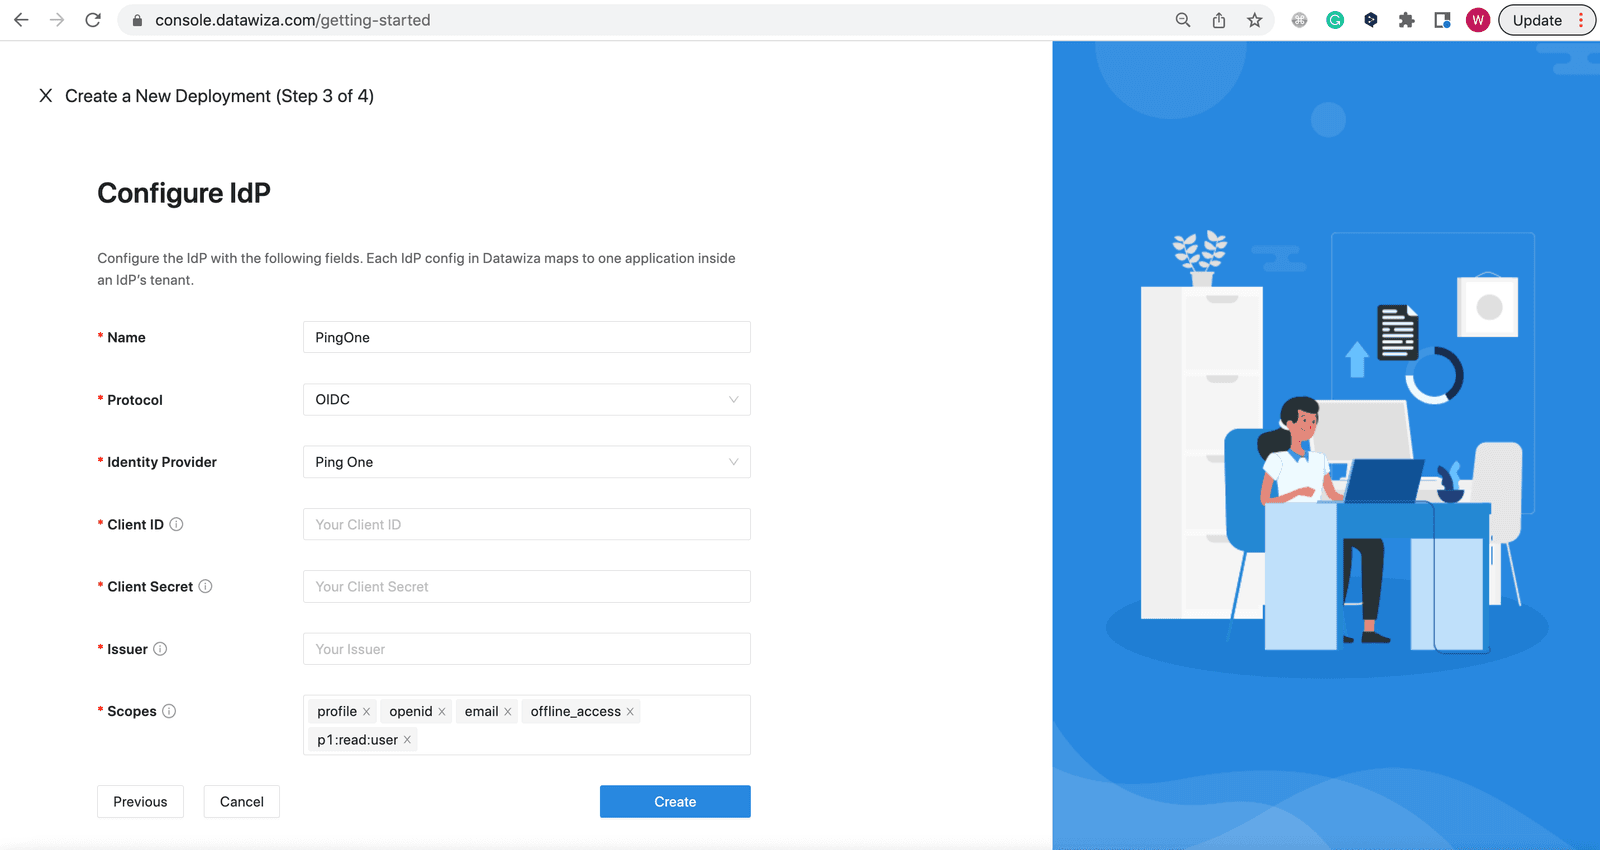
We provide four protocols for IdP: OIDC, SAML, LDAP, and OAUTH. For OIDC:
- Choose your
Identity Providerfrom the drop-down menu.
- Auth0
Populate the fields of the form with the keys/values obtained from IdP Configuration Guide: Auth0.
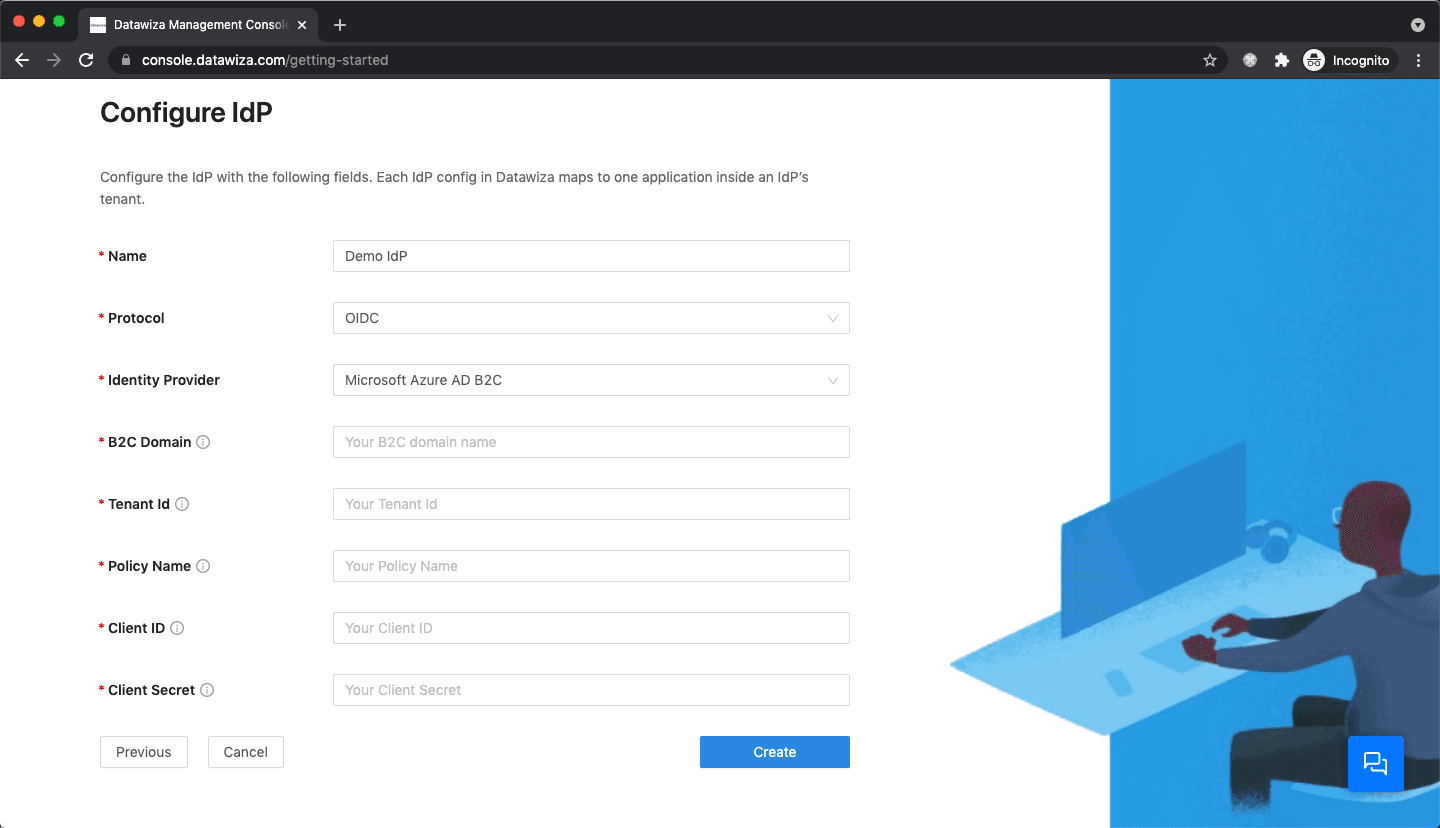
- Azure AD B2C
Populate the fields of the form with the keys/values obtained from IdP Configuration Guide: Microsoft Azure AD B2C.
- Cognito
Populate the fields of the form with the keys/values obtained from IdP Configuration Guide: Cognito.

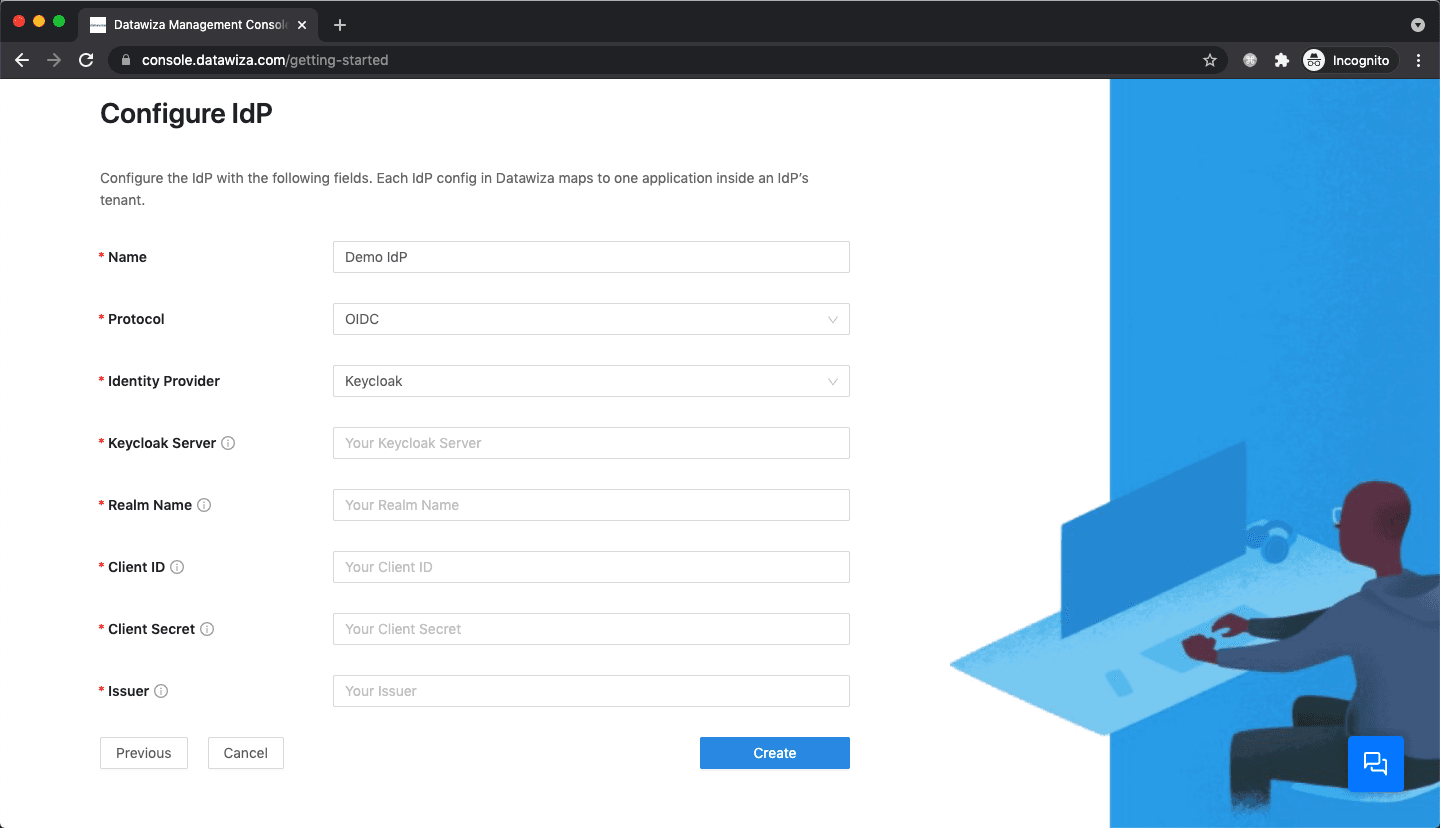
- Keycloak
Populate the fields of the form with the keys/values obtained from IdP Configuration Guide: Keycloak.
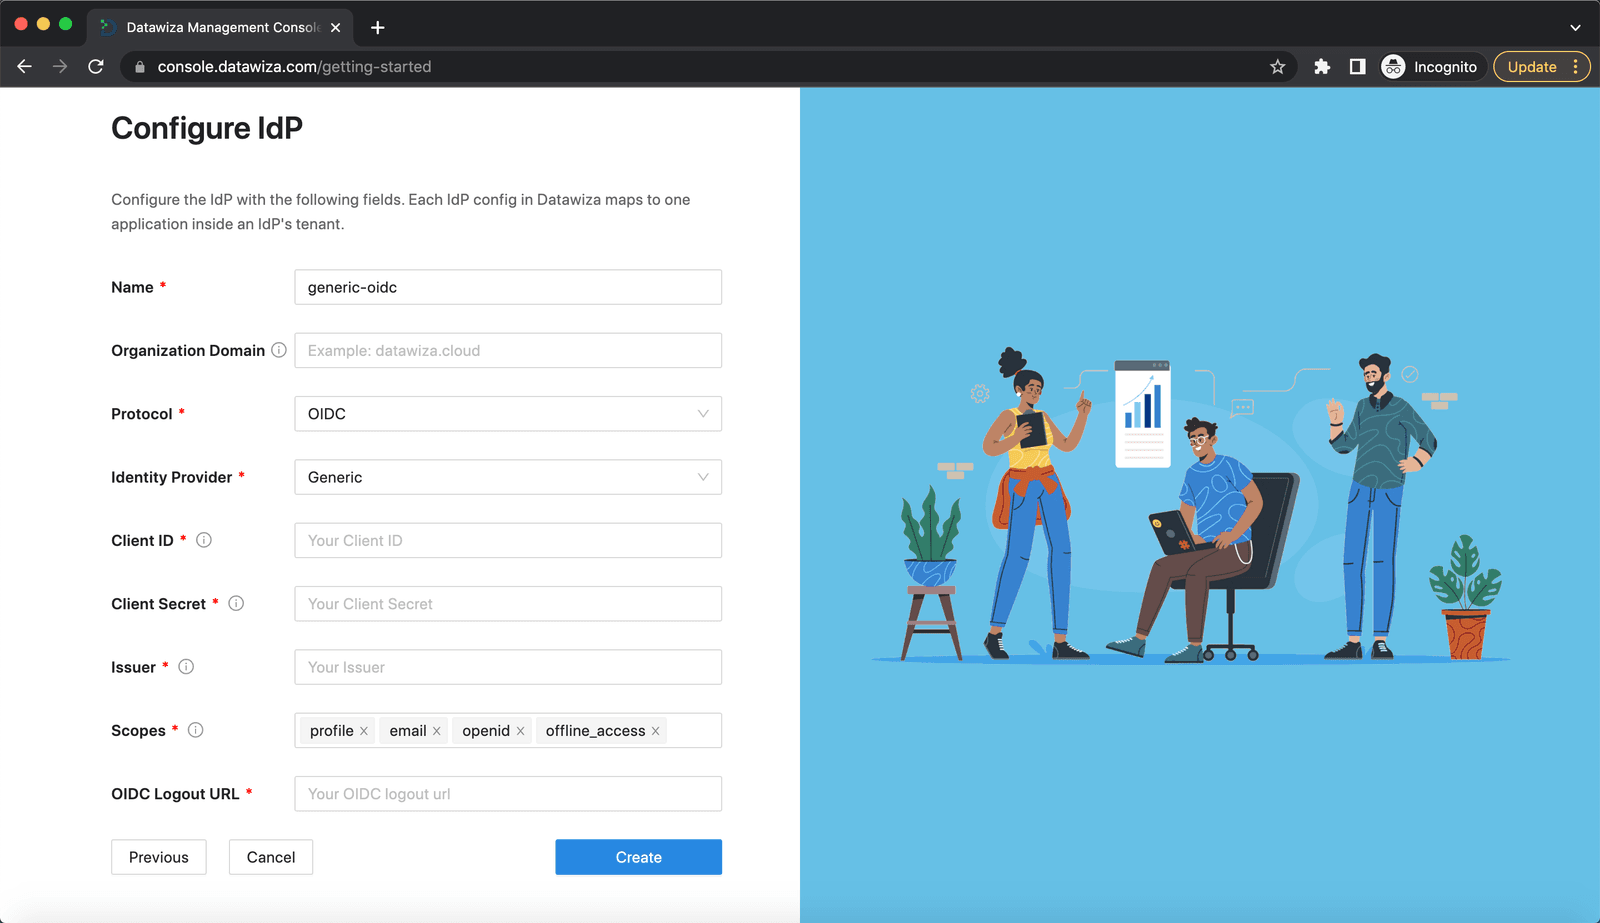
- Generic OIDC
Populate the fields of the form with the keys/values obtained from your IdP.
Populate the fields of the form with the keys/values obtained from IdP Configuration Guide: Google.
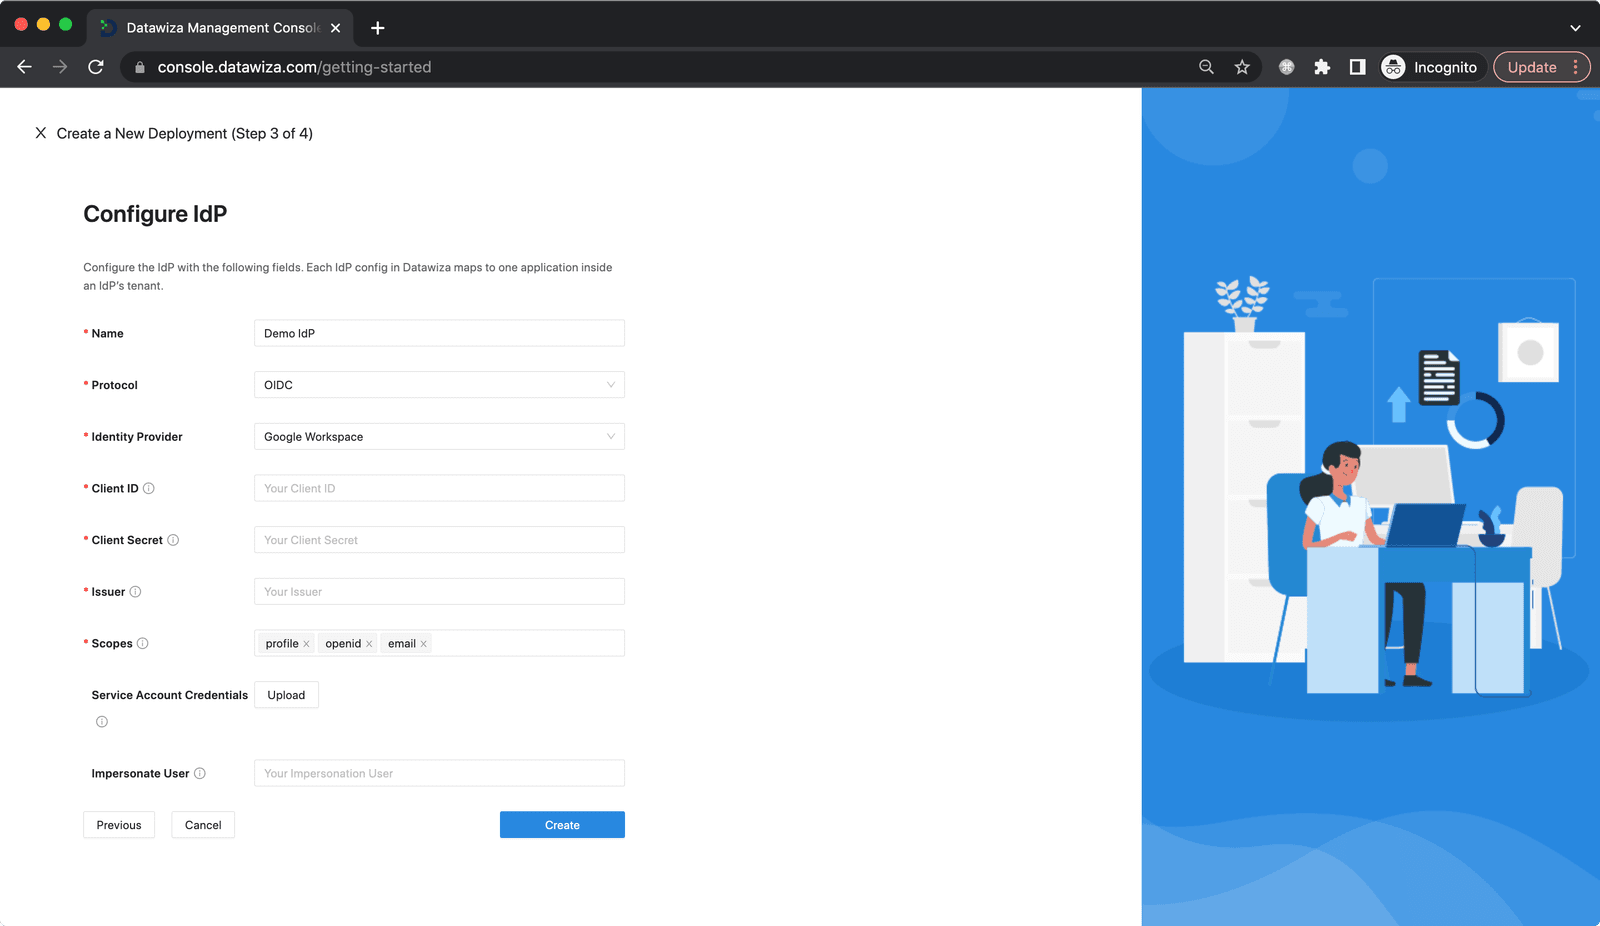
- Google Workspace
Populate the fields of the form with the keys/values obtained from IdP Configuration Guide: Google Workspace.
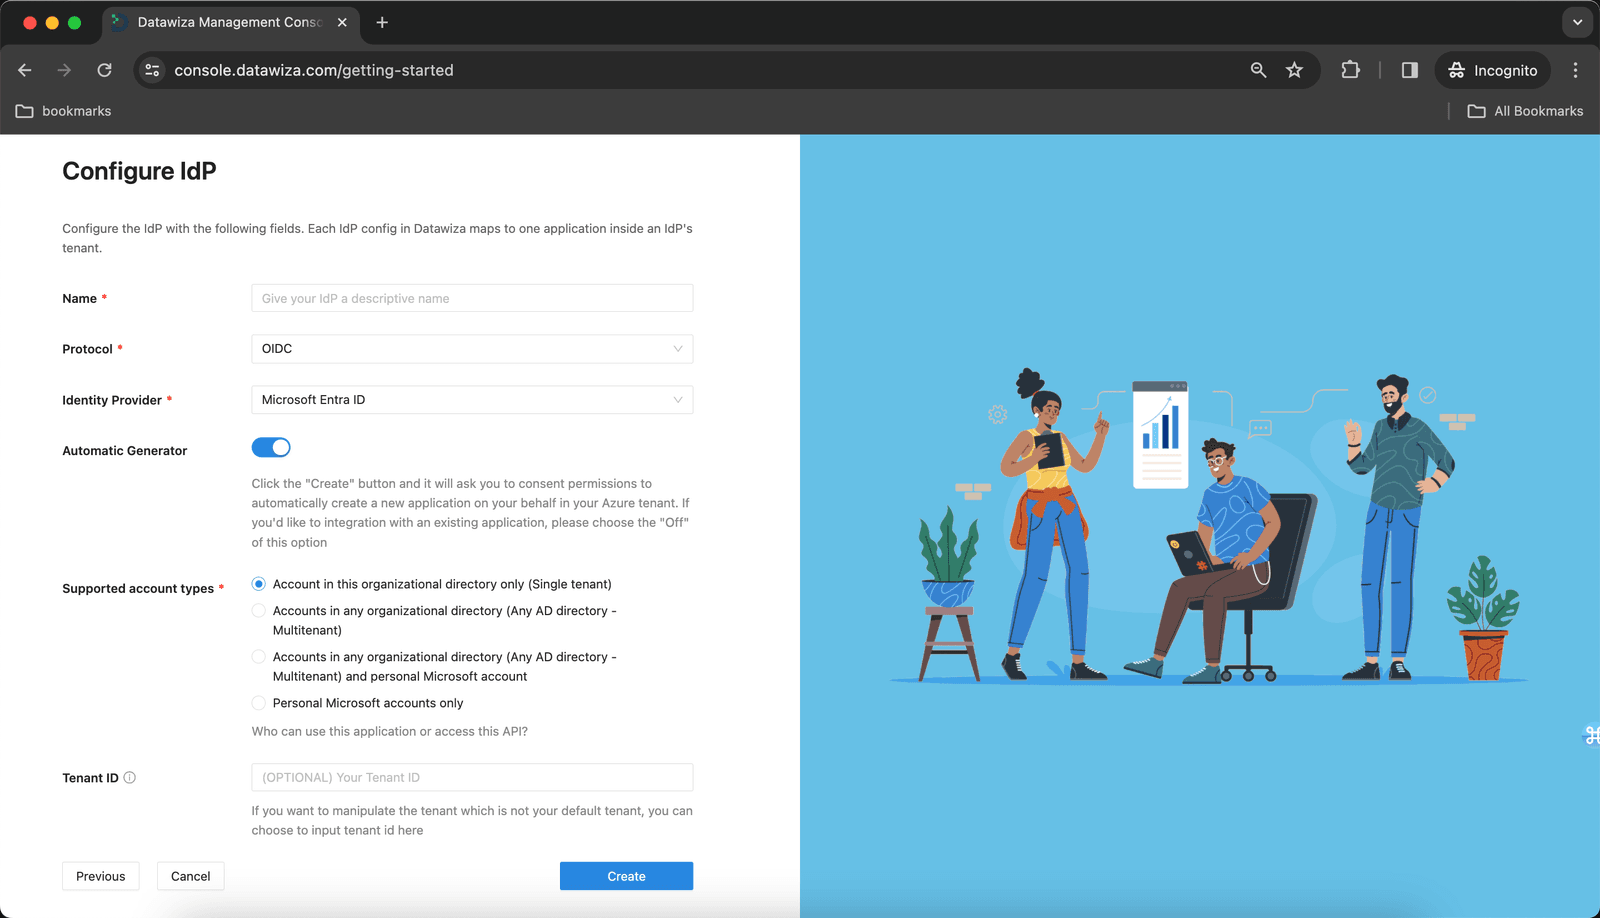
- Microsoft Entra ID (Azure AD)
Populate the fields of the form with the keys/values obtained from IdP Configuration Guide: Microsoft Entra ID (Azure AD).
Alternatively, you can use One Click Integration to configure the Azure.
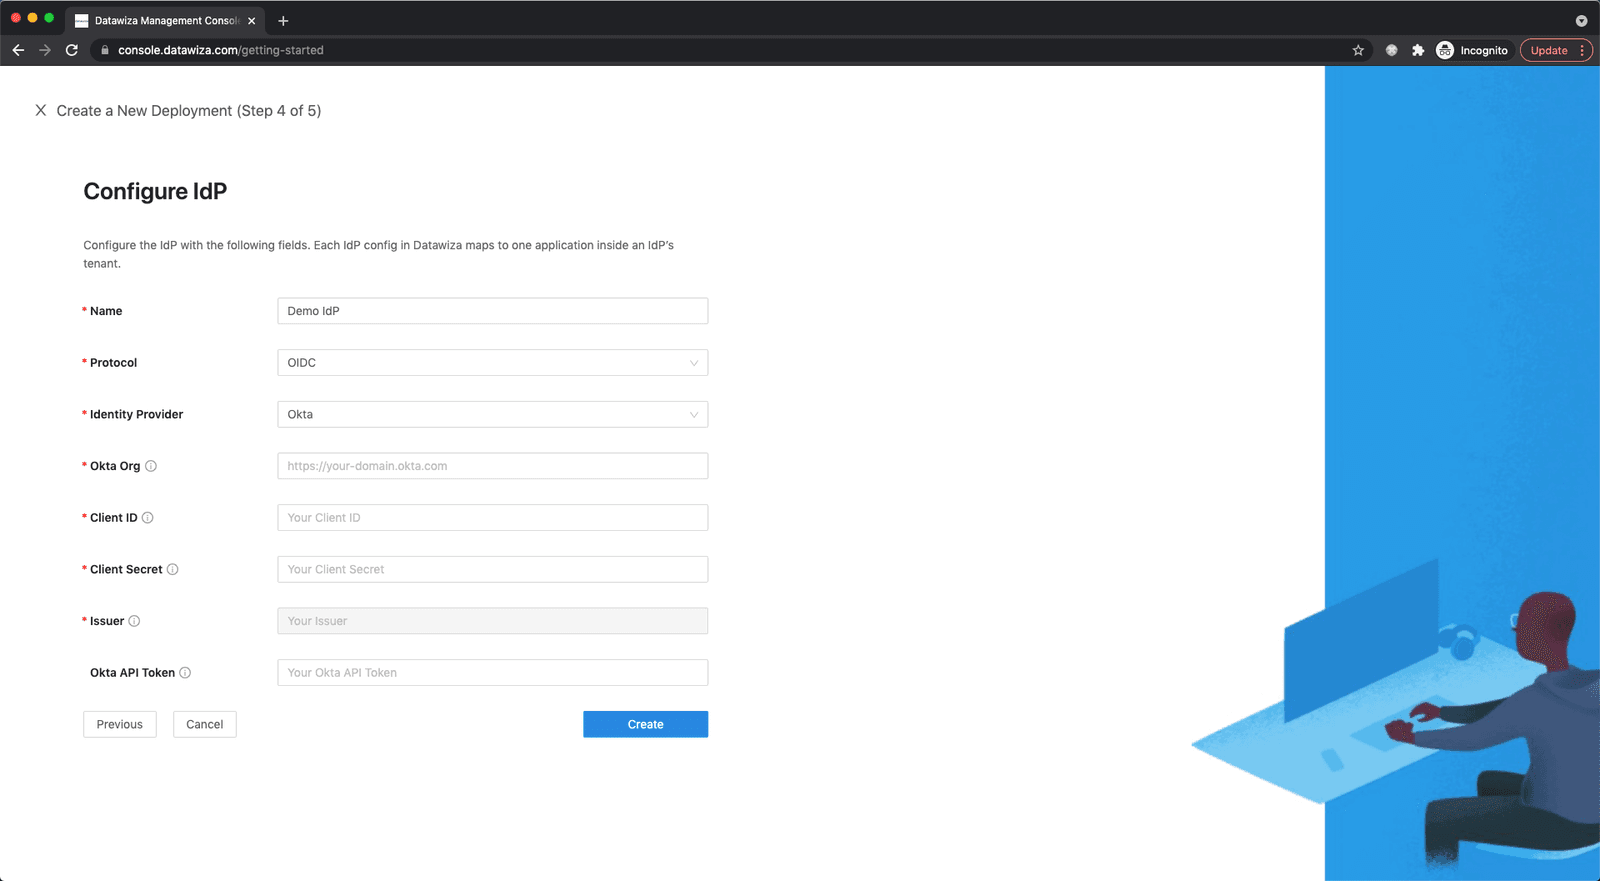
- Okta
Populate the fields of the form with the keys/values obtained from IdP Configuration Guide: Okta.
Note that theOkta API Tokenis optional. It can be used to get more info about the user. You can see here for more details.
- PingOne
Populate the fields of the form with the keys/values obtained from IdP Configuration Guide: PingOne.
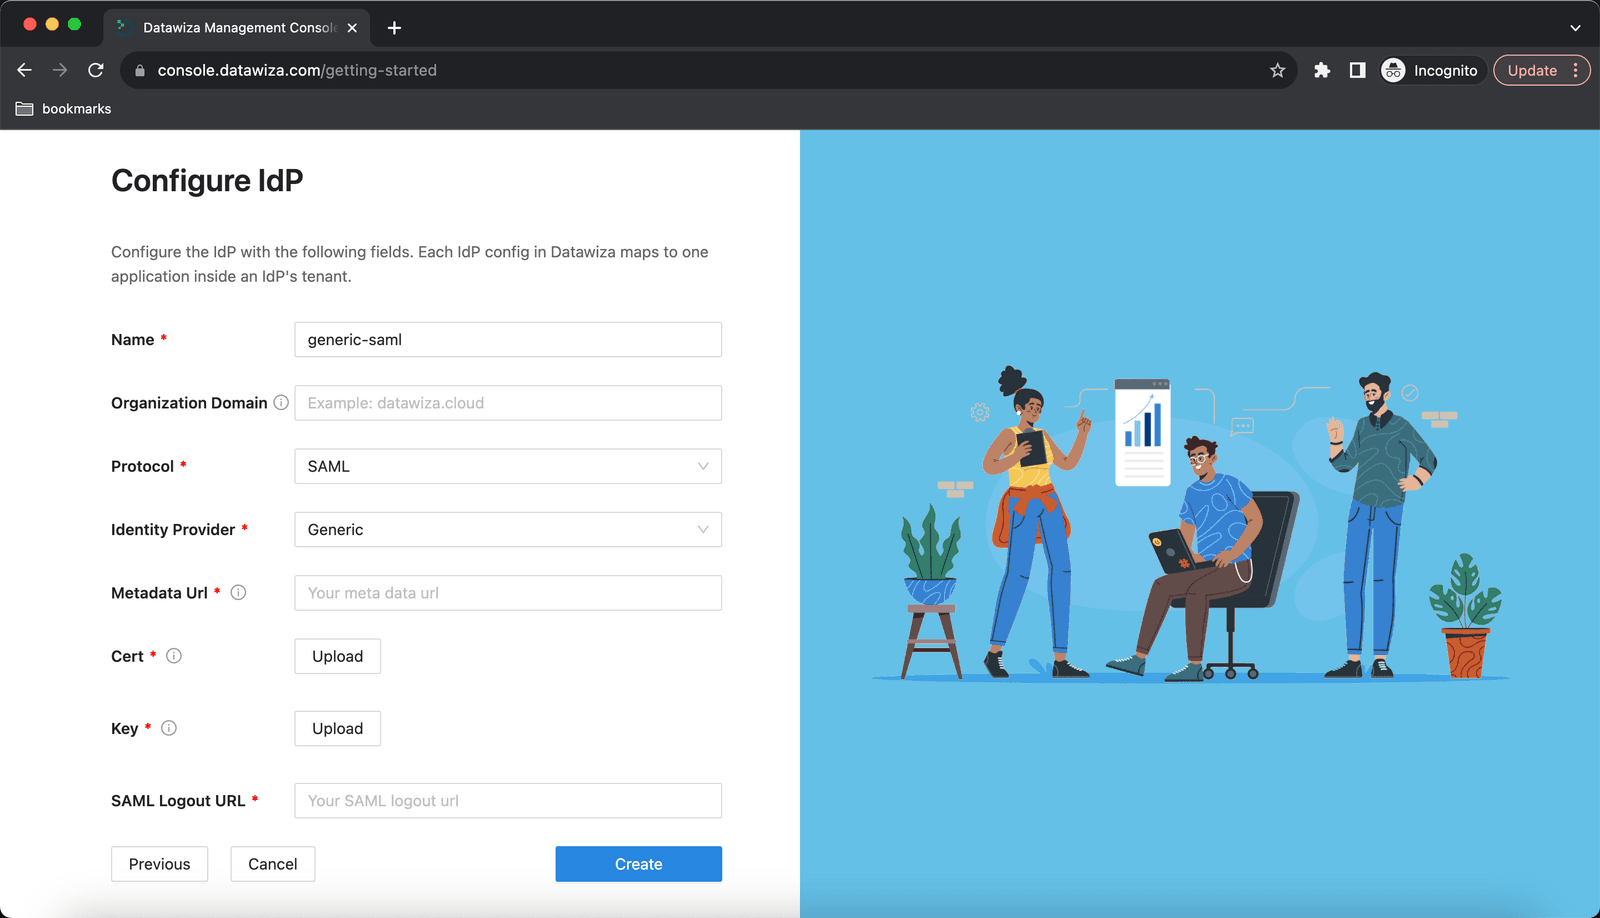
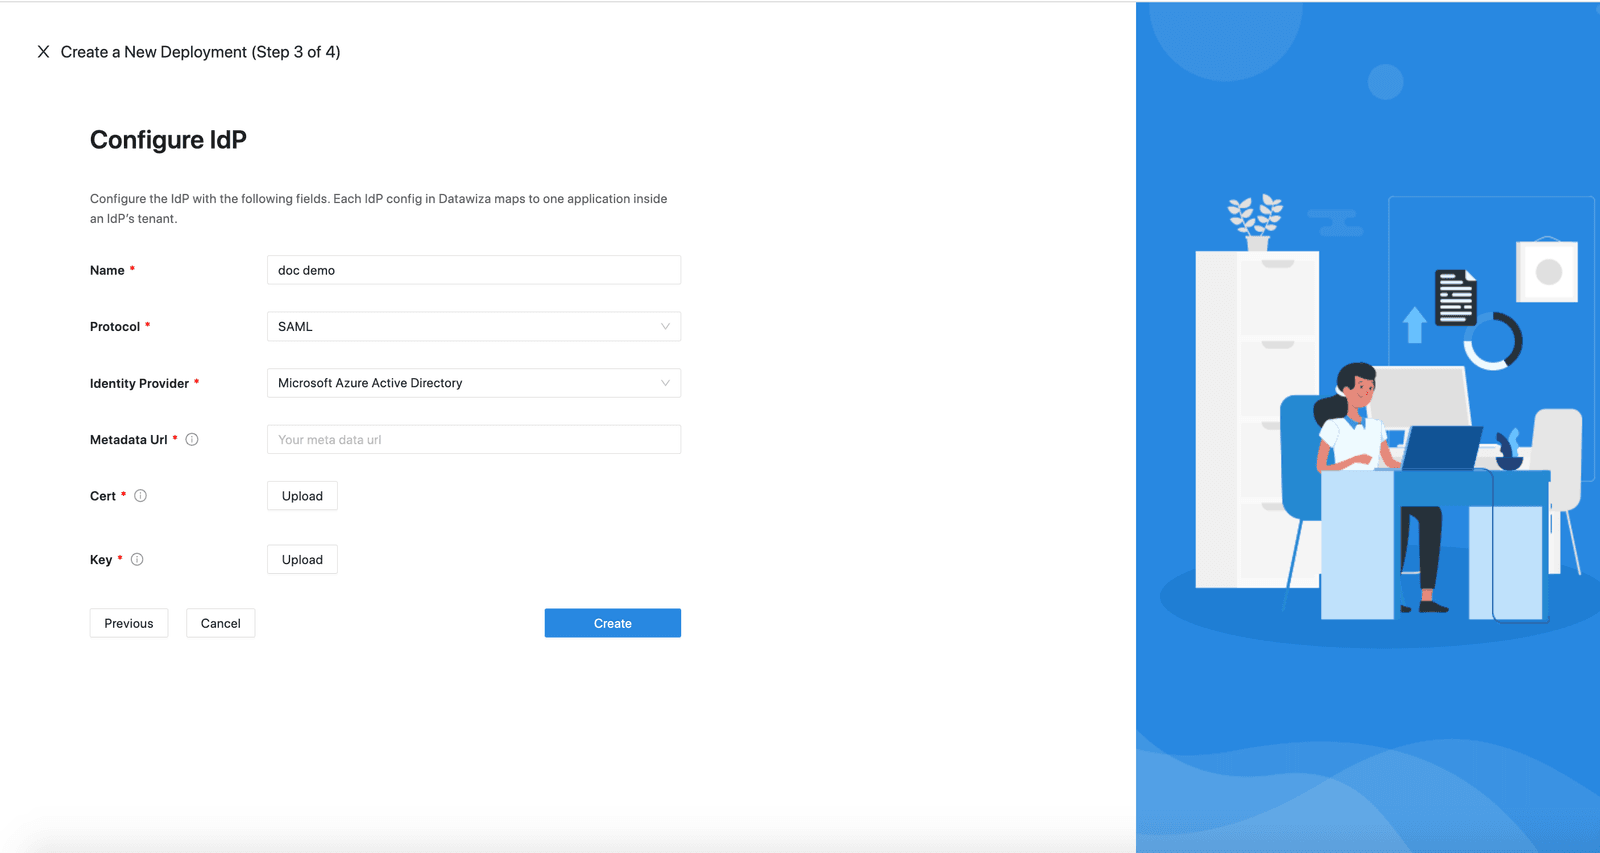
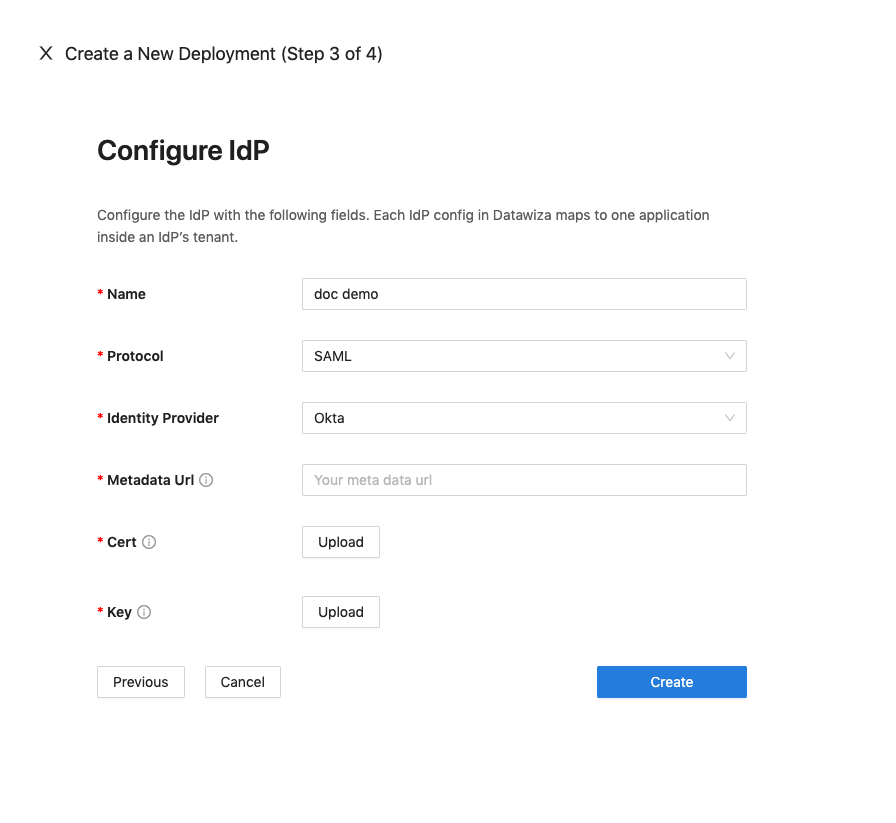
For SAML:
- Generic SAML
Populate the fields of the form with the keys/values obtained from your IdP.
- Microsoft Entra ID (Azure Active Directory (AD))
Populate the fields of the form with the keys/values obtained from IdP Configuration Guide: Microsoft Entra ID (Azure AD) SAML.
- Okta
Populate the fields of the form with the keys/values obtained from IdP Configuration Guide: Okta.
For OAUTH:
- Github
Populate the fields of the form with the keys/values obtained from IdP Configuration Guide: Github.
Populate the fields of the form with the keys/values obtained from IdP Configuration Guide: Twitter.

Authorizer Configuration
If you select API as your Platform, you need to Configure Authorizer:
We support two types of API authorization: Basic Auth and JWT
Basic Auth
For Basic Auth, we support Okta as IdP: 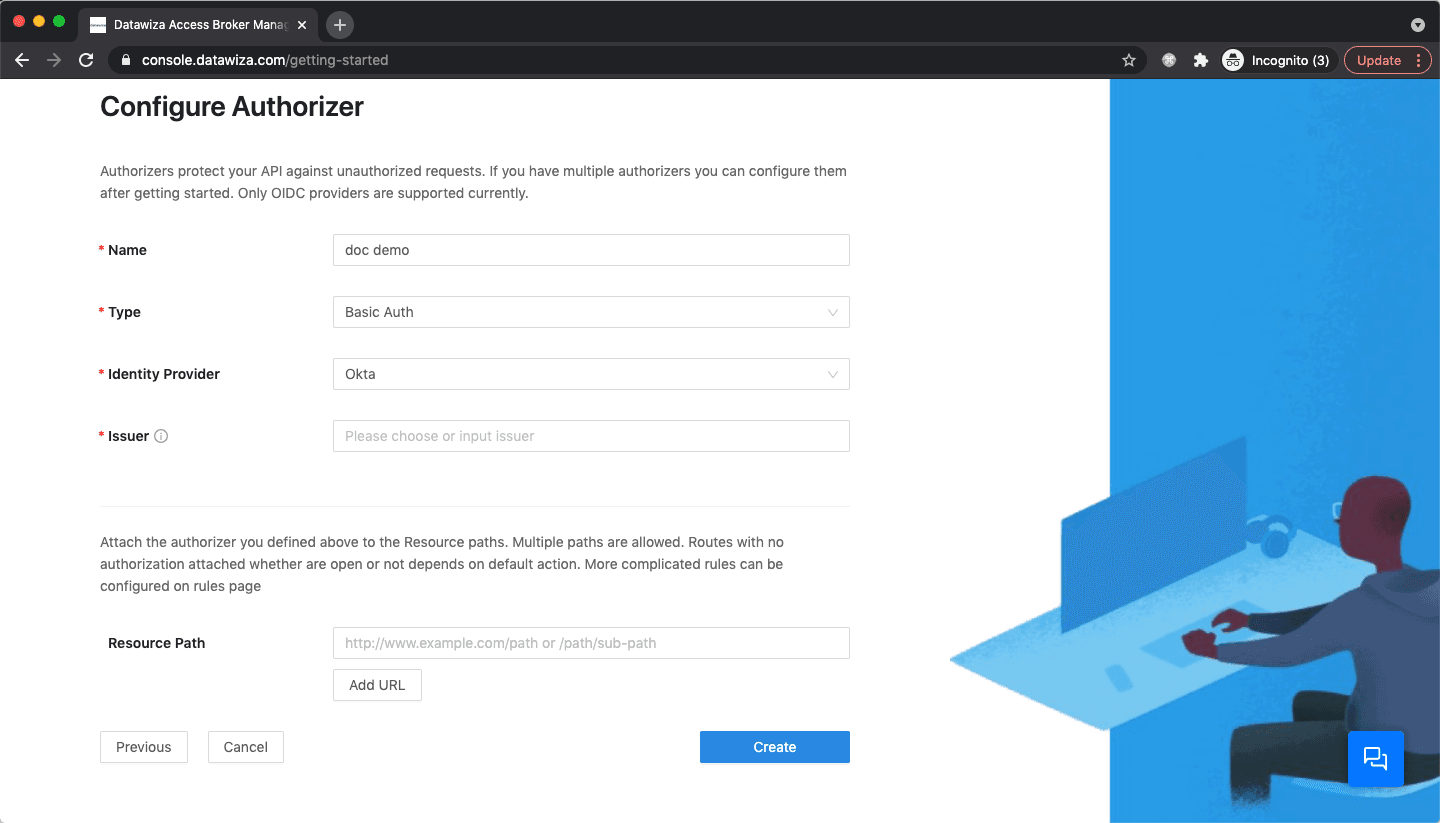
JWT
For JWT, we support Auth0, Keycloak, Microsoft Entra ID (Azure AD), Microsoft Azure AD B2C, and Okta: 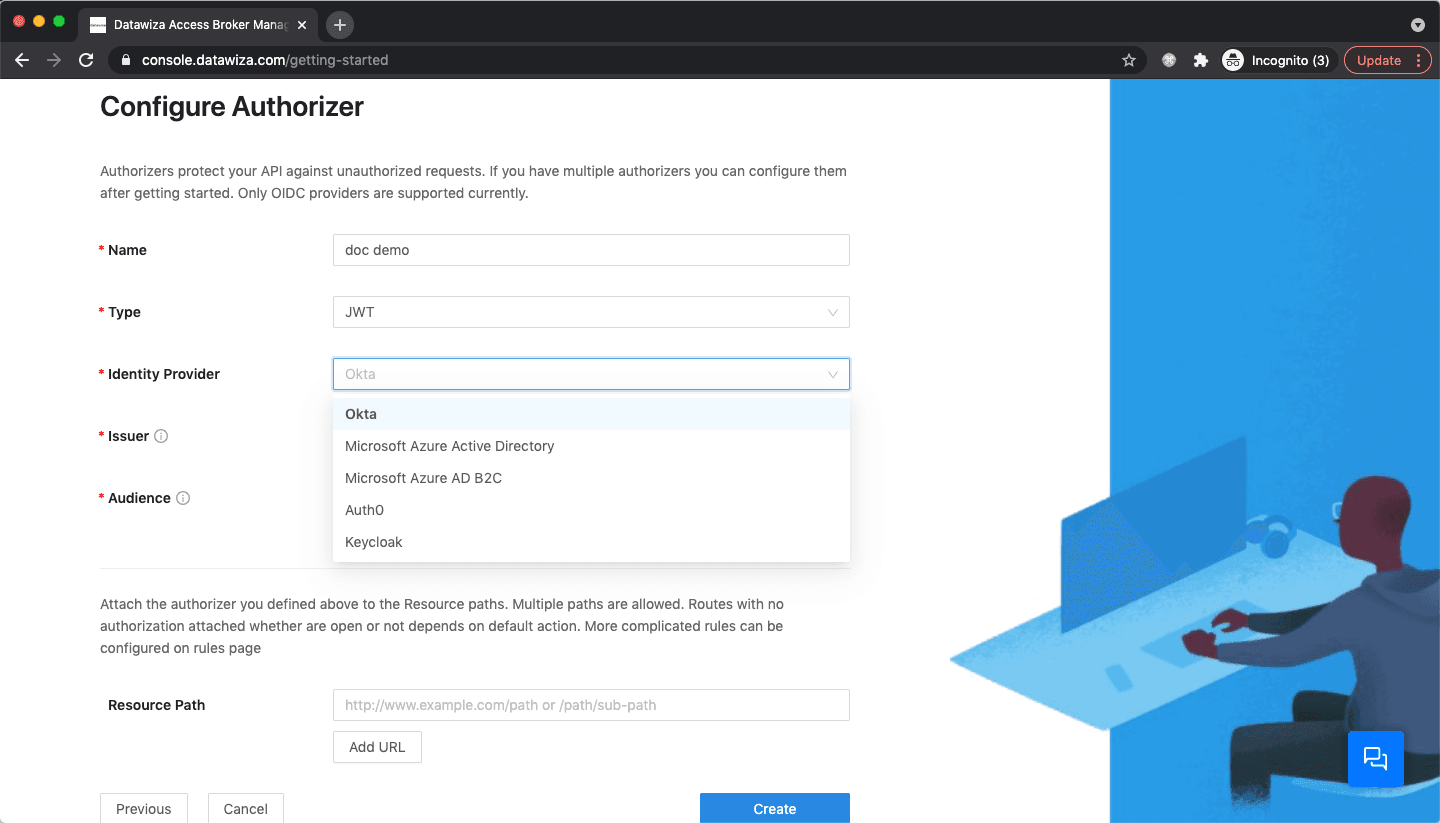
Note Down Docker Compose YAML file
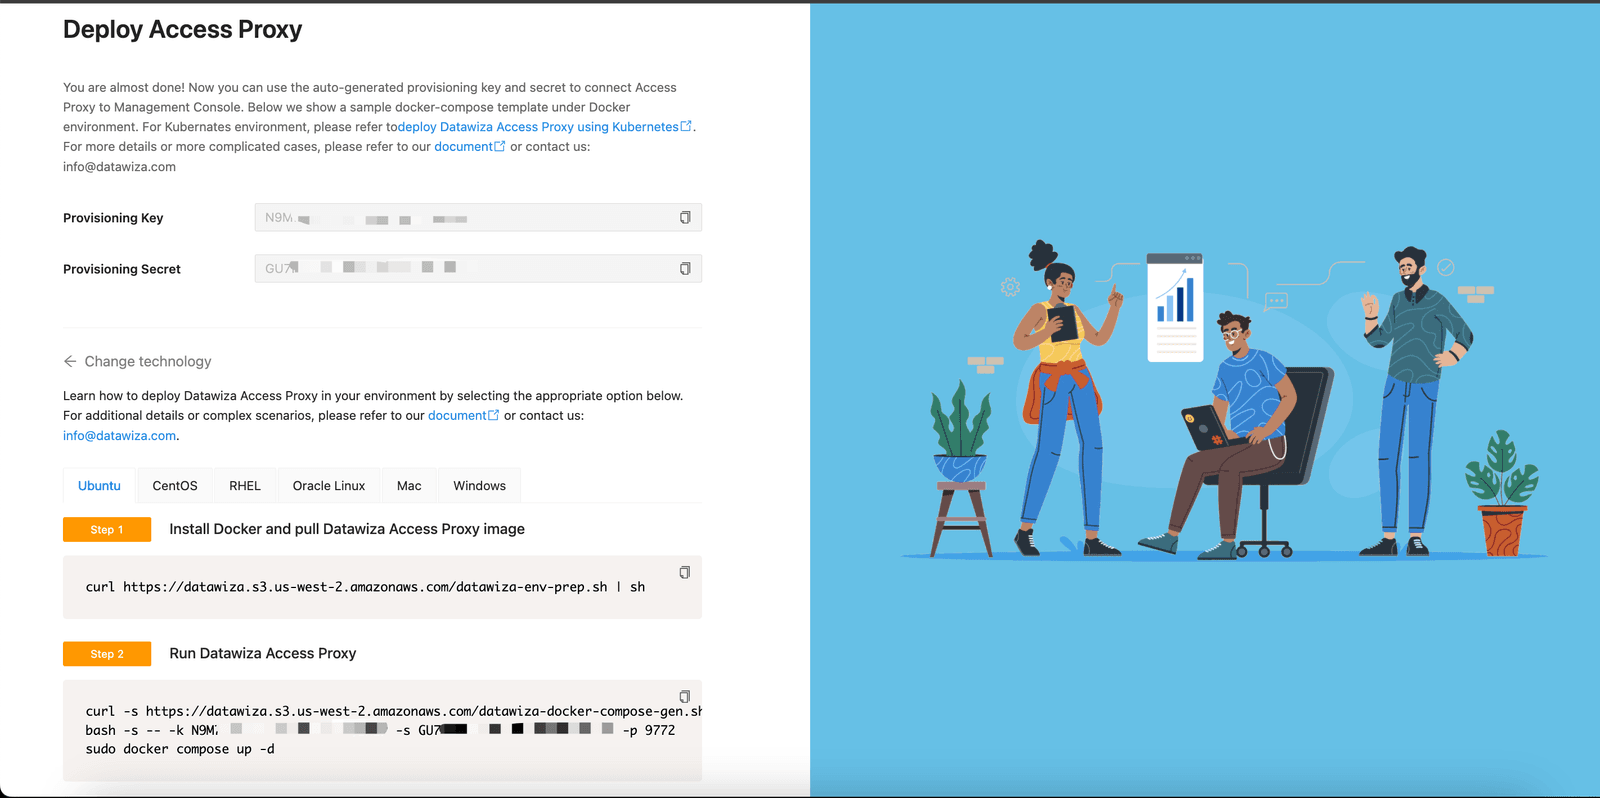
After clicking the Create button, if the system passes configuration validation, you will see the screen similar to the one below. Step 1 is used to install Docker and pull Datawiza Access Proxy image. Step 2 will create a docker-compose.yaml file with the provisioning key, secret, and listen port, then run the DAP container. Please note that this file is specially for the Docker environment. If you are looking for Kubernetes-specific instructions, visit Deploy DAP with Kubernetes.
What is Next
Great! Now that you have learned how to create a deployment, configure an application, and set up the IdP on the Datawiza Cloud Management Console (DCMC), as well as obtained the Docker Compose file with the PROVISIONING_KEY and PROVISIONING_SECRET for Datawiza Access Proxy, you can proceed to deploy Datawiza Access Proxy. Please follow the instructions provided in the Deploy Datawiza Access Proxy guide to continue.