Auth0
About 2 min
Auth0 Configuration
This session shows how to register a Web application on the Auth0 manage console. When registering the application, we are getting the following three values that are needed for later configuration in Datawiza Cloud Management Console (DCMC):
- Domain
- Client Id
- Client Secret
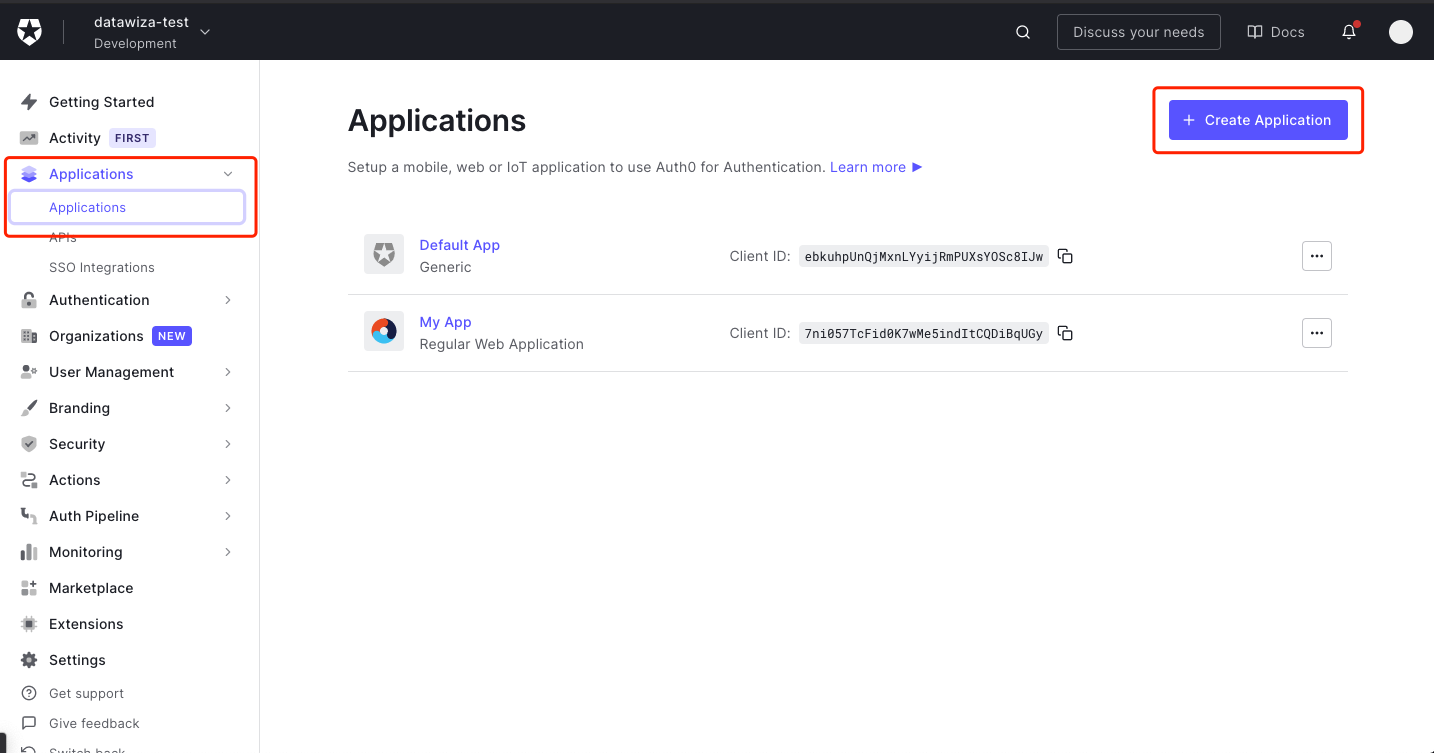
Add new application
Create a new application. When performing this step, make sure to login to your account on Auth0. Visit the link here to create a developer account.
Enter the application name and choose
Regular Web Applications, then clickCREATE.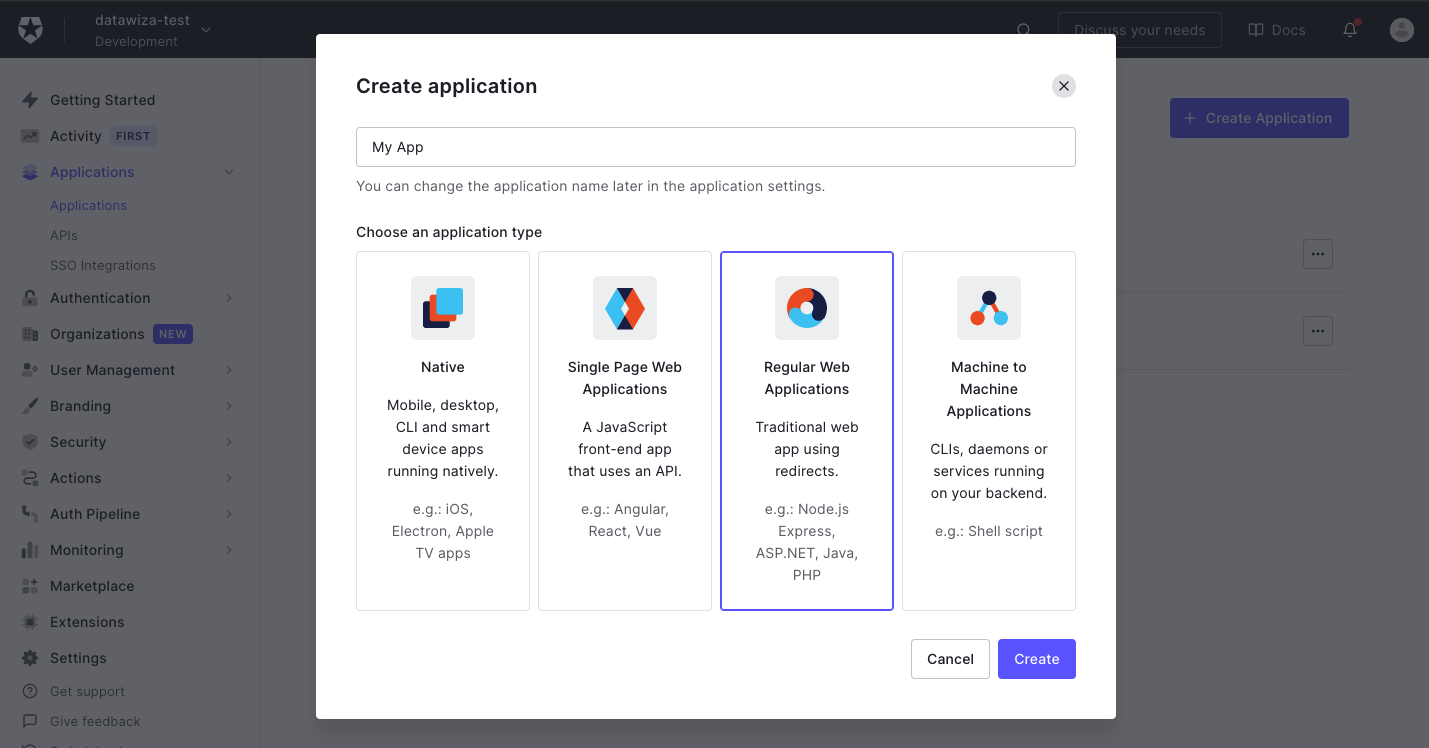
Create your Auth0 application
- Select
settingstab and fill out the form. Follow the steps below:
Allowed Callback URLs: e.g.,http://localhost:9772/datawiza/authorization-code/callbackAllowed Logout URLs: e.g.,http://localhost:9772- Others remain default settings
- Then click
SAVE CHANGES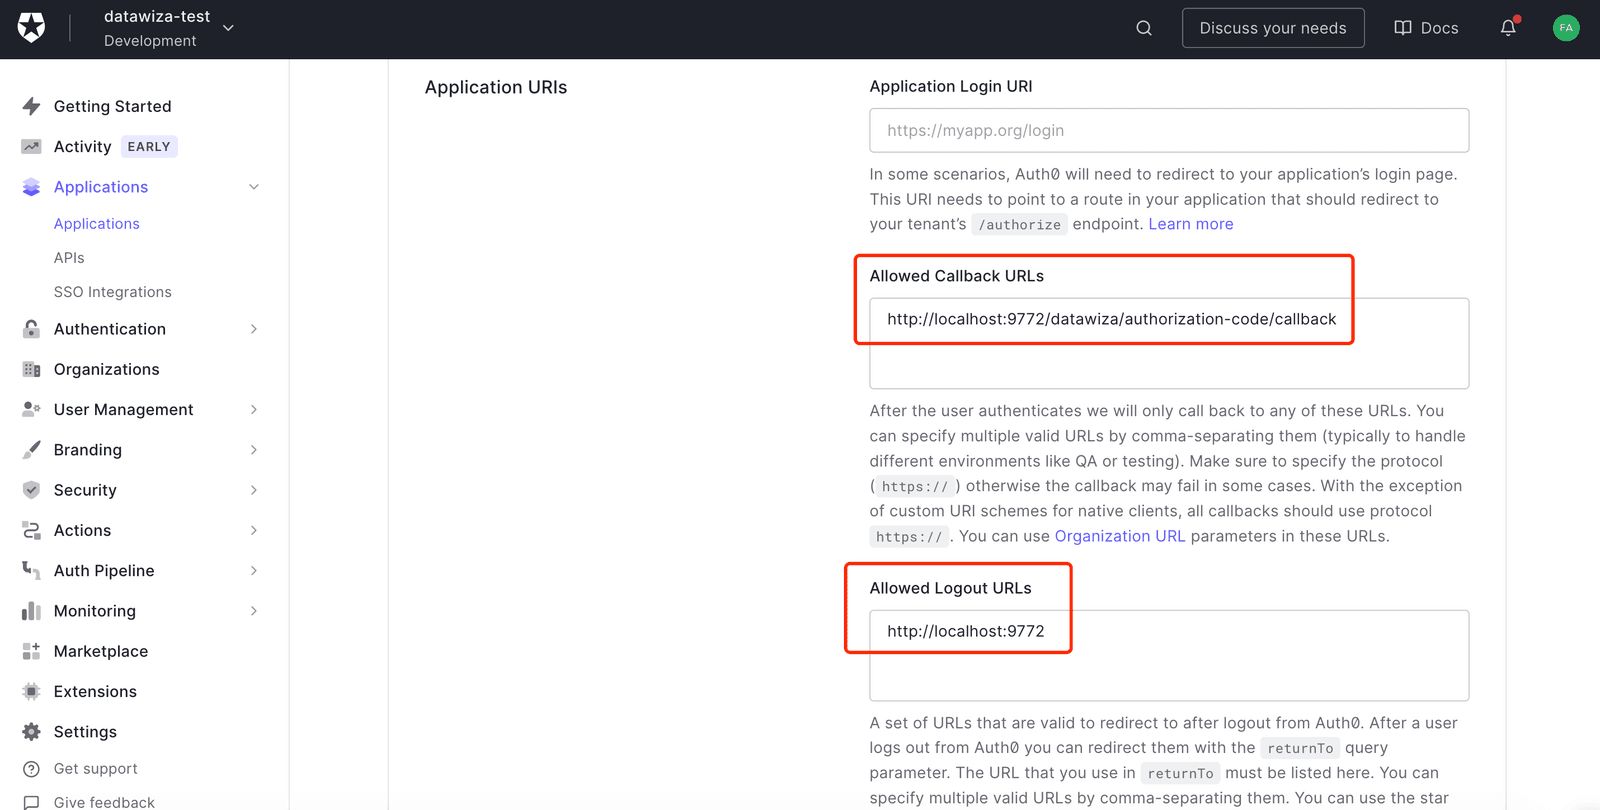
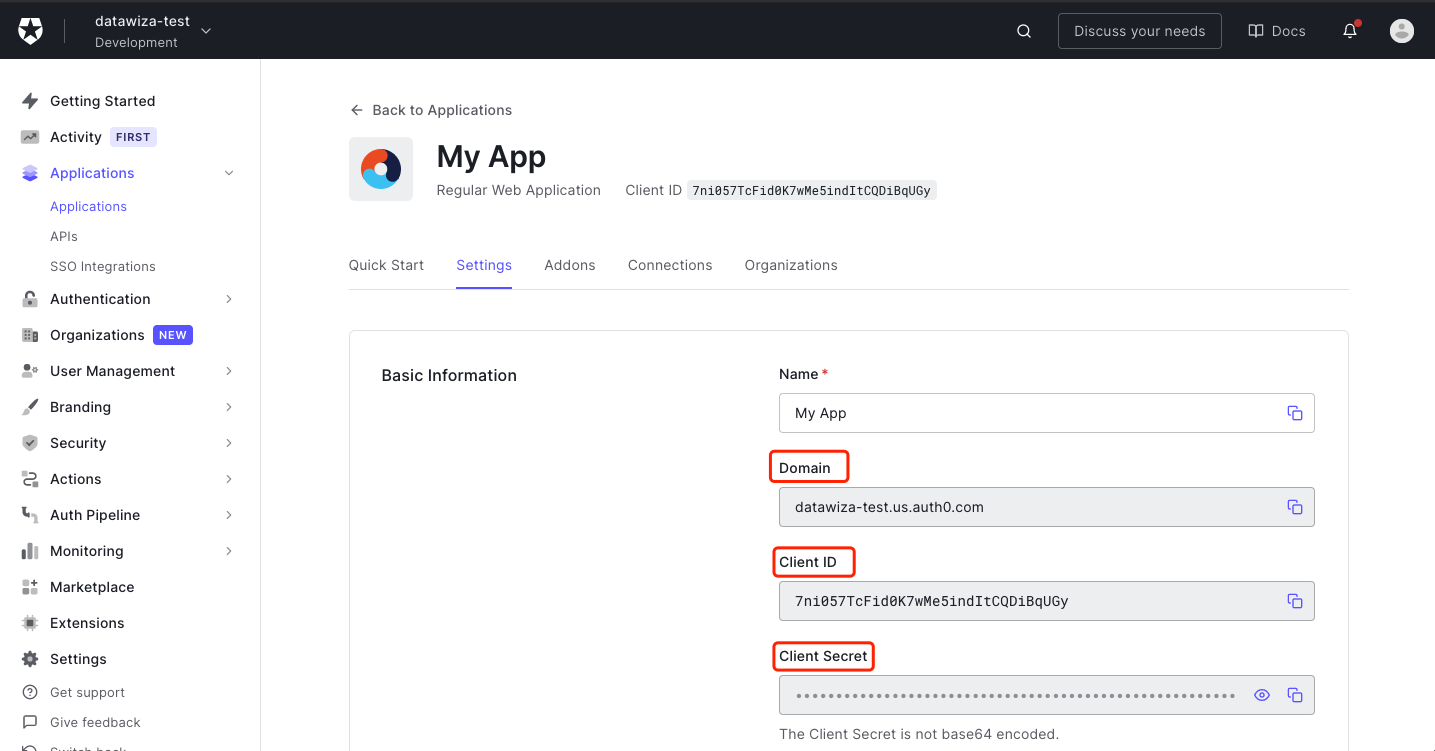
Auth0 Domain, Client ID and Client Secret
- On the same page, make sure to save a copy of Domain, Client ID, and Client secret. You will need these three values later when establishing the connection.
Authorized API for application (Optional)
- Choose
APIsand there will be a default API used to get user info. Please be aware of the API Audience. Auth0 API Audience is used by the Datawiza Access Proxy (DAP) to get user information, especially for those customized user attributes.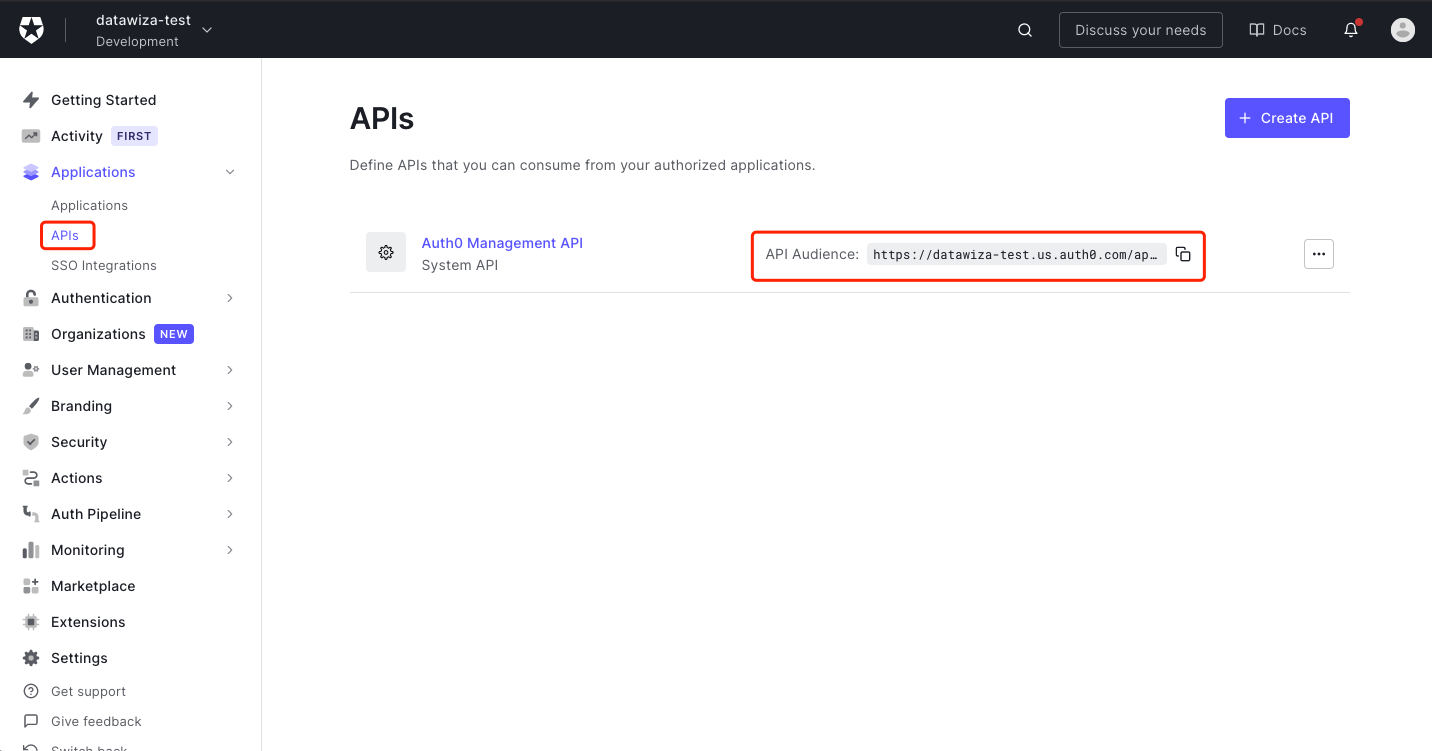 Select
 Machine to Machine Applicationstab and authorize the application we created in Step 2.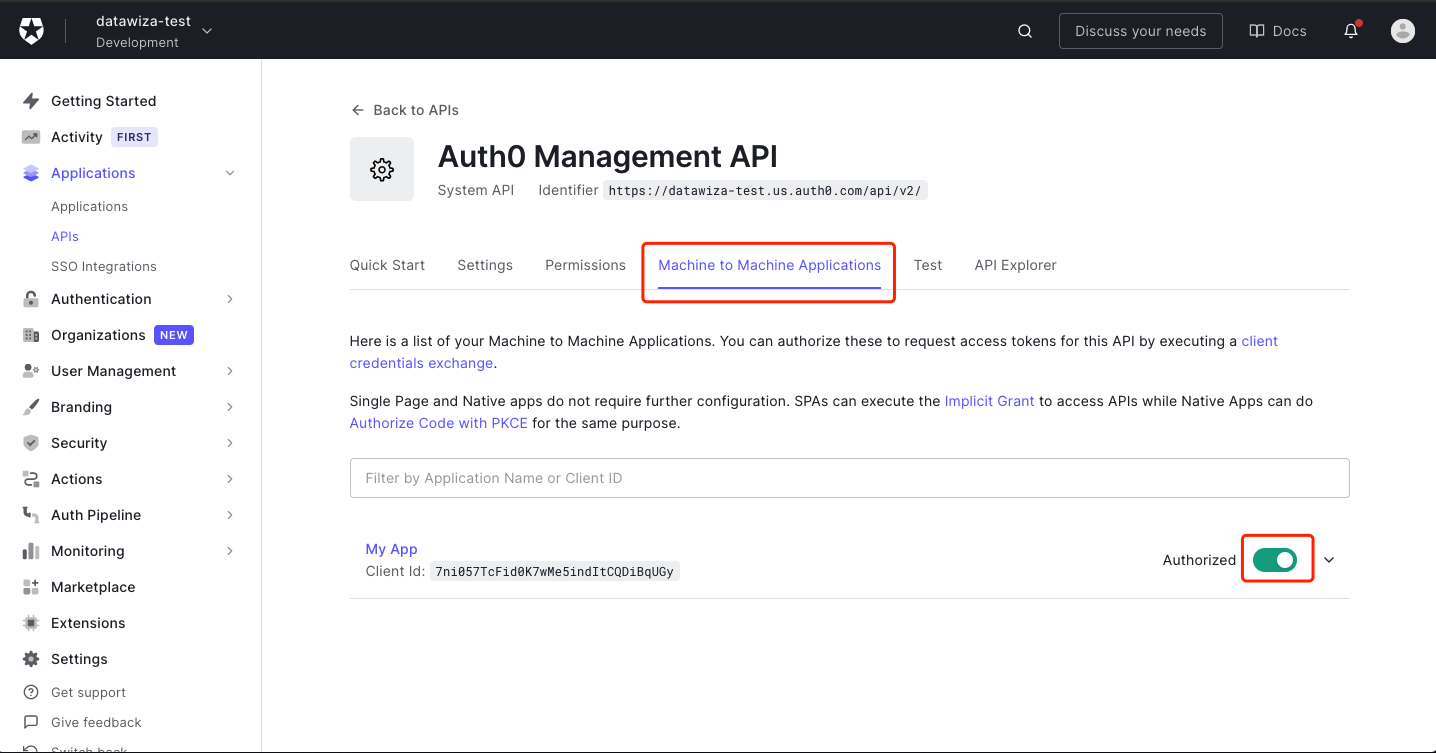
Configure the necessary permissions:
- To retrieve additional user information, enable the
read:userspermission.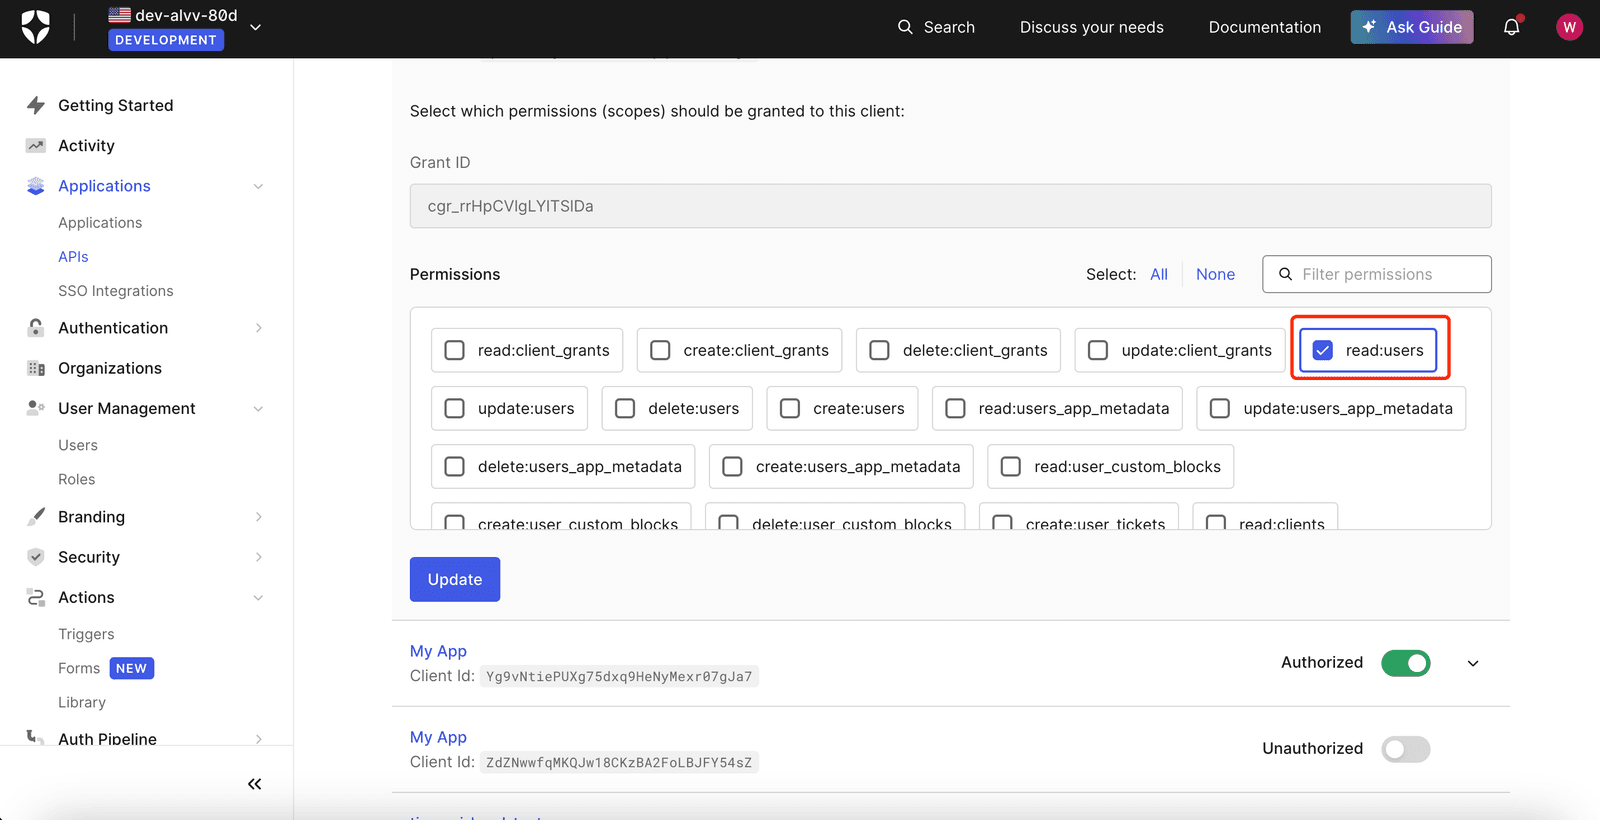
- If you need to access user roles, enable the
read:rolespermission.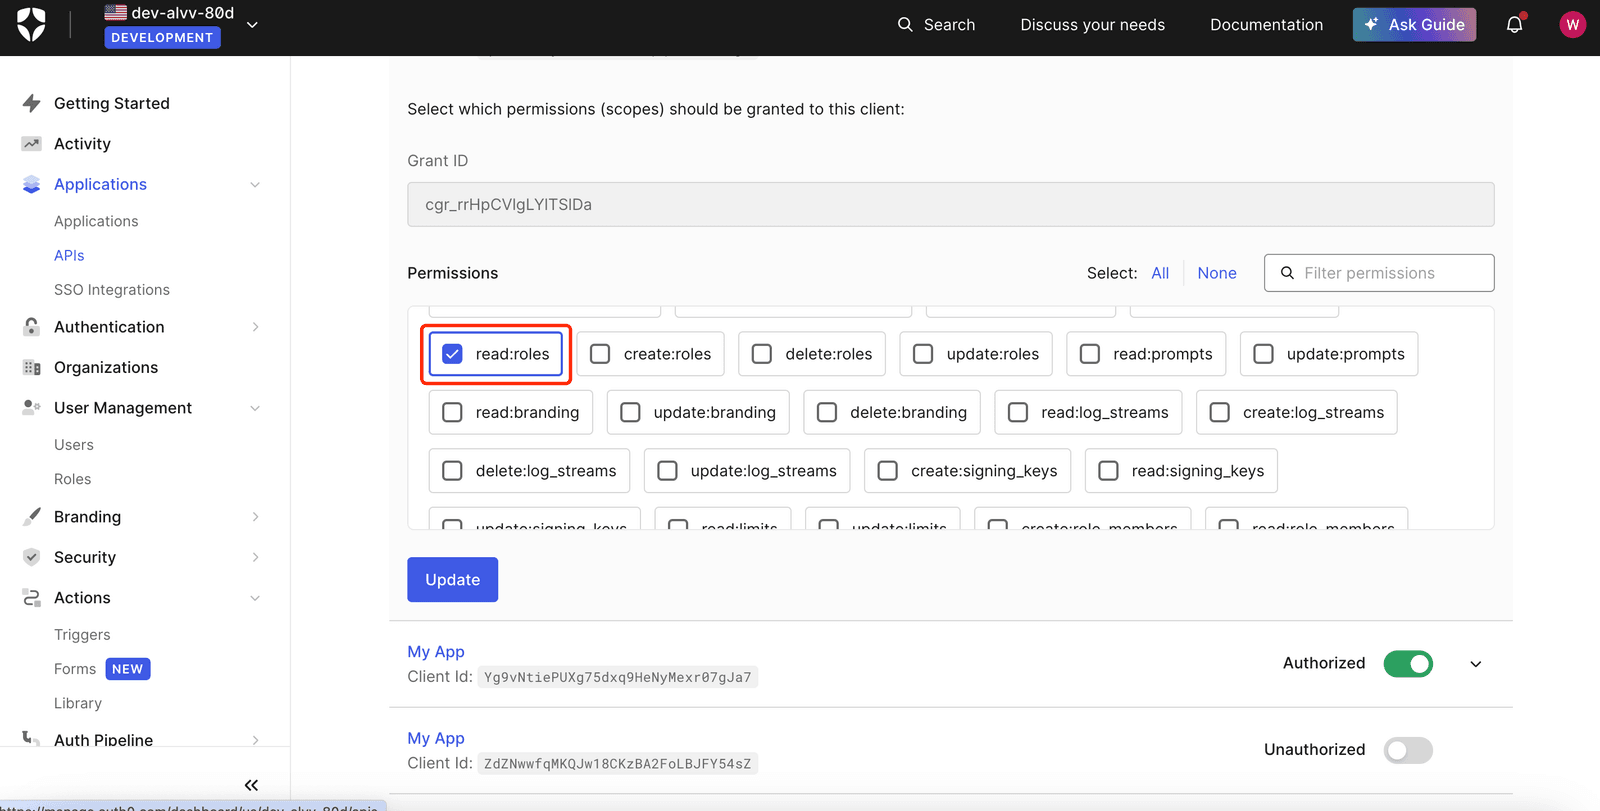
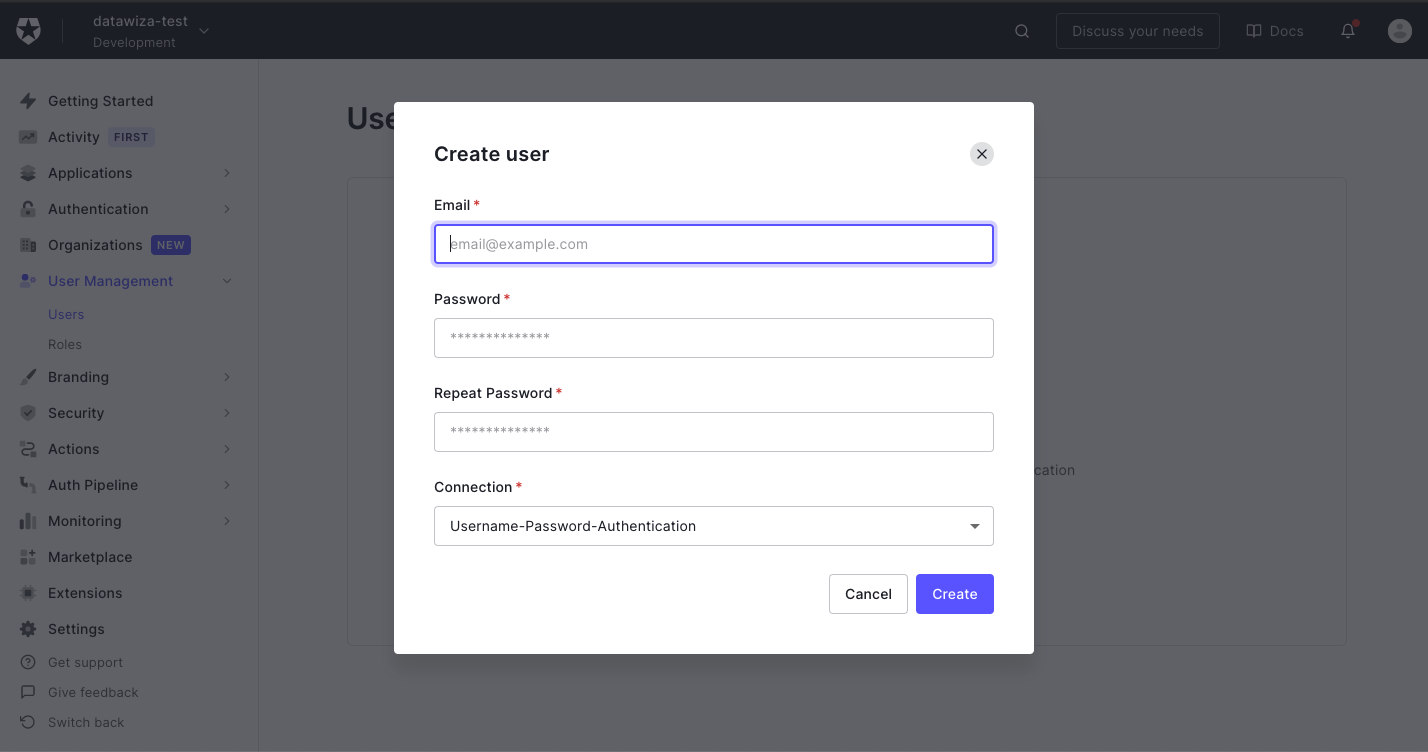
Create Users
- Choose
UsersunderUsers & Rolesand create a test user.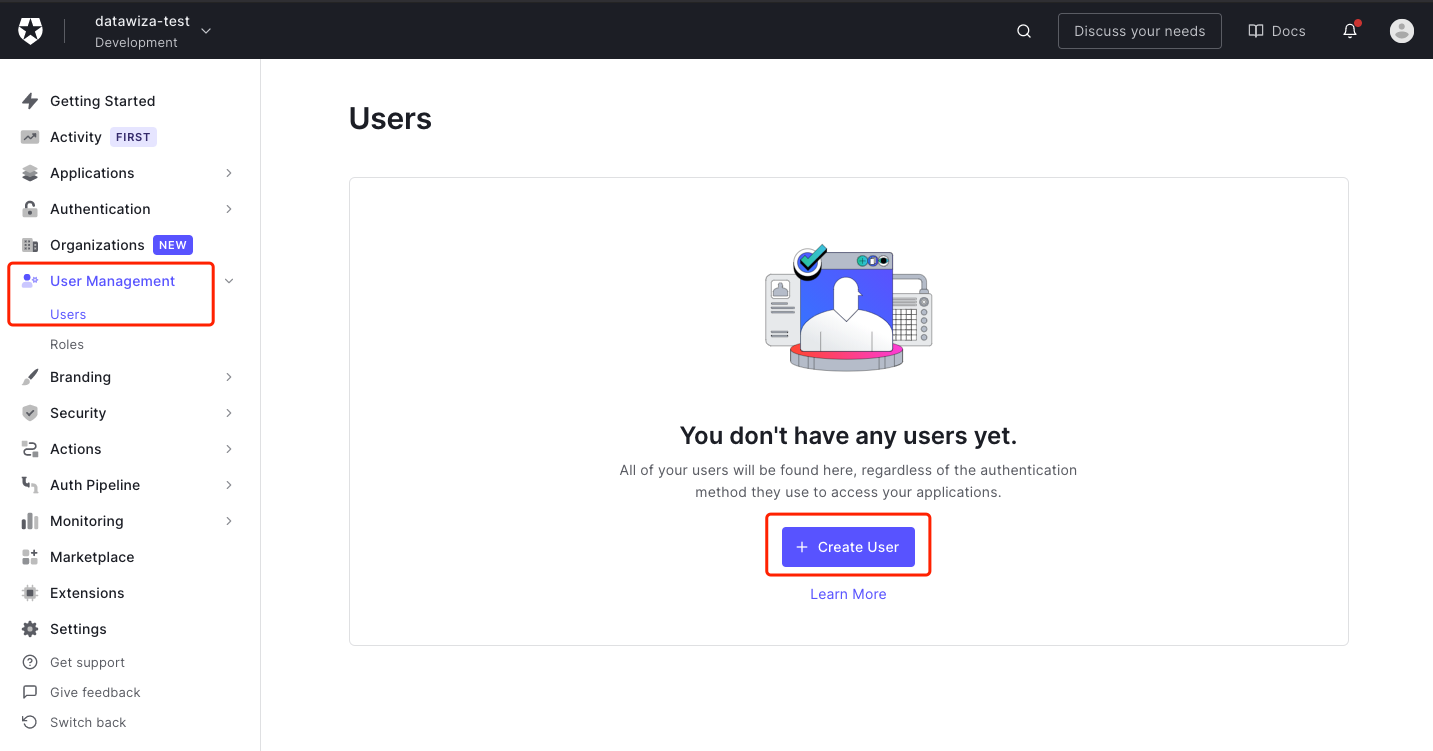
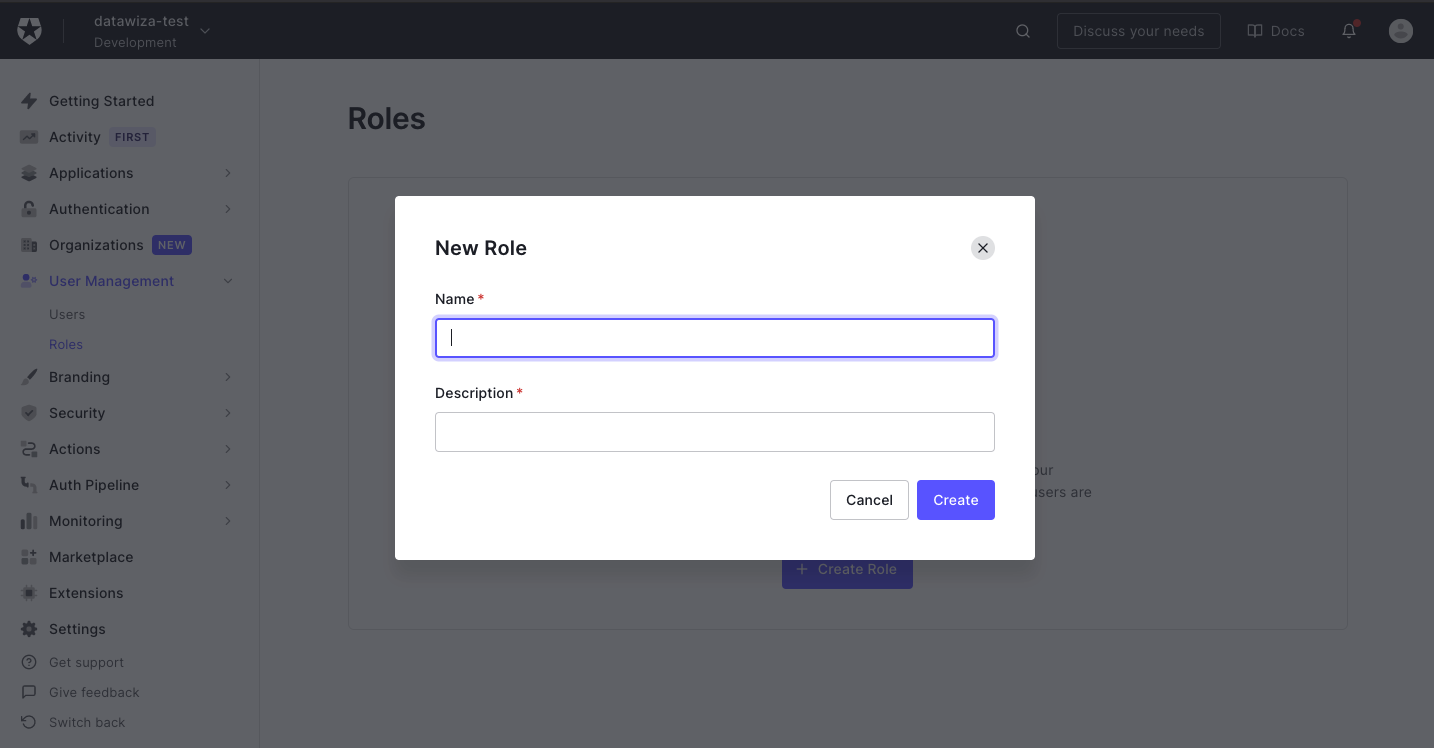
Create Roles (Optional)
1.Choose Roles and create a test role. 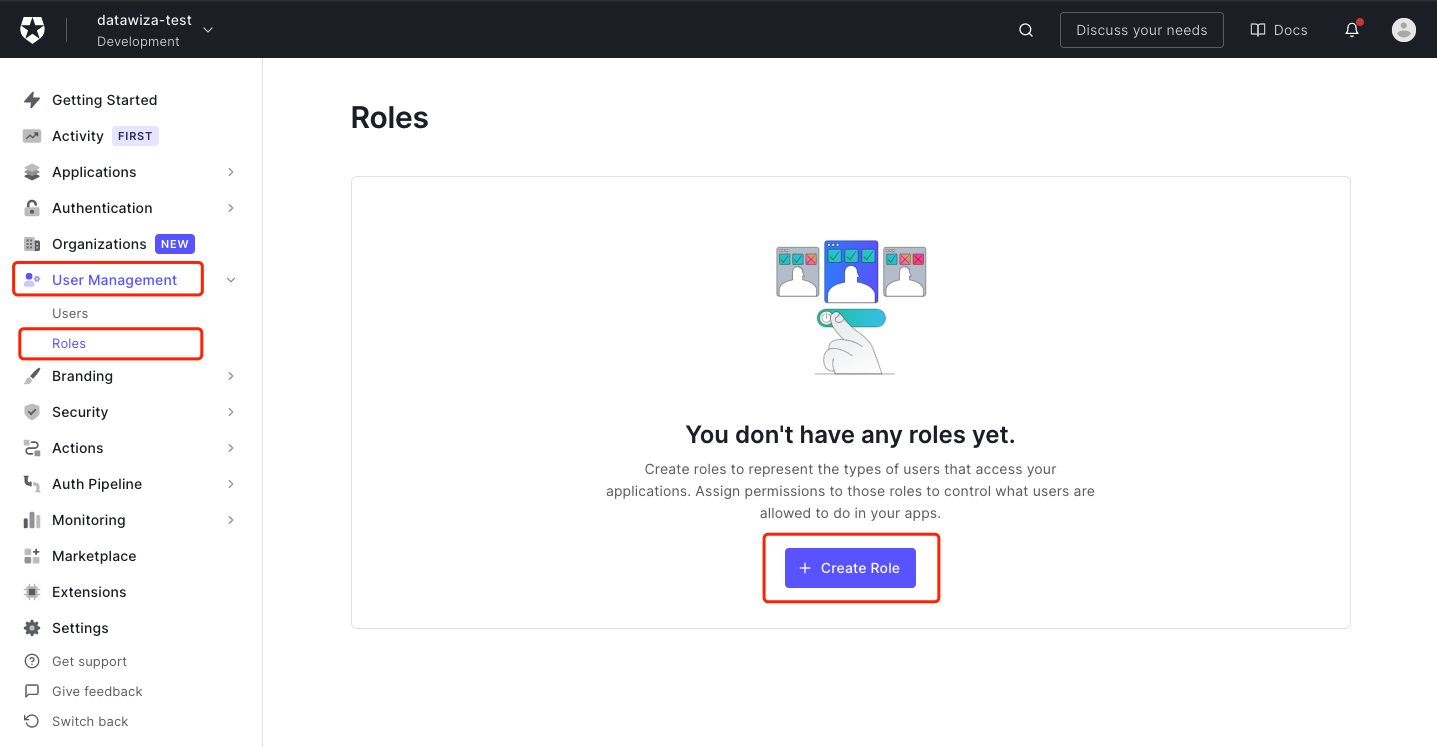
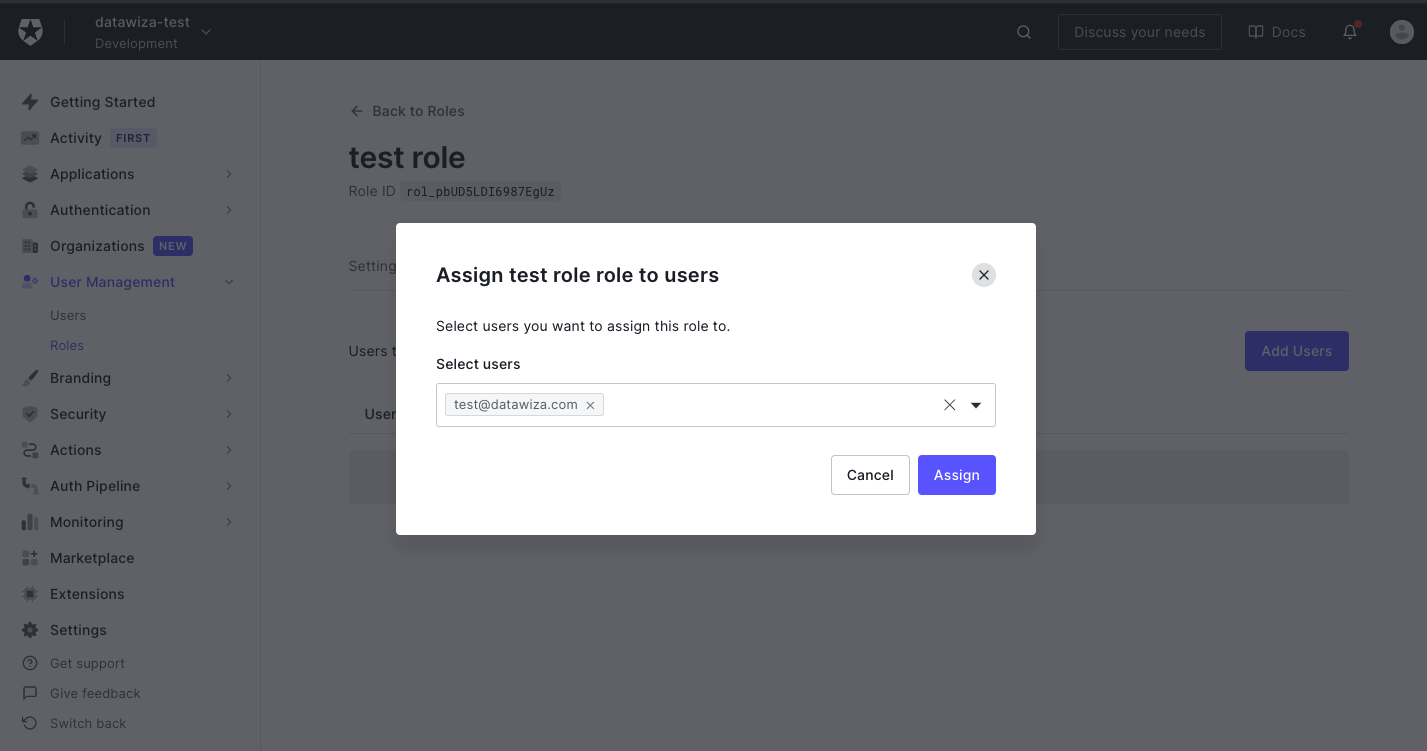
 Add user to the role.
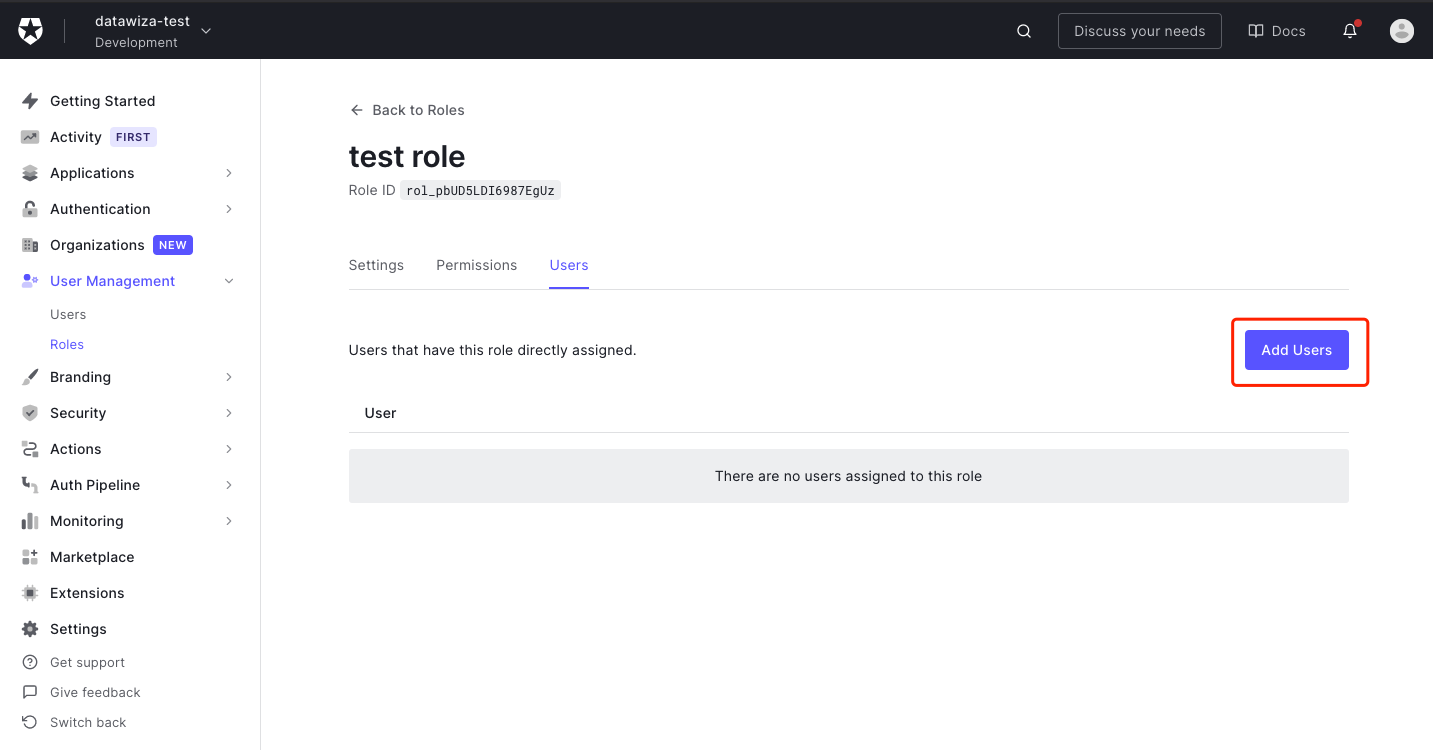
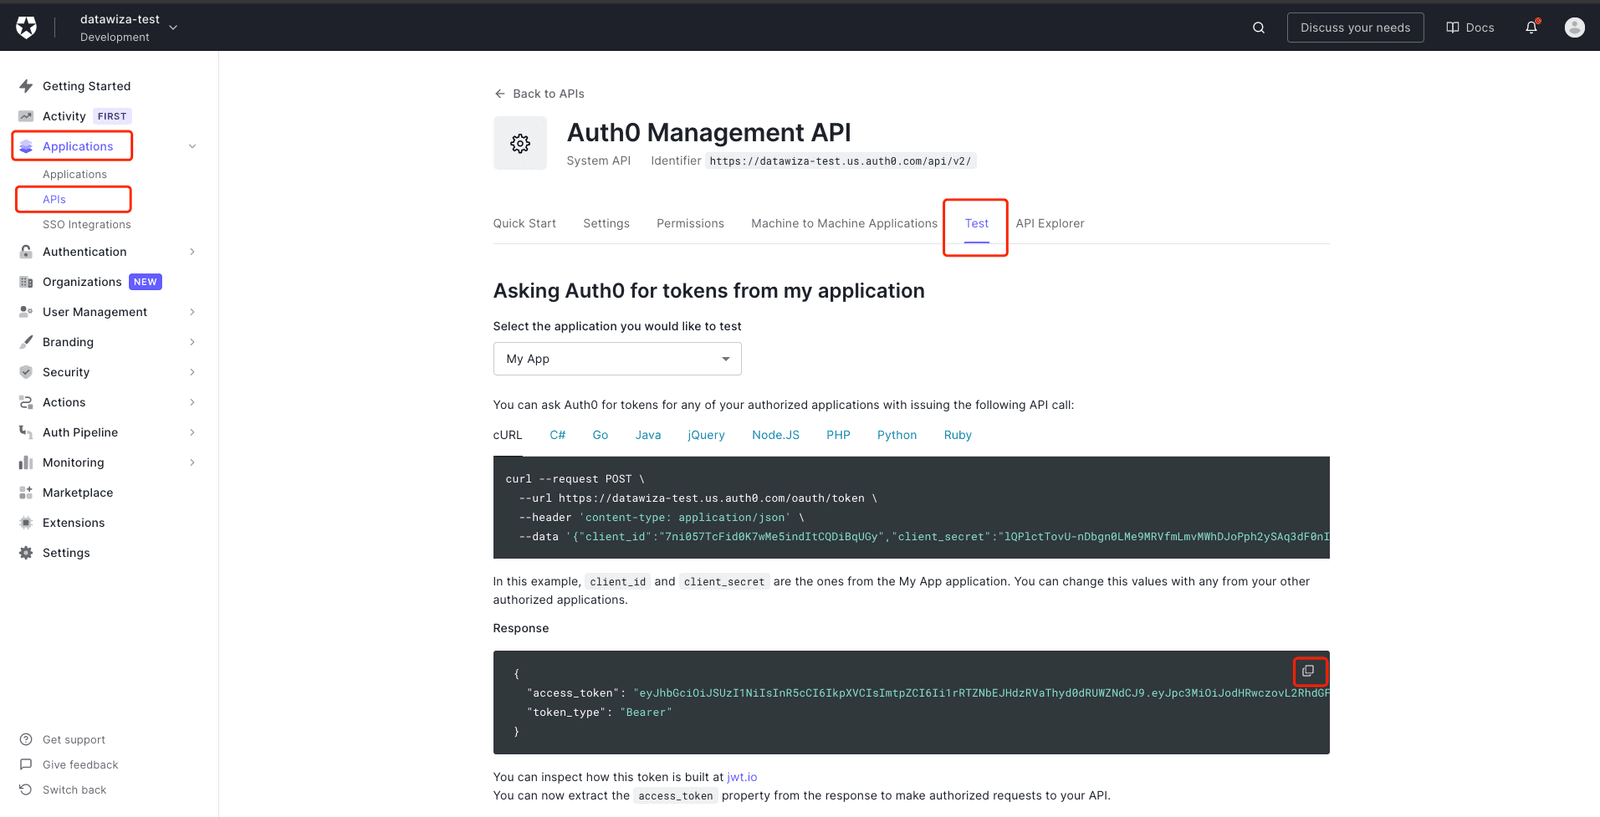
Update user info by API(Optional)
- Some user attributes cannot be updated by Auth0 manage console. We will use API to update user's family name and given name. Get the API token:
 Get the user id from
 Detailstab in Users page: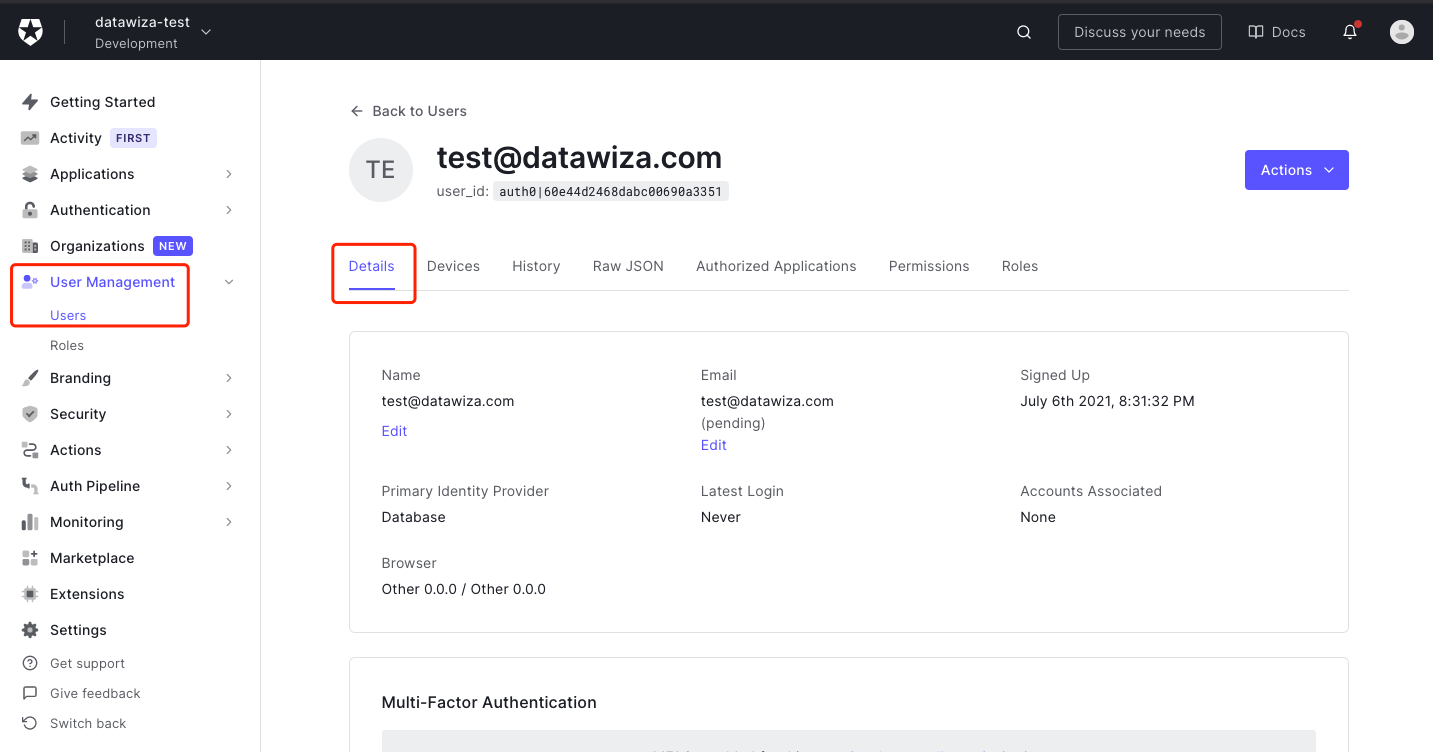 Scroll down:
 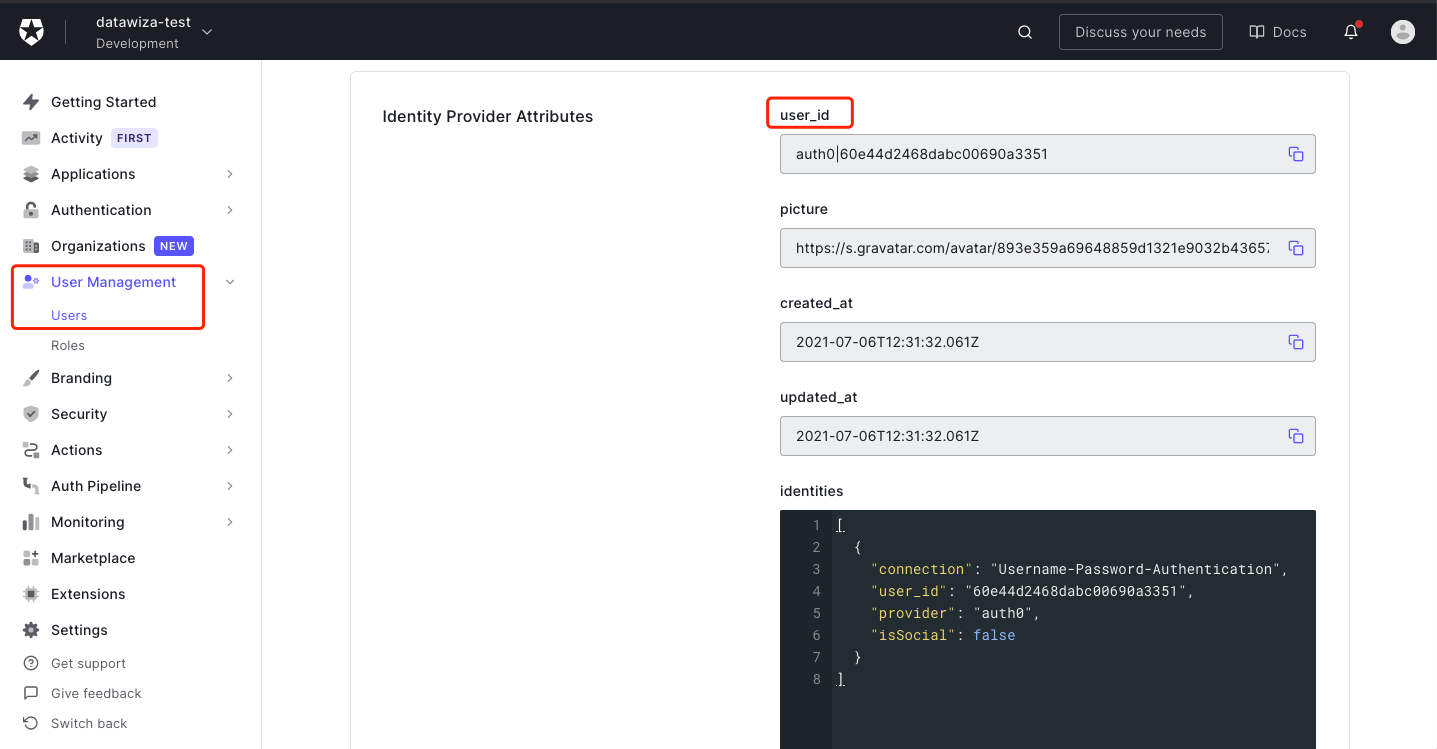 Update the user info by Auth0 management API. Set the
 API TOKEN, user id and body: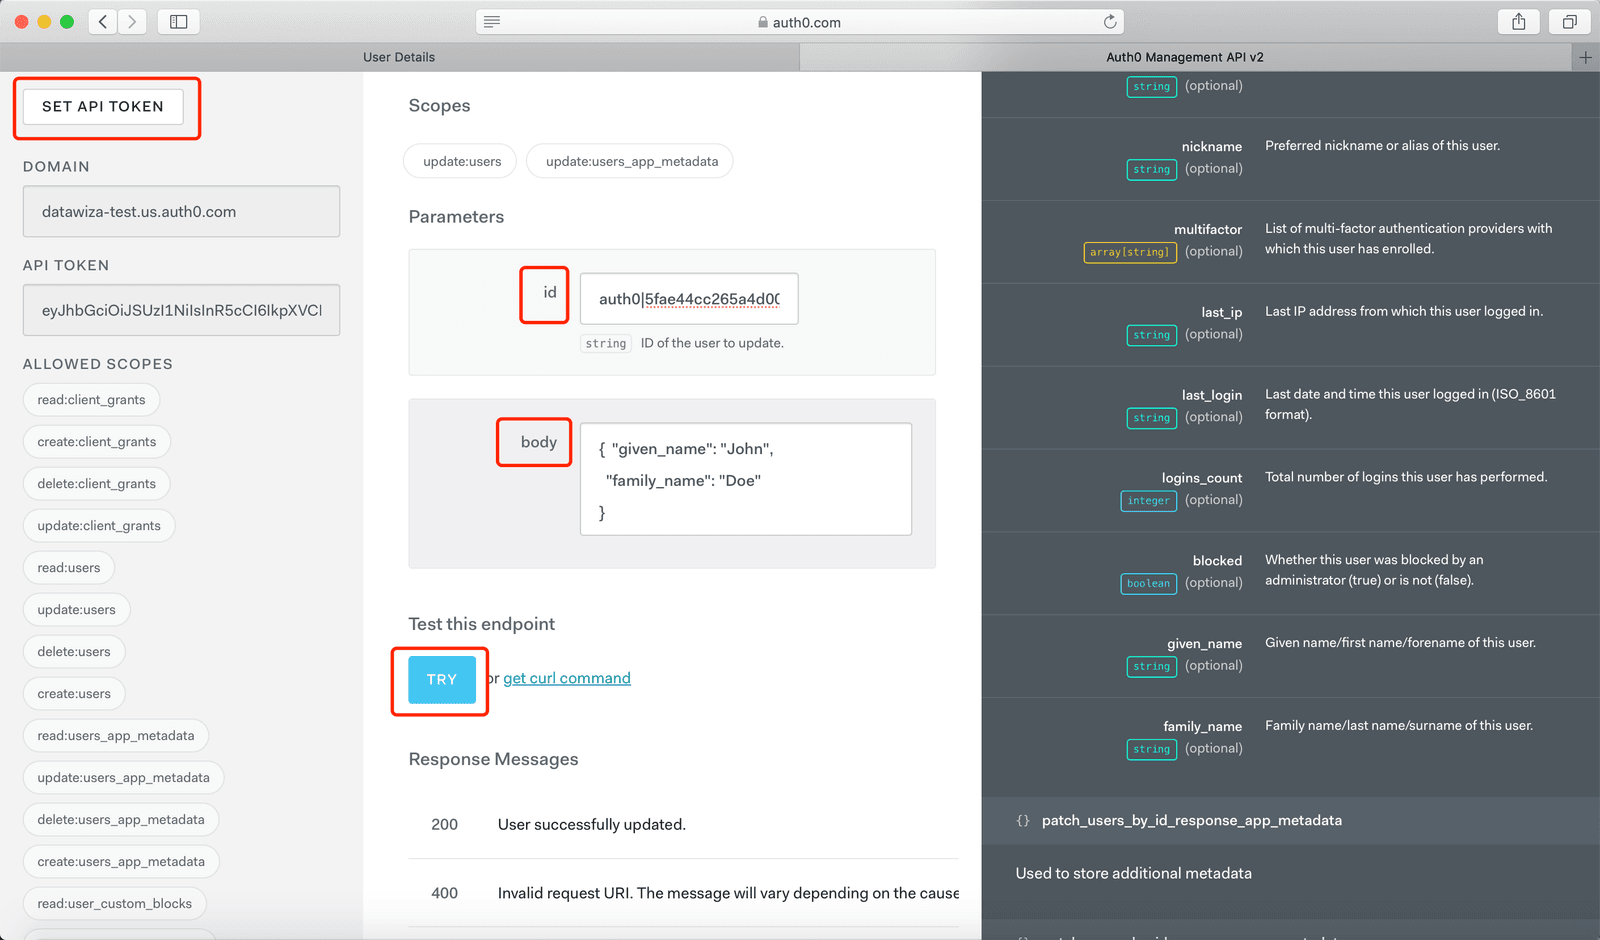 Click button
 TRYand check the response code, which should be 200: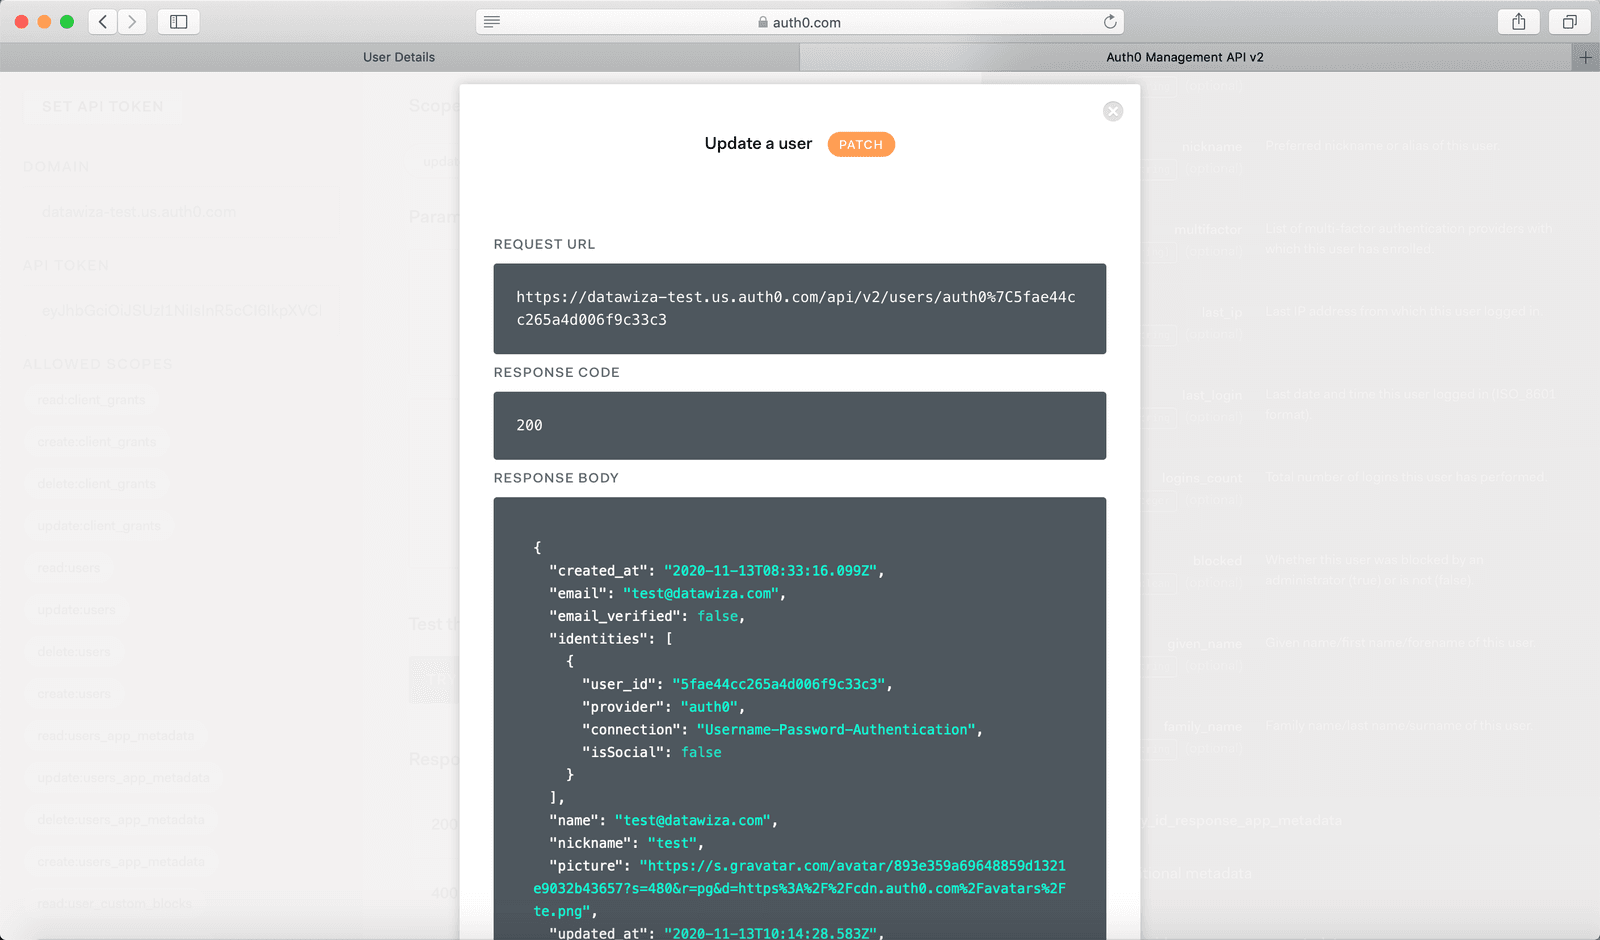
Summary
We have shown how to register a web application on Auth0. Please make sure to save the following three values for later setting in Datawiza Cloud Management Console.
- Domain
- Client Id
- Client Secret