Cognito
This session shows how to create an app client on the Cognito console. When registering the application, we are getting the following values that are needed for later configuration in Datawiza Cloud Management Console (DCMC):
- Client ID
- Client Secret
- Issuer
- Domain
Create a User Pool
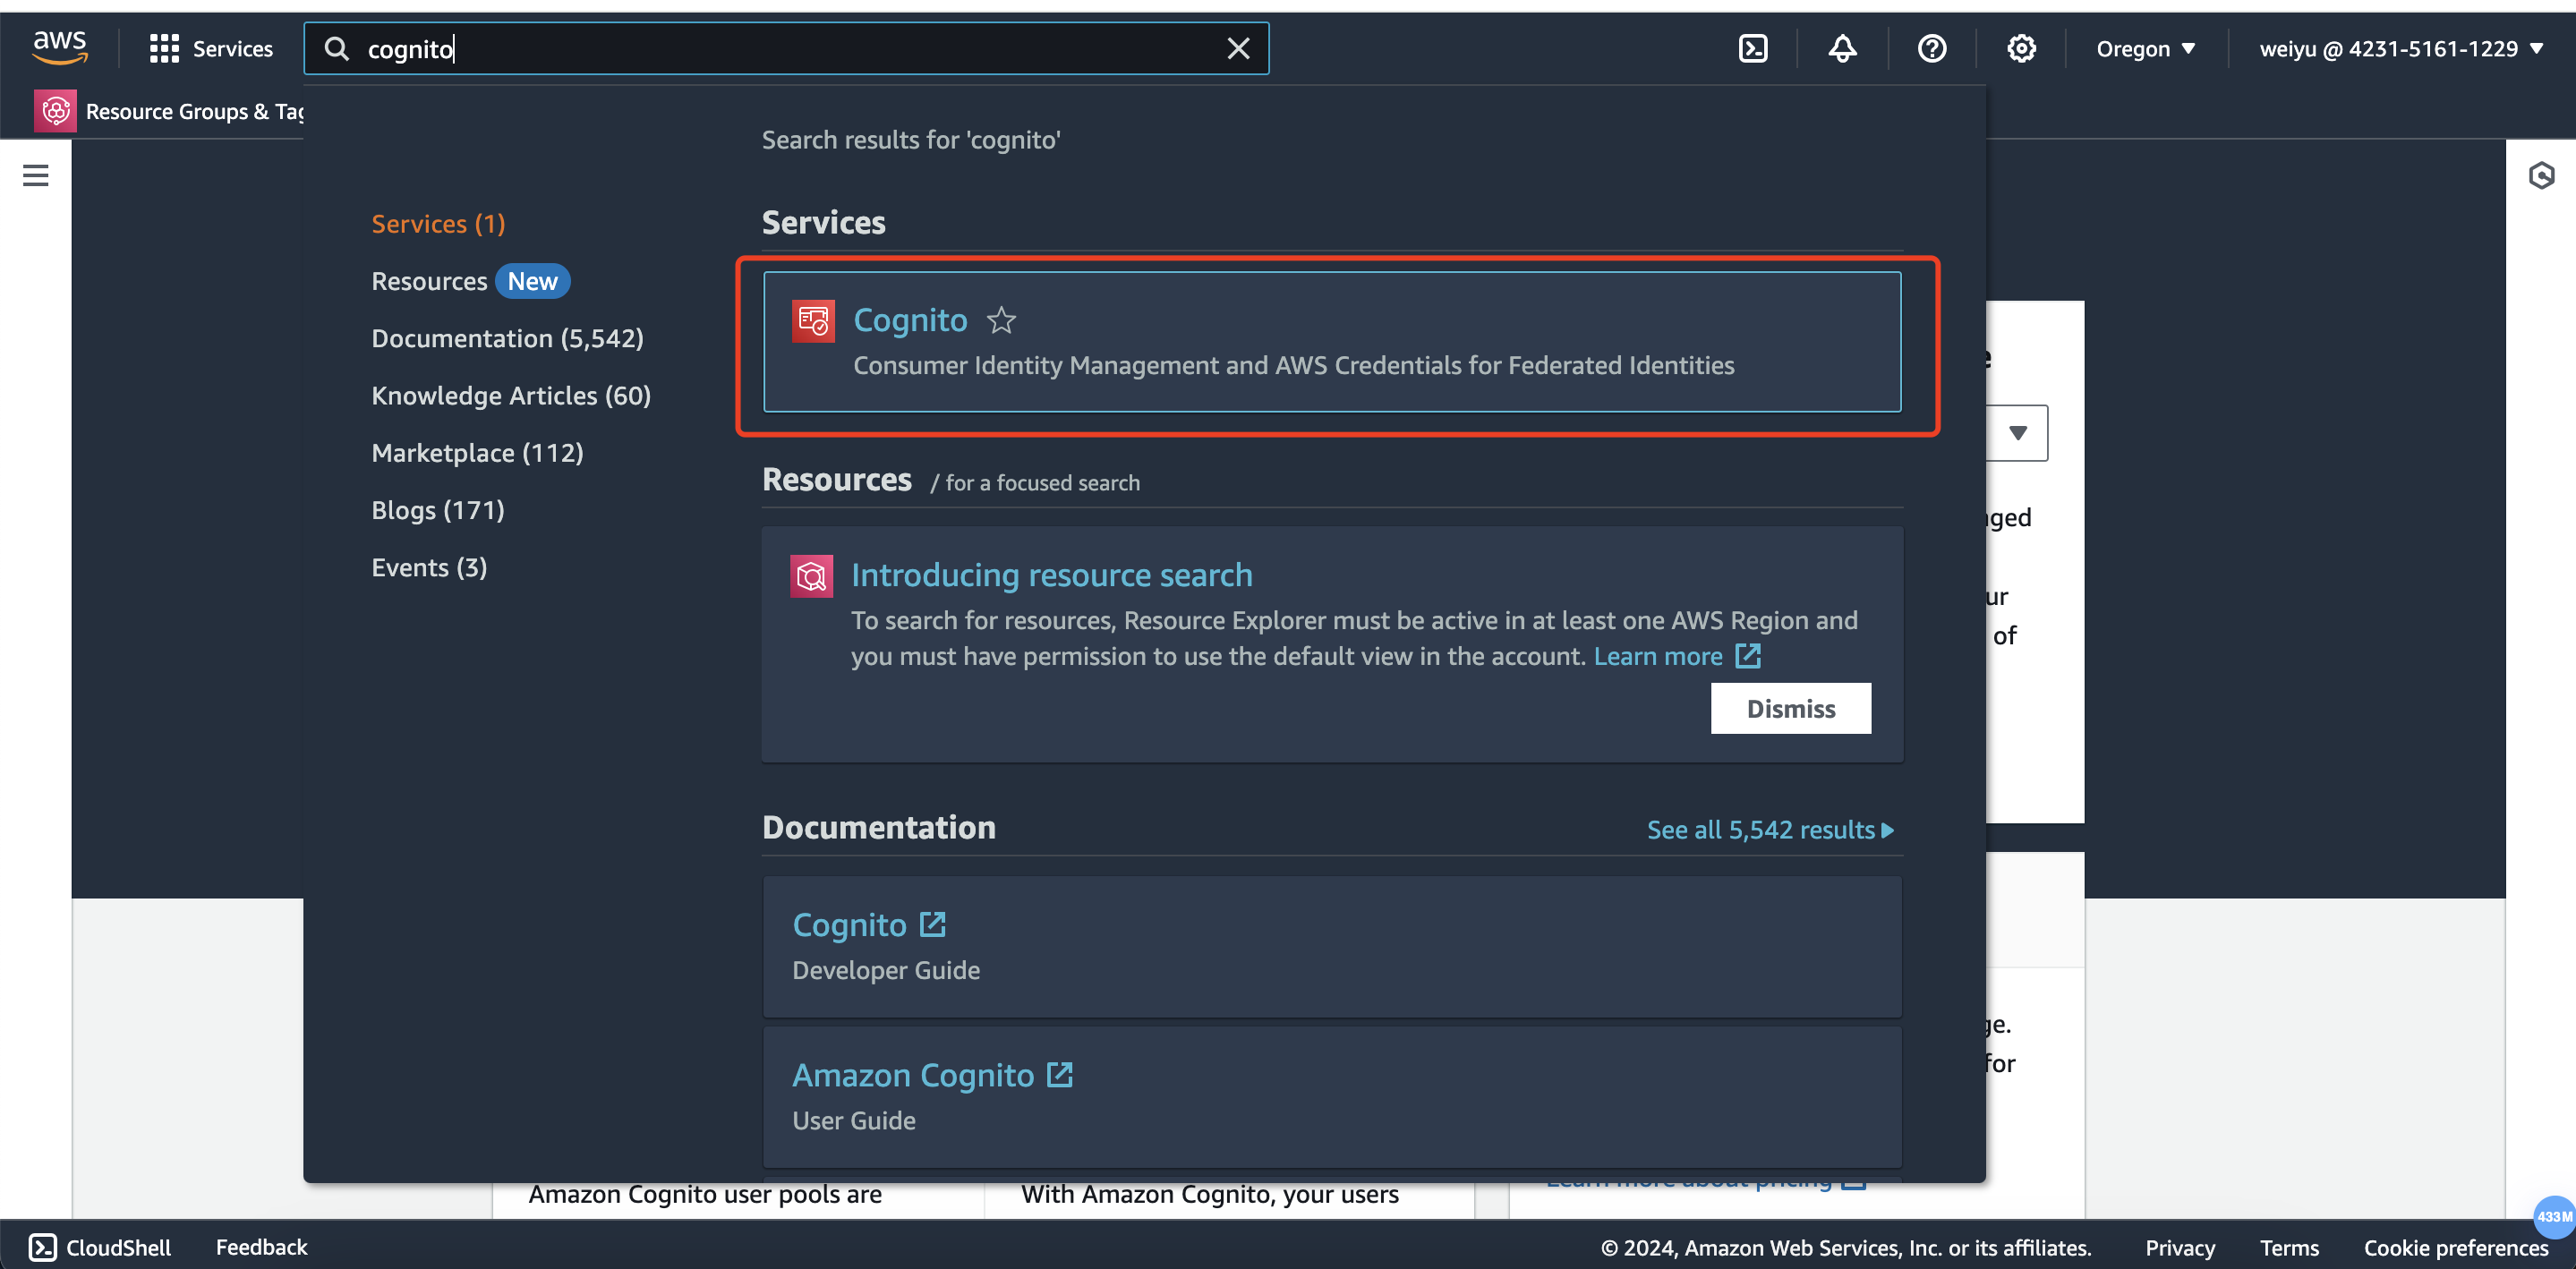
Log in to the AWS Console account. Search Cognito in search bar:
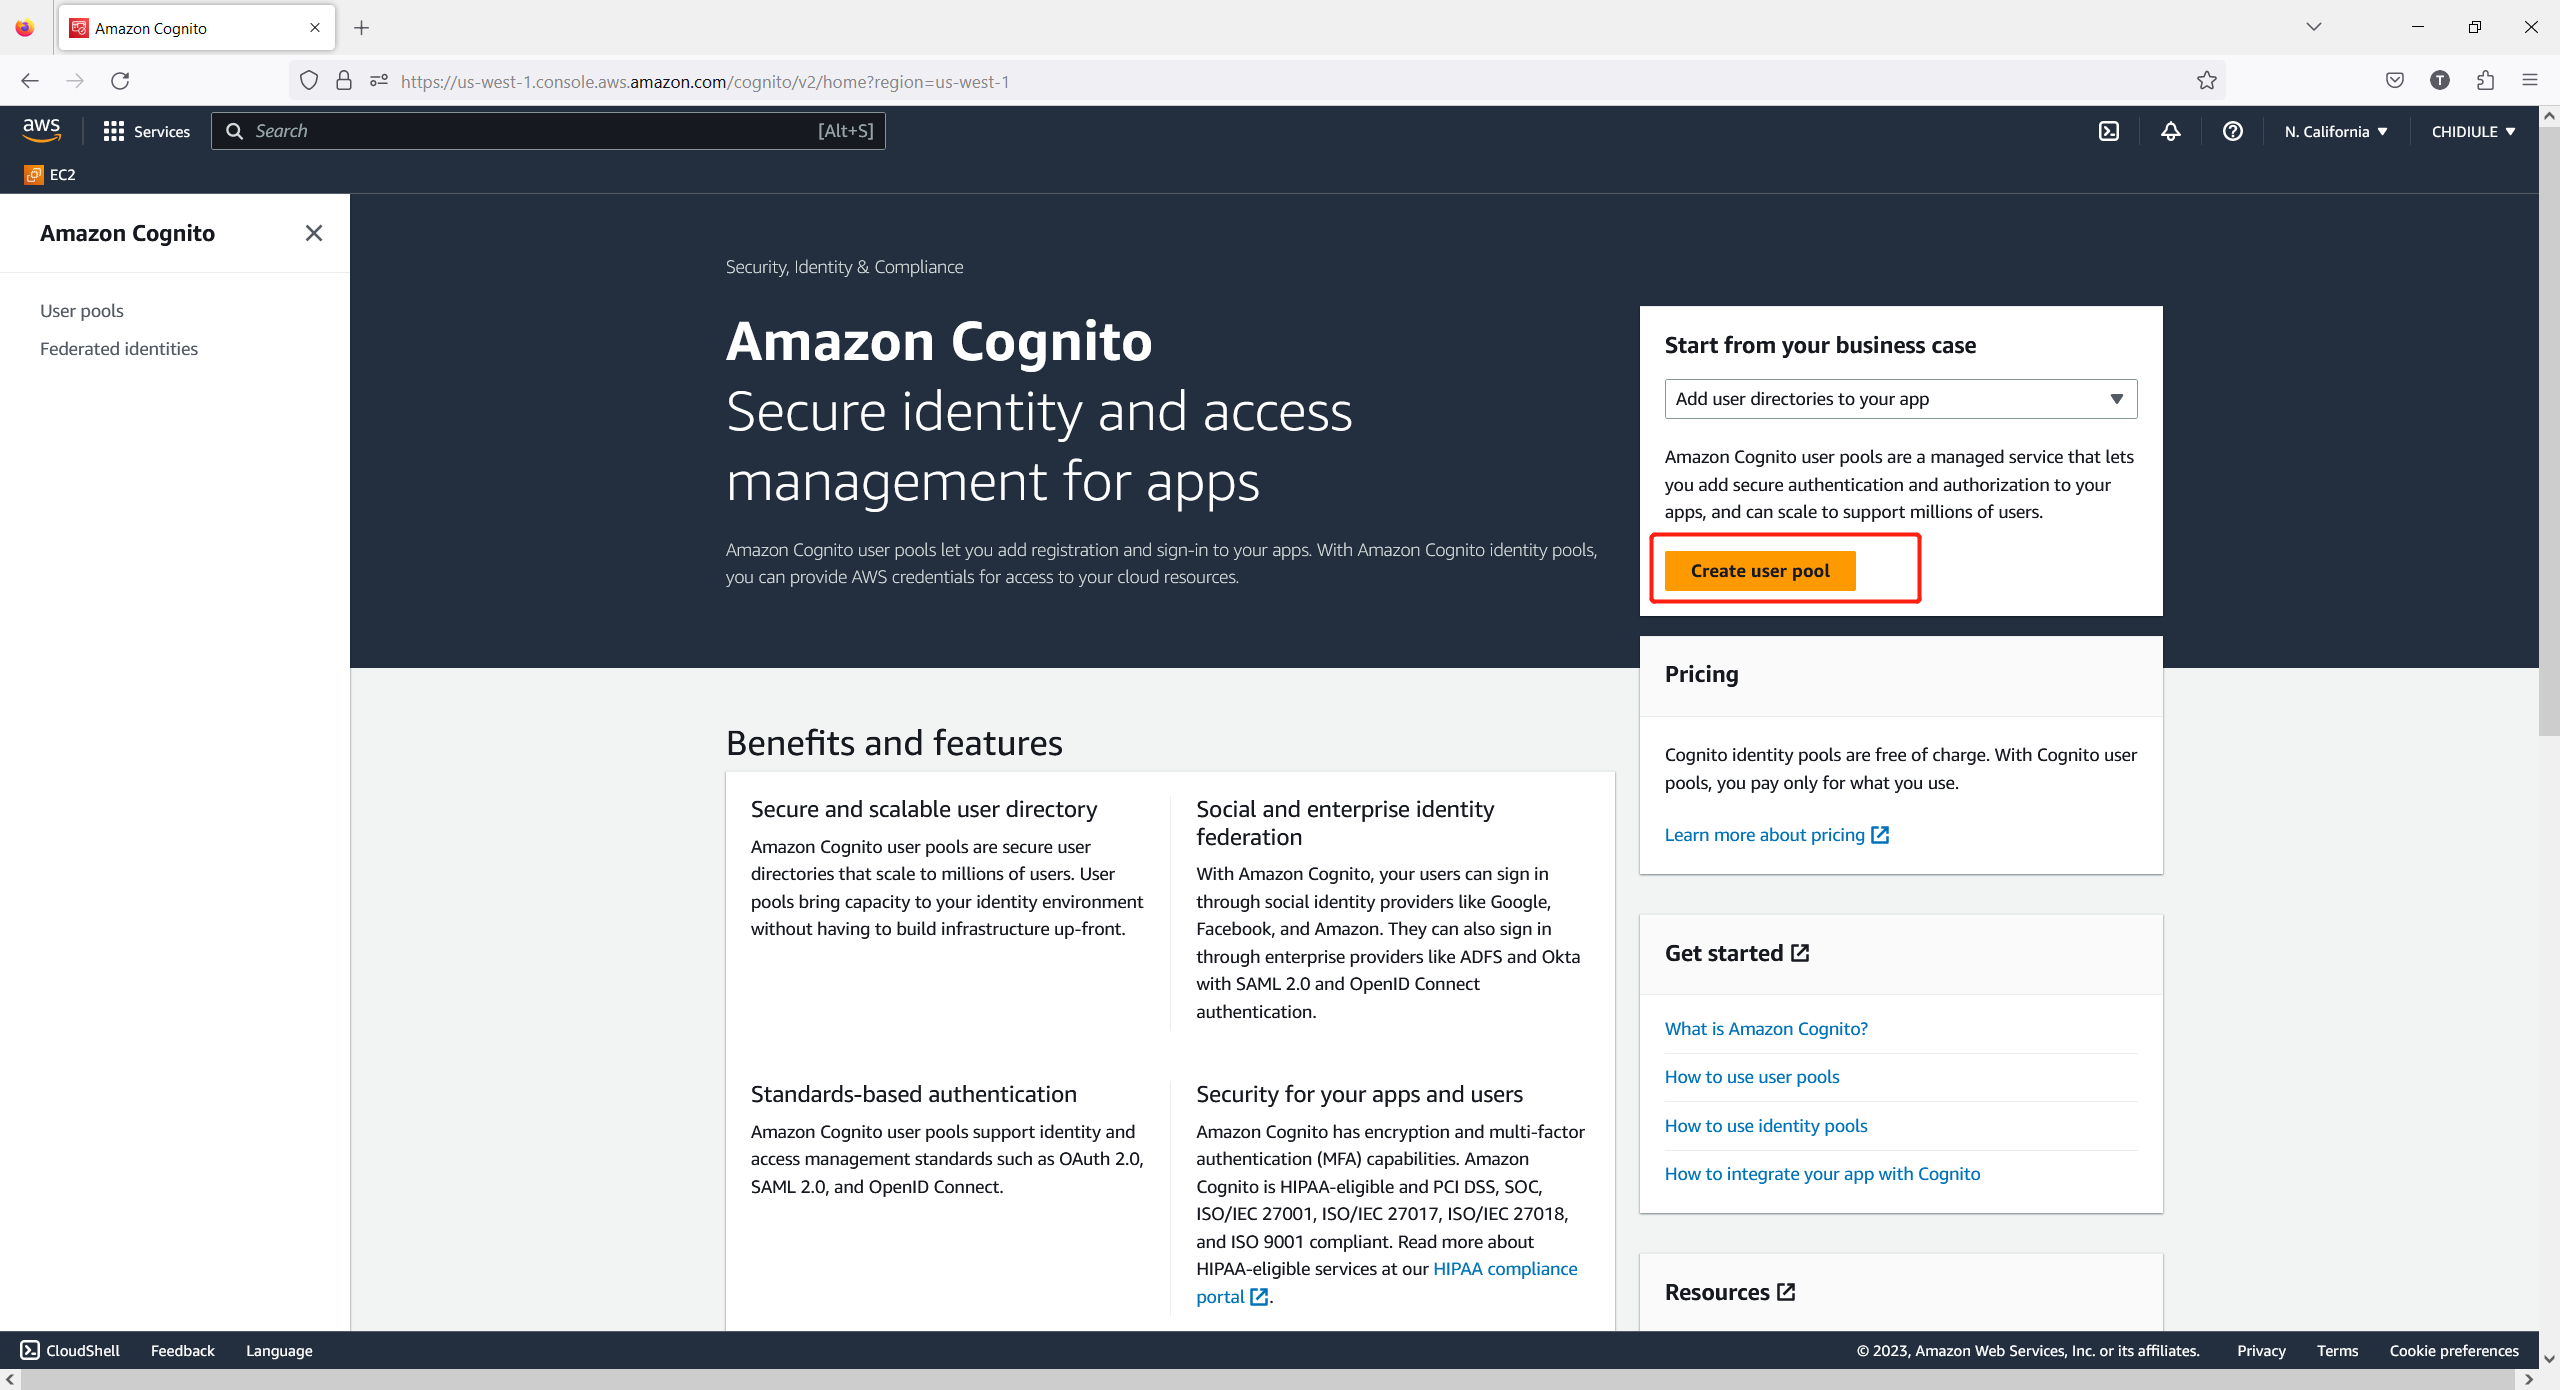
Click Create a user pool:
Check
usernameandemail, and then click Next: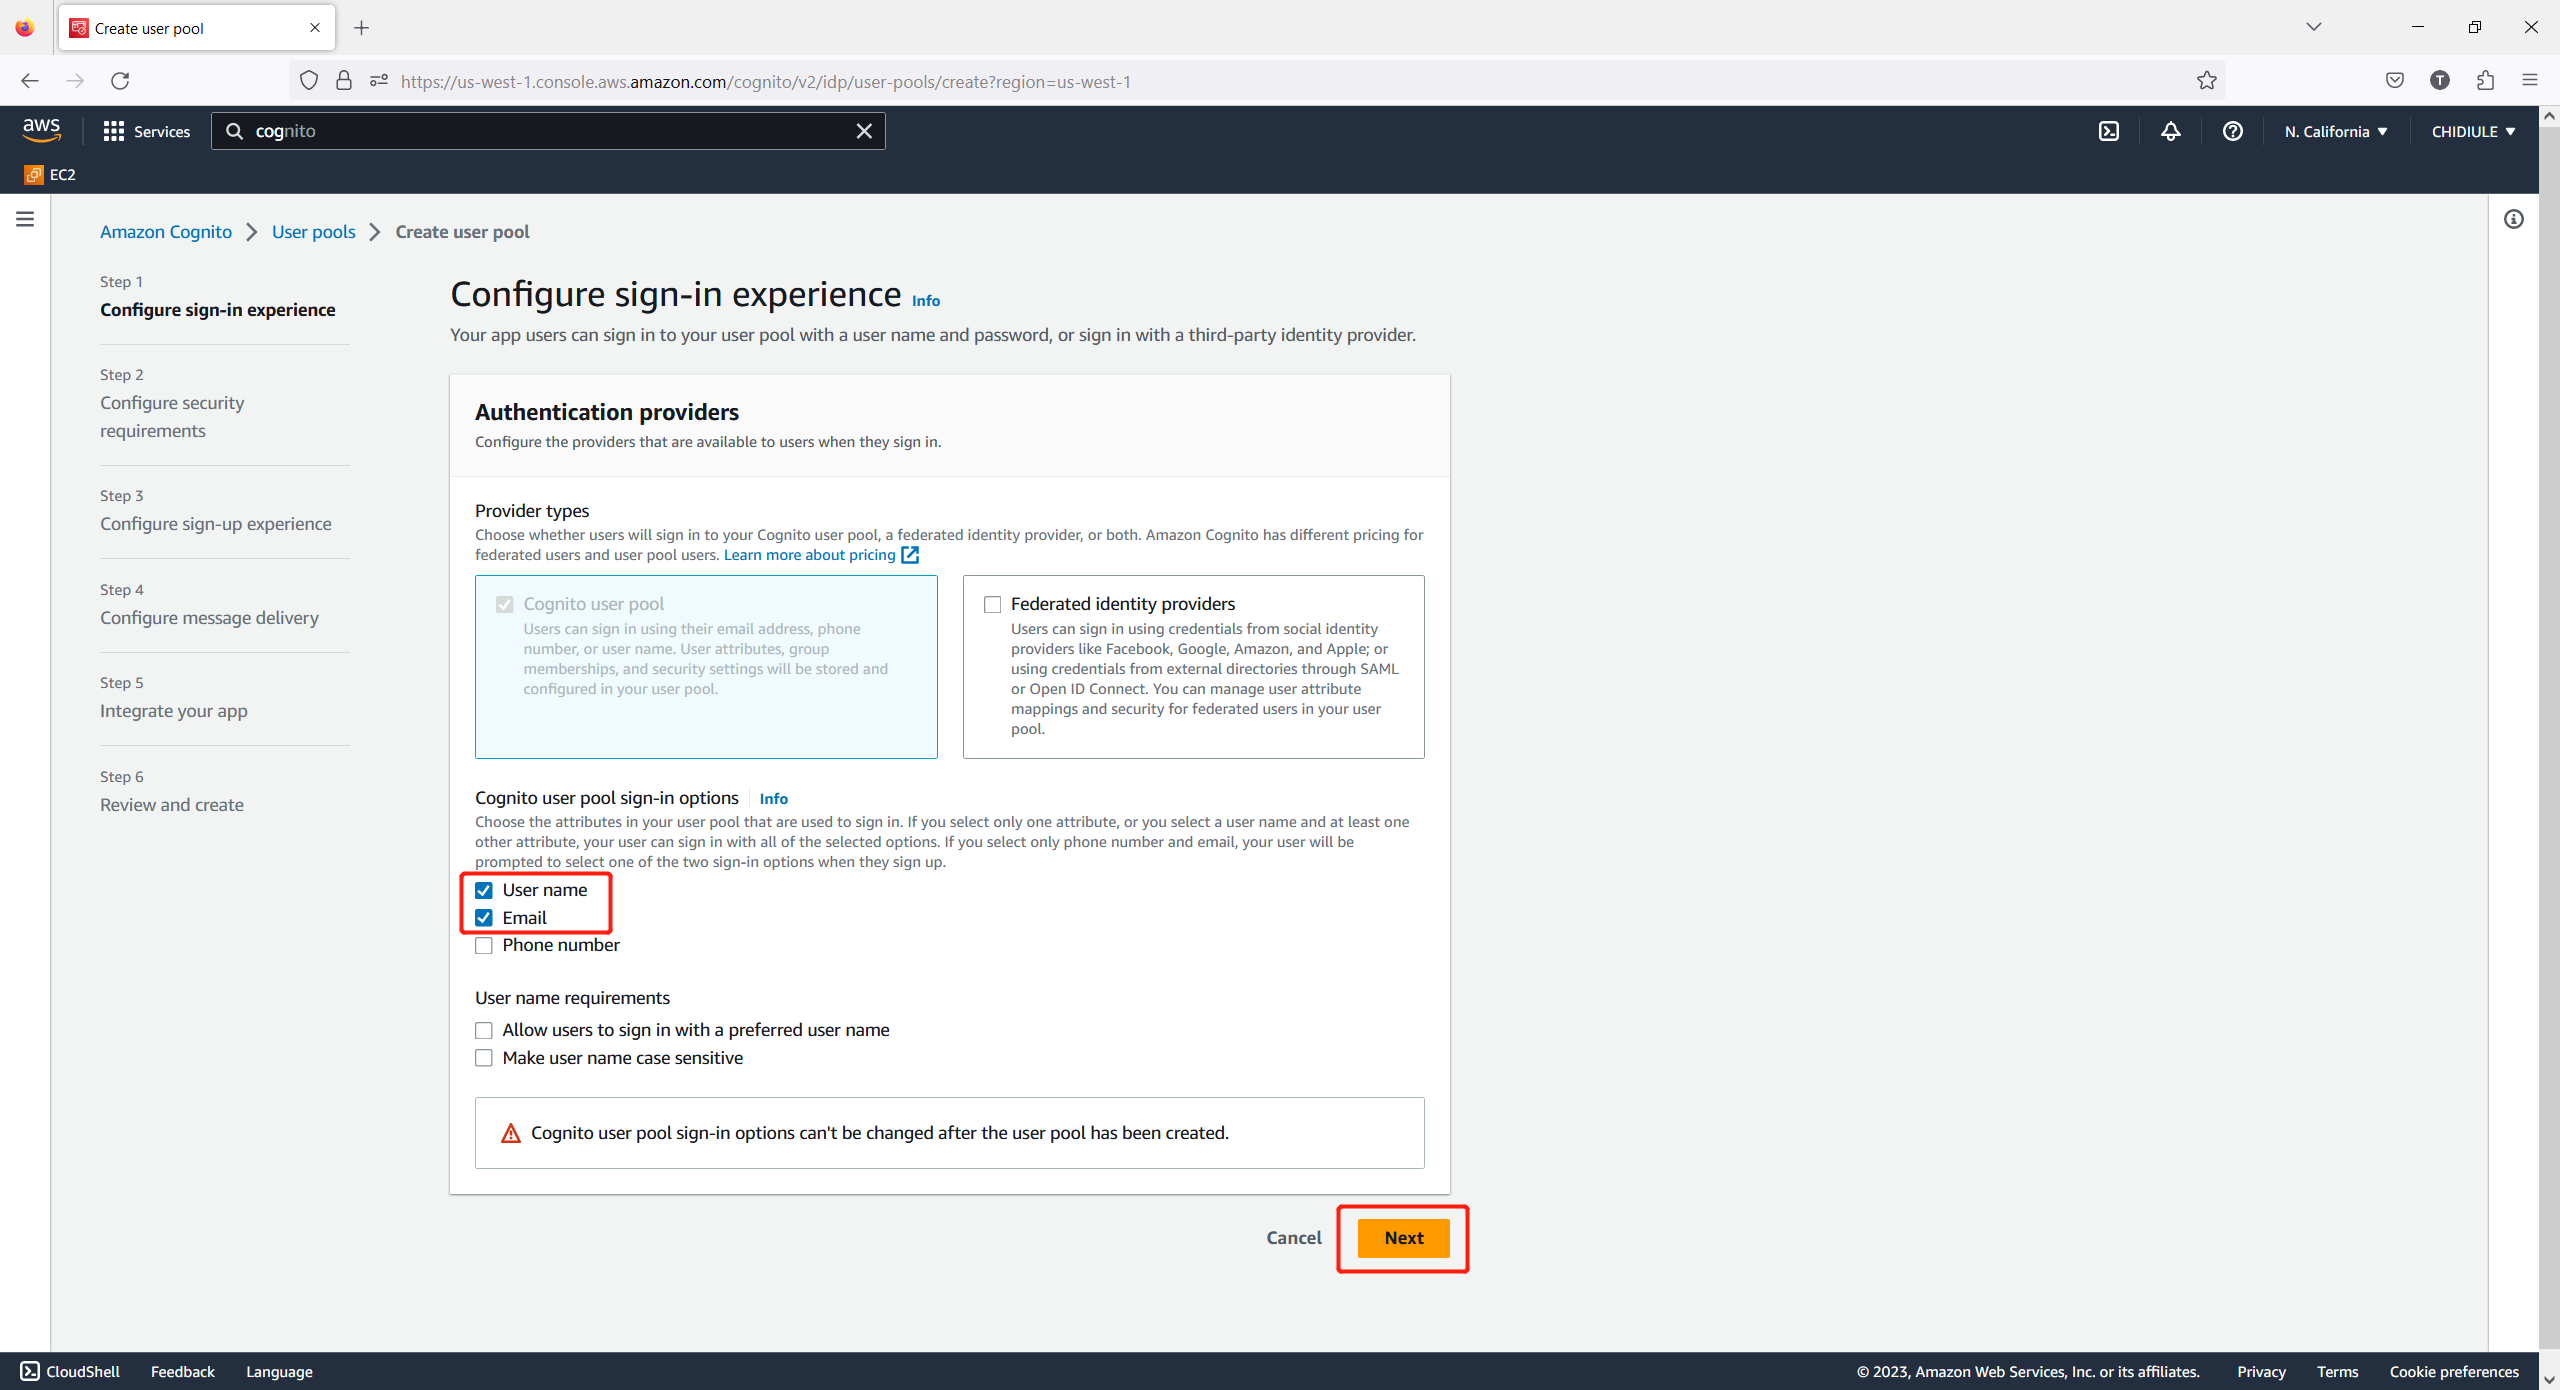
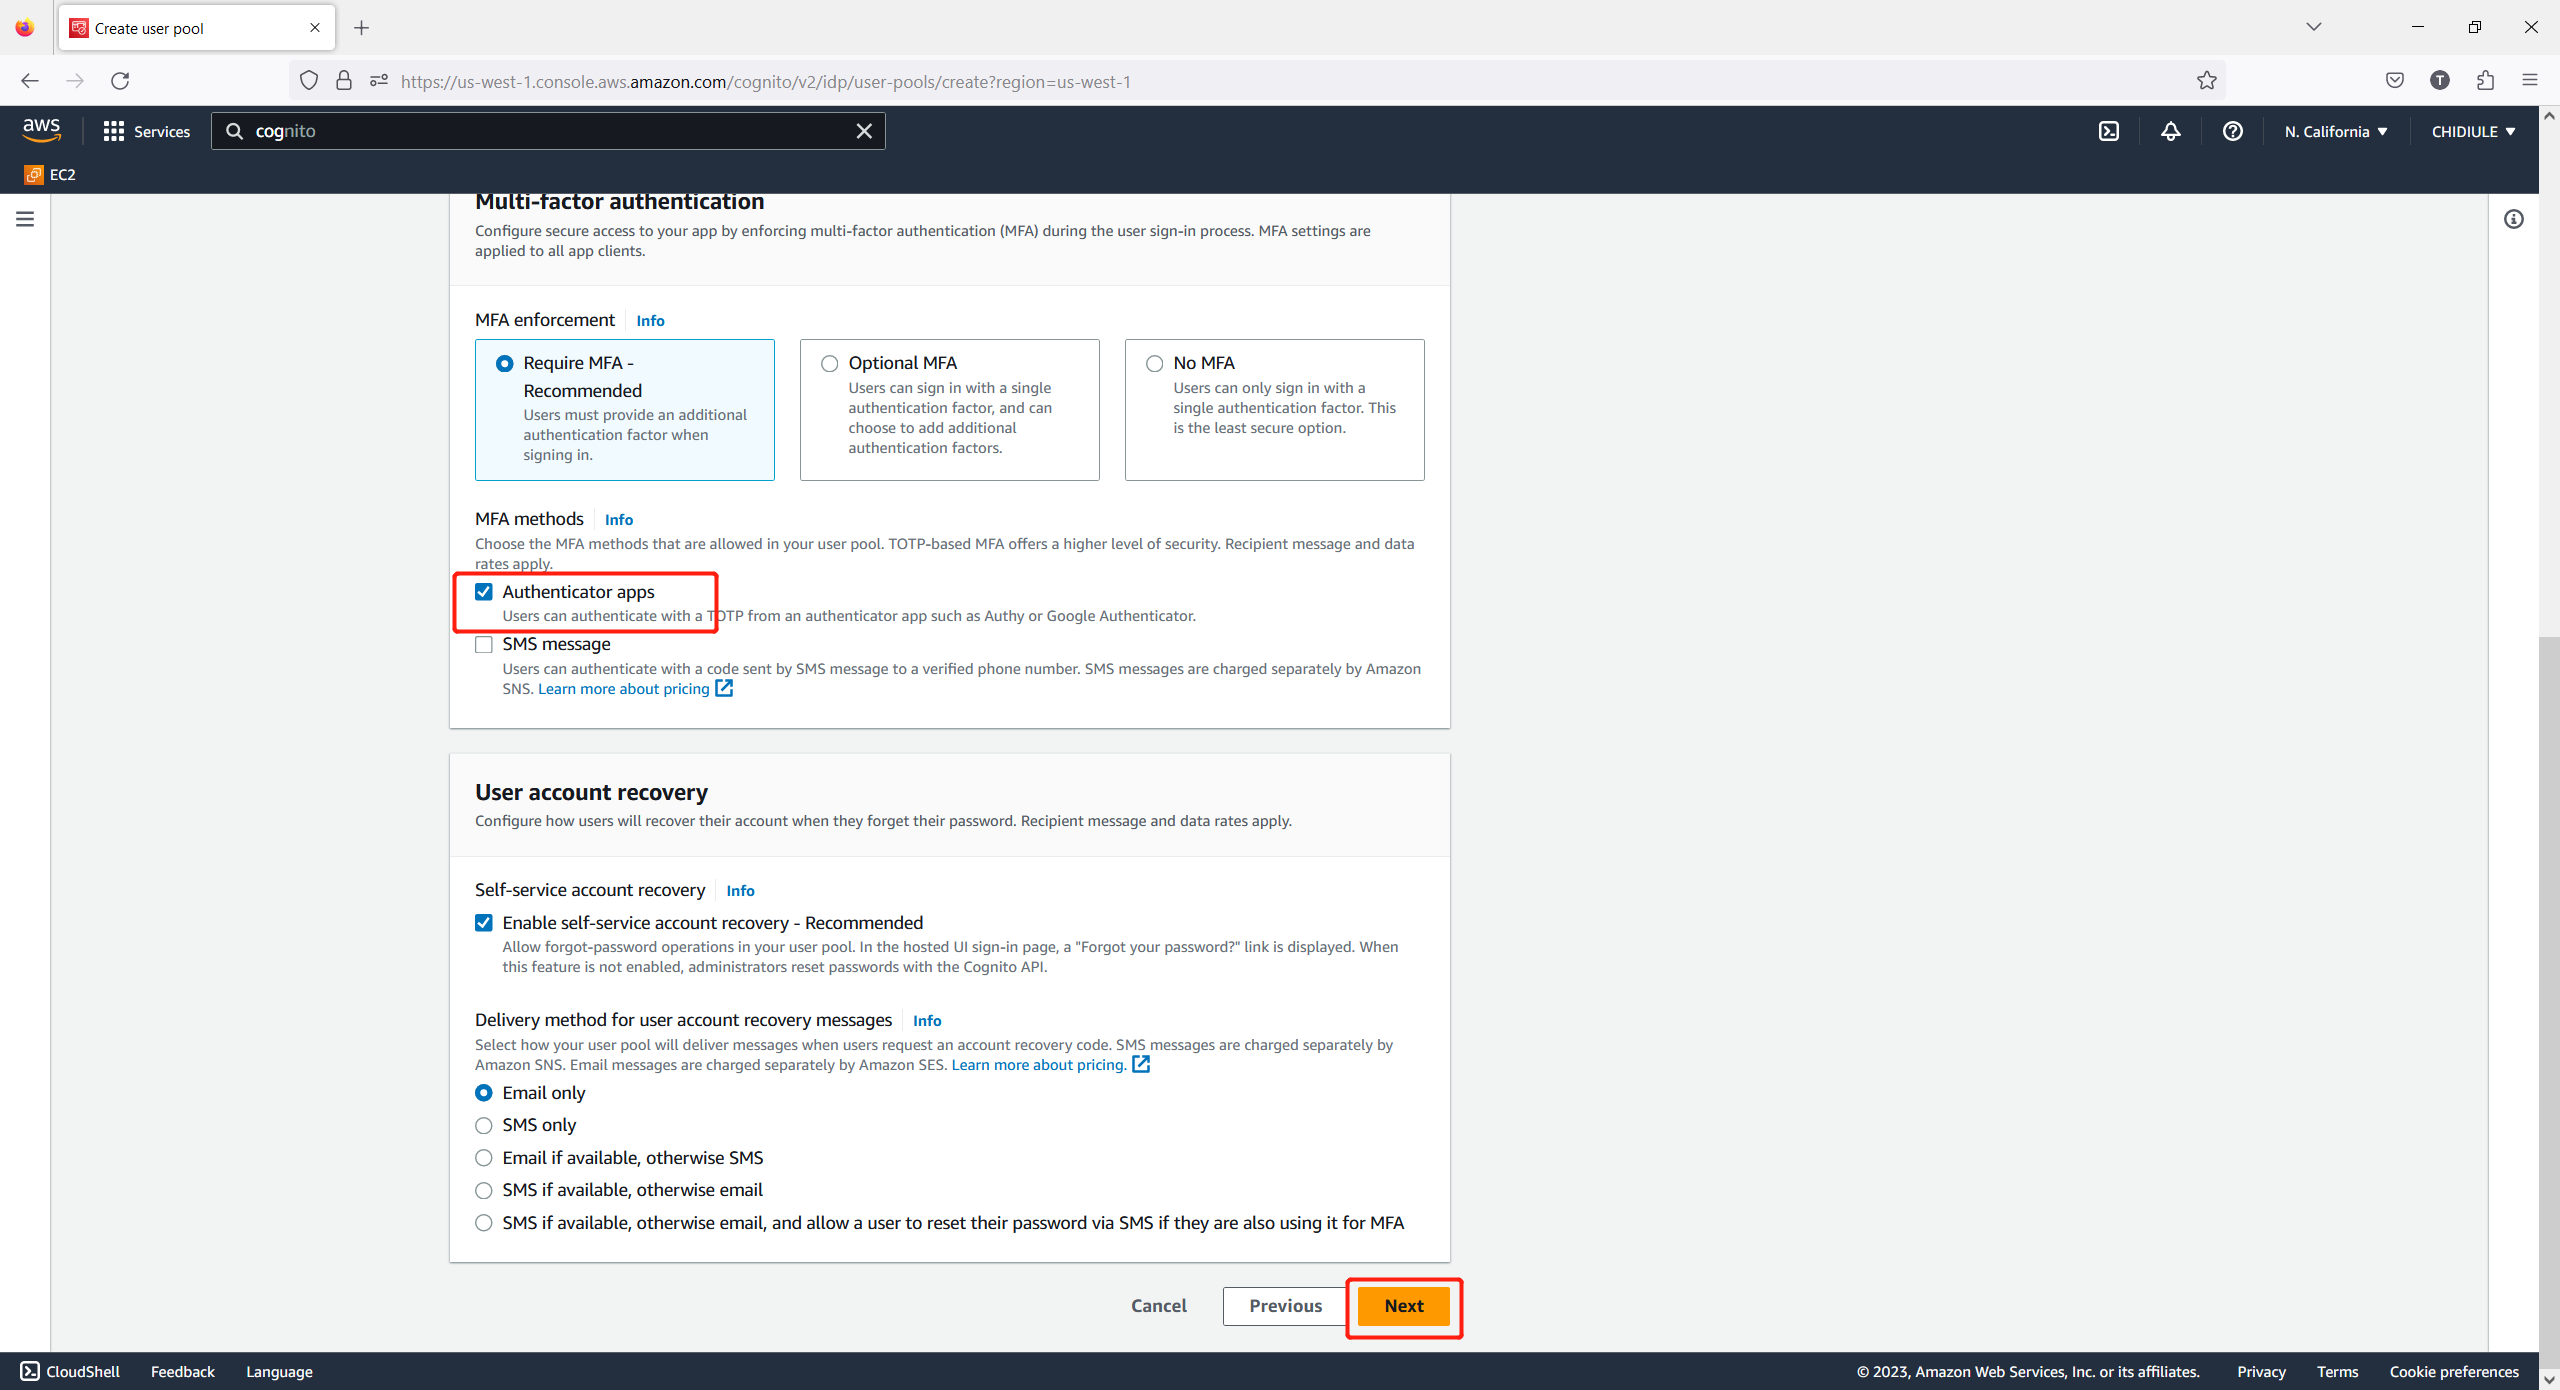
To proceed, verify that Authentication Apps is selected as your MFA method. If you are only testing, you may choose No MFA. Ensure that all settings are left as their defaults, and then click Next:
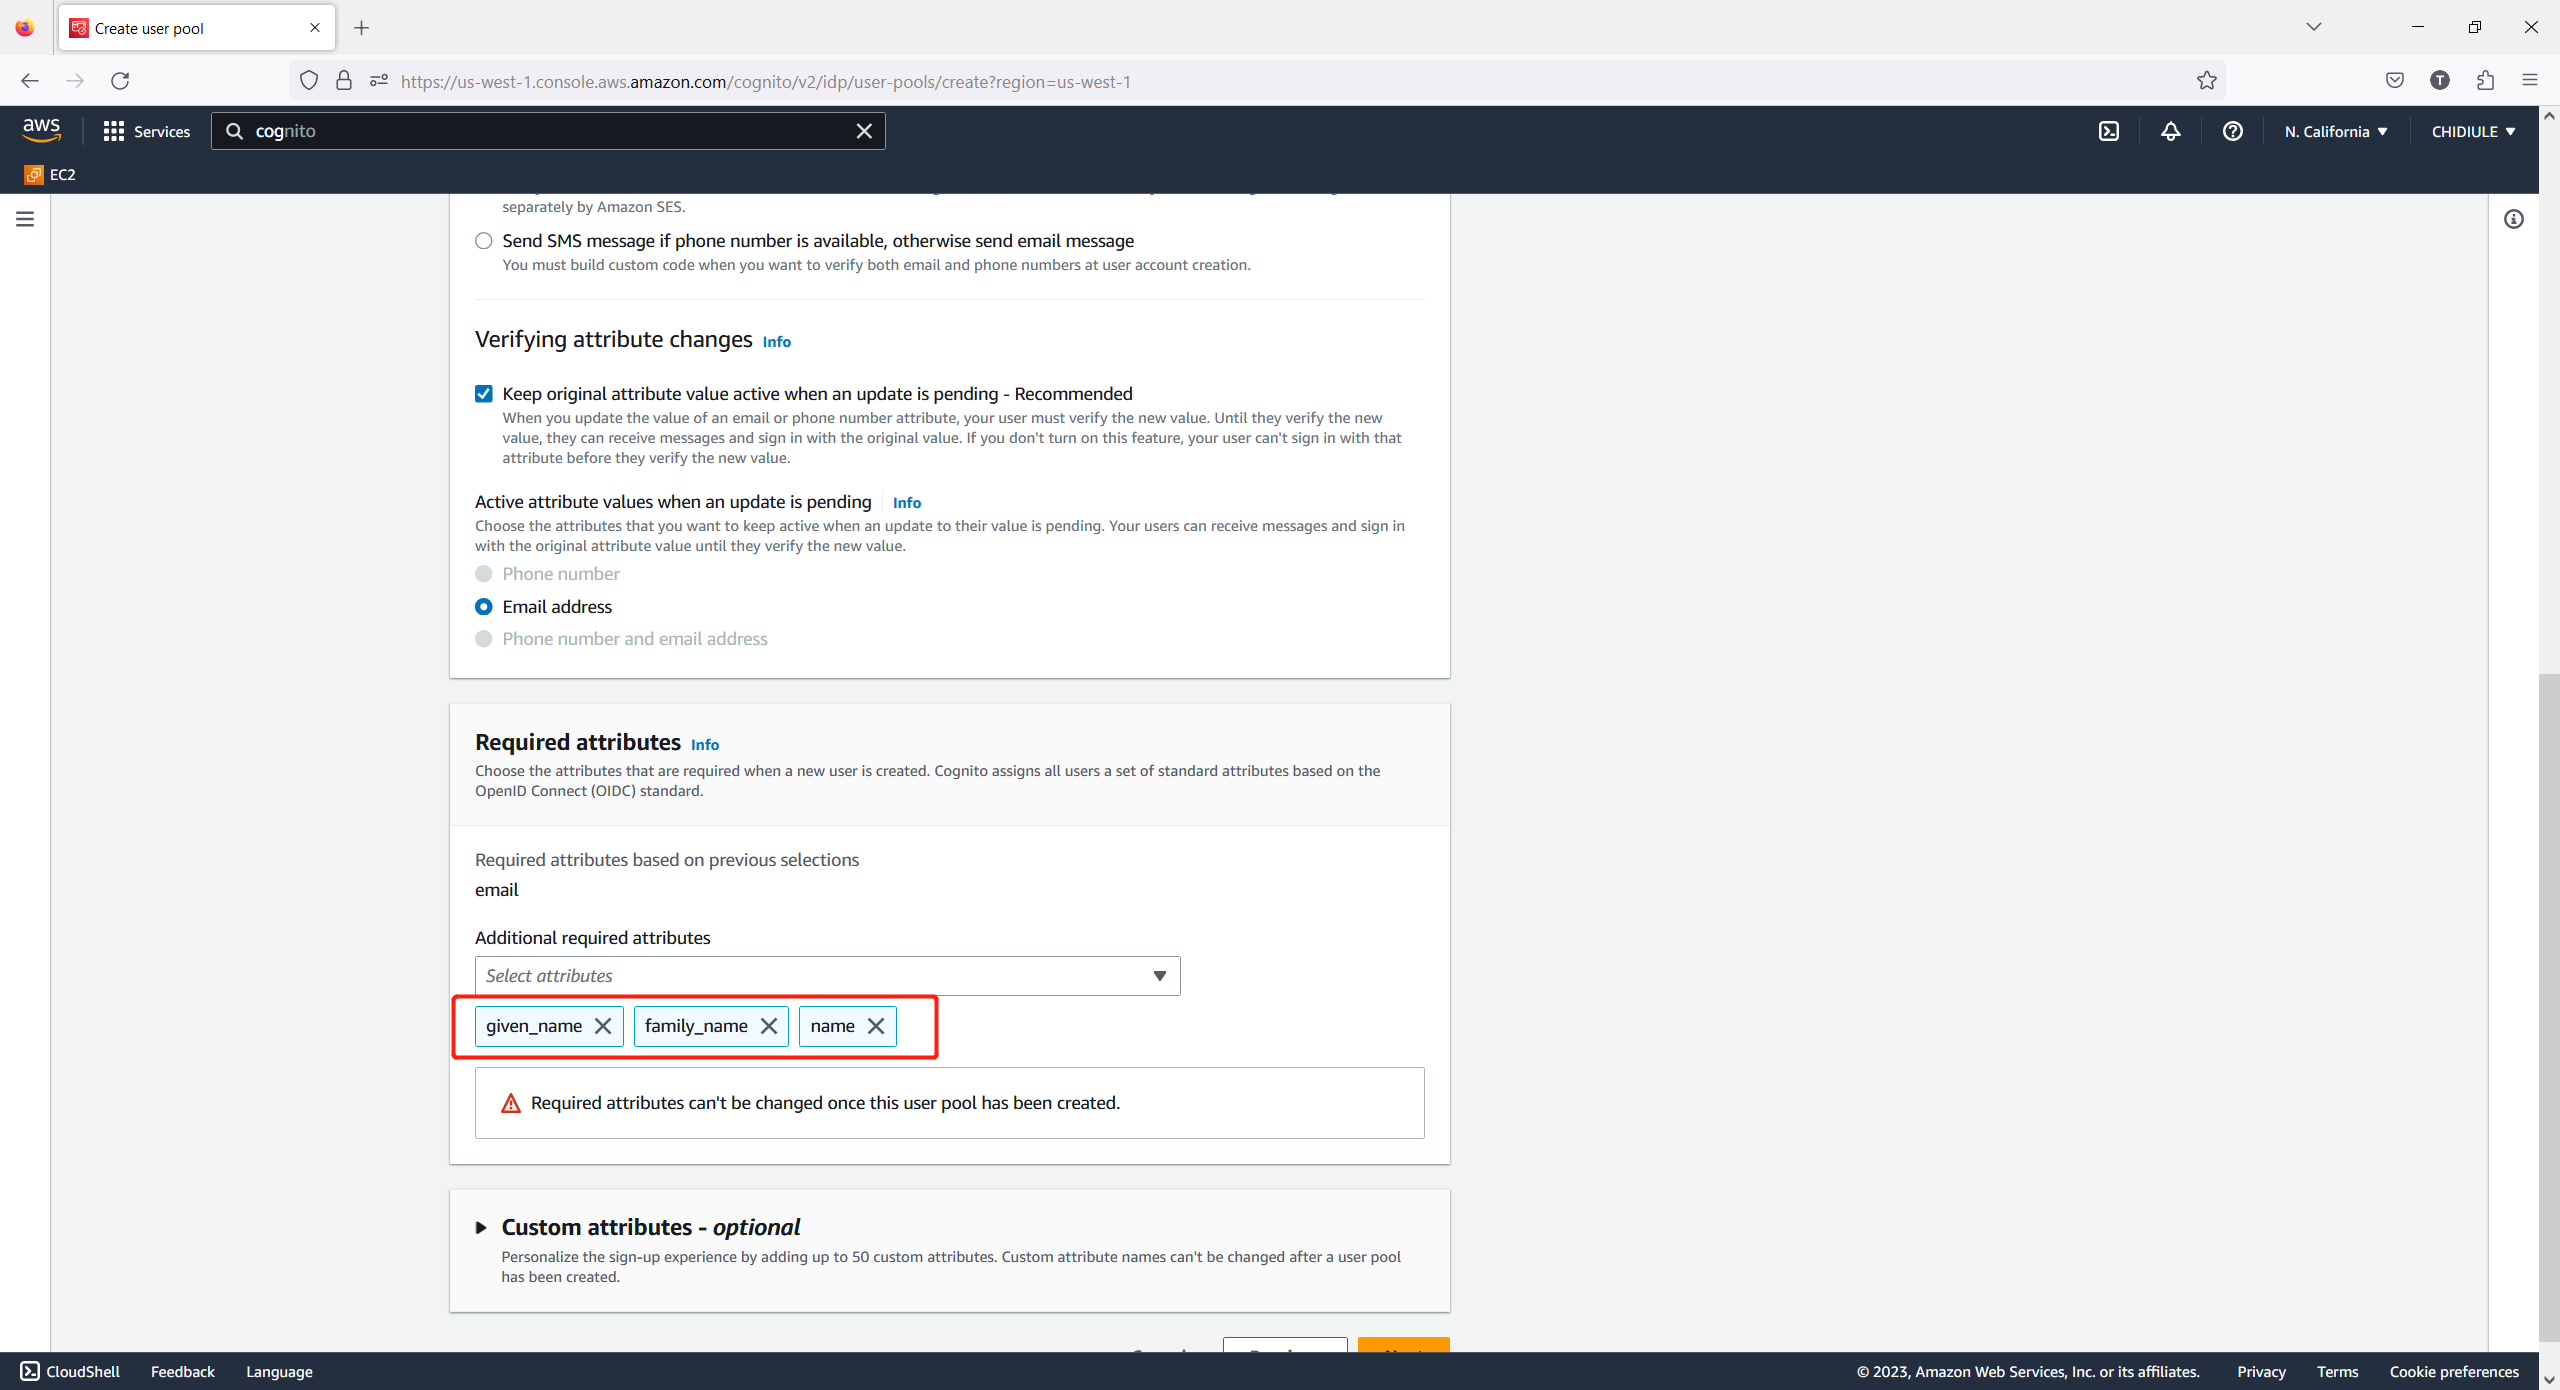
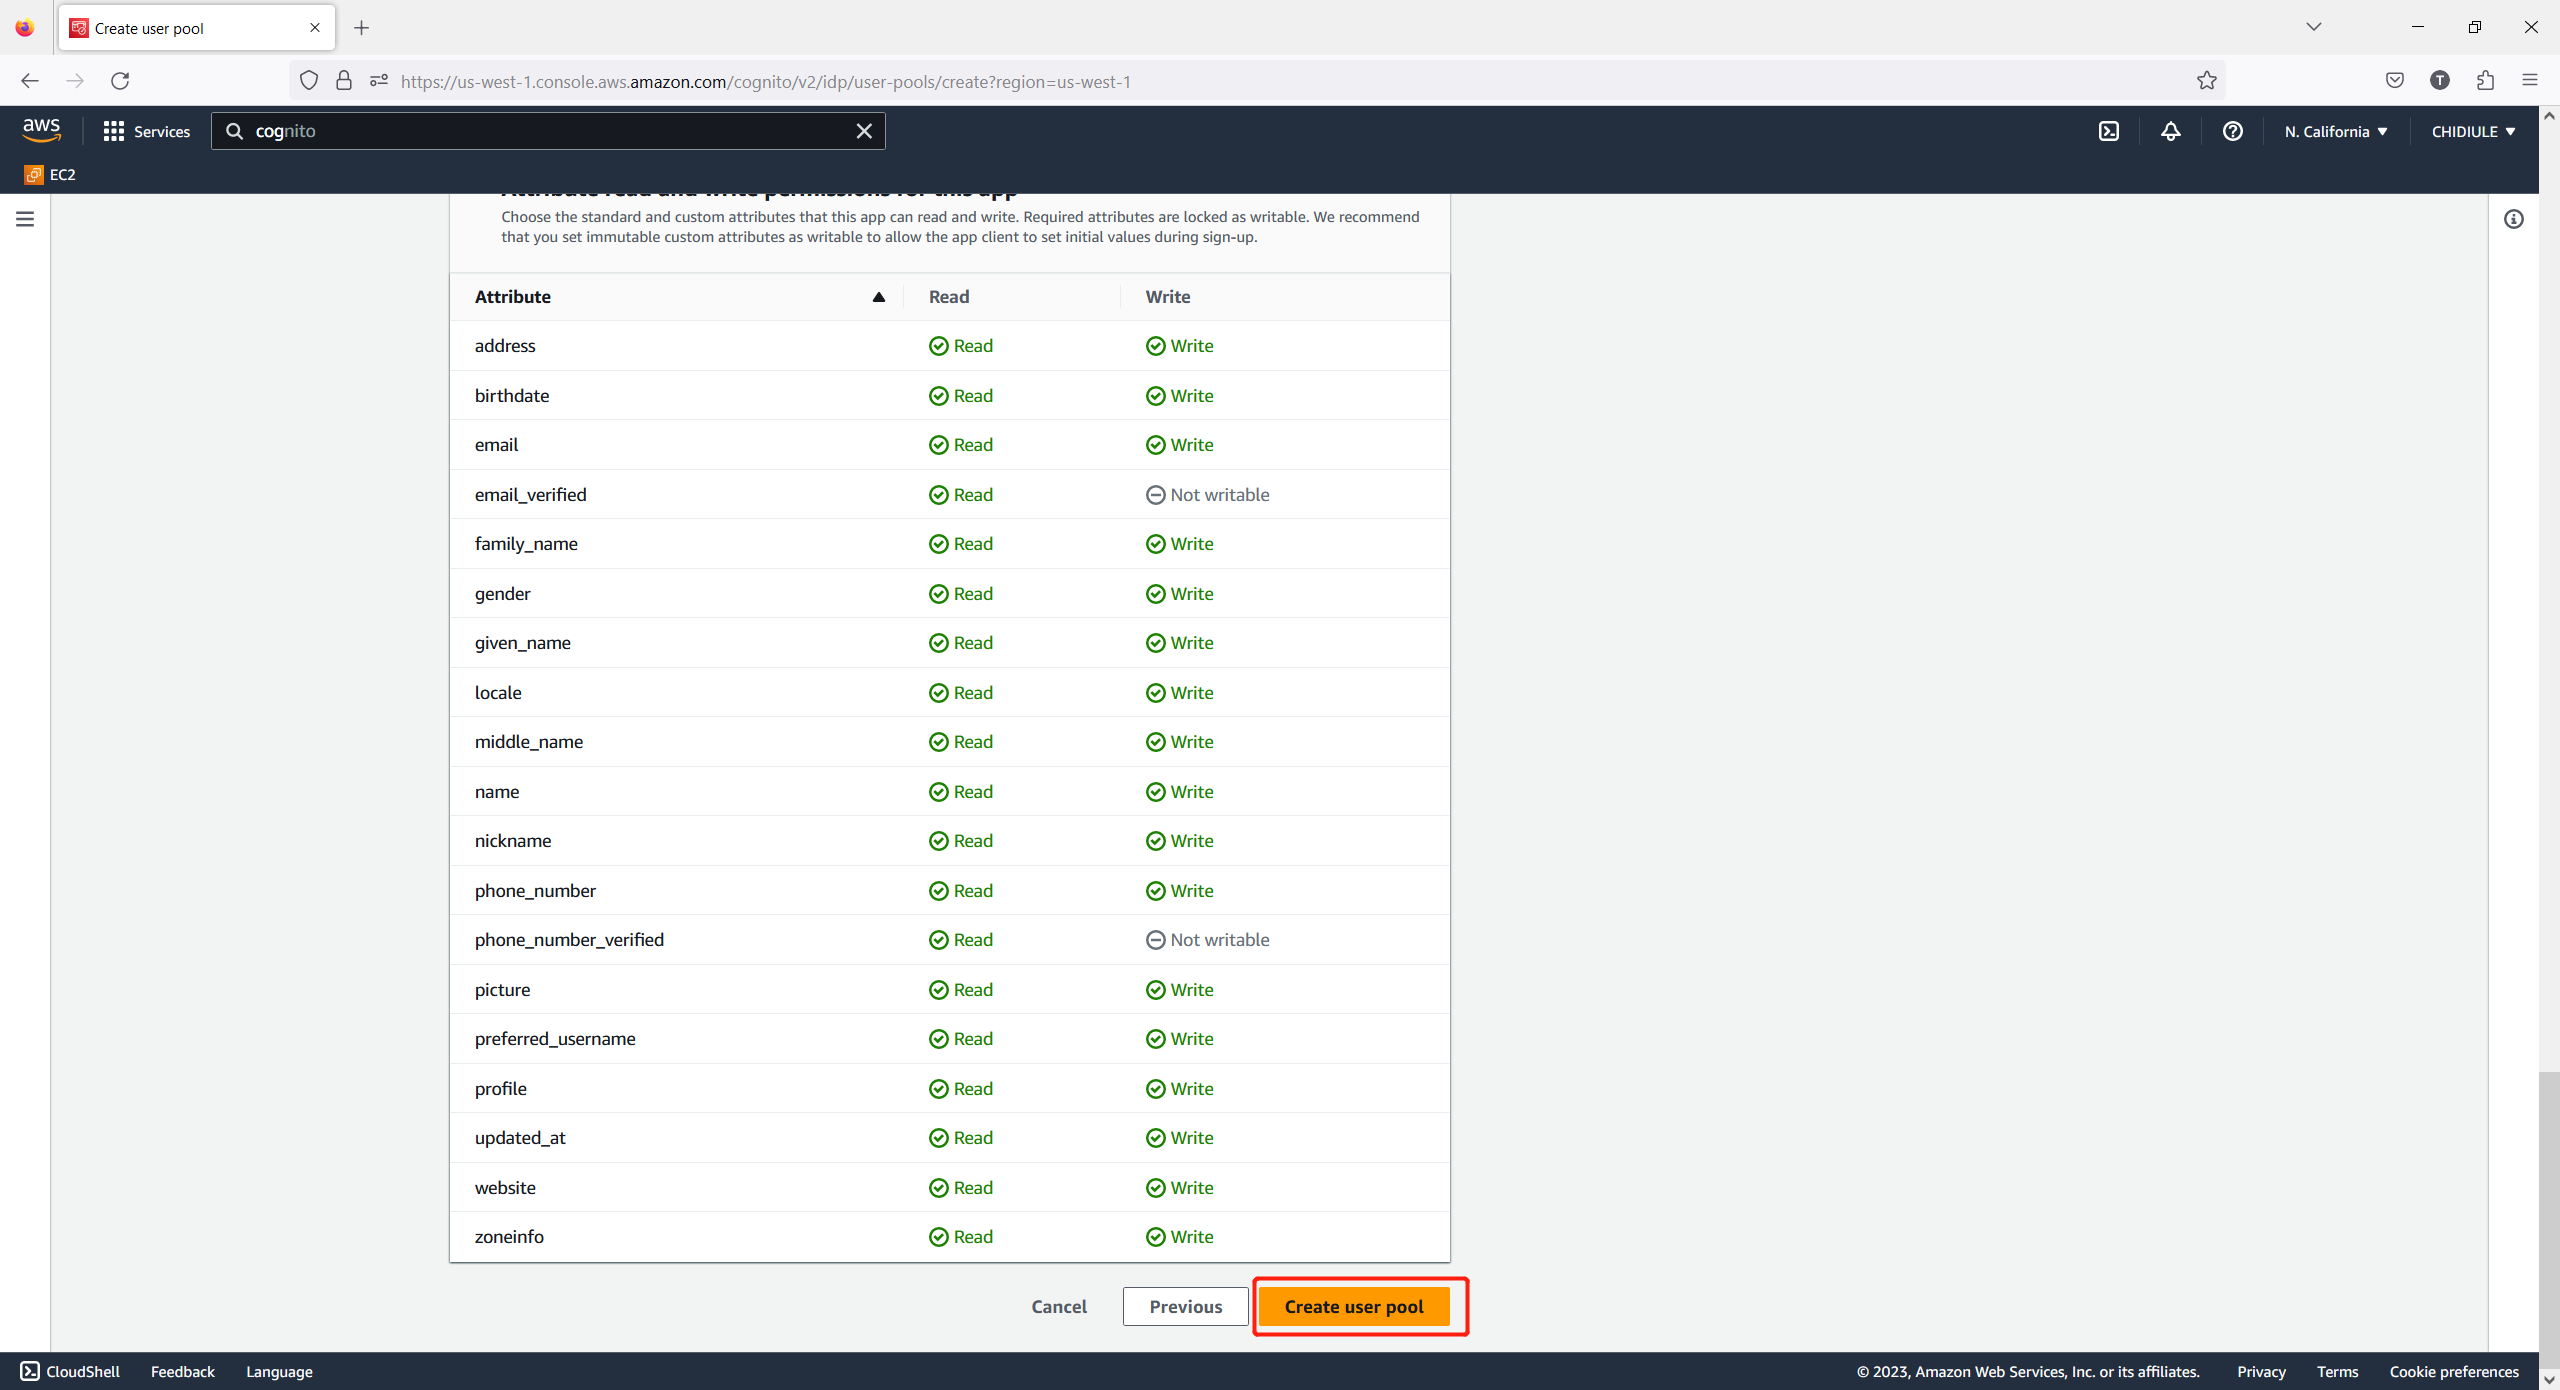
If you want the Datawiza Access Proxy can pass more attributes, you can select the additional attributes here, and then click Next:
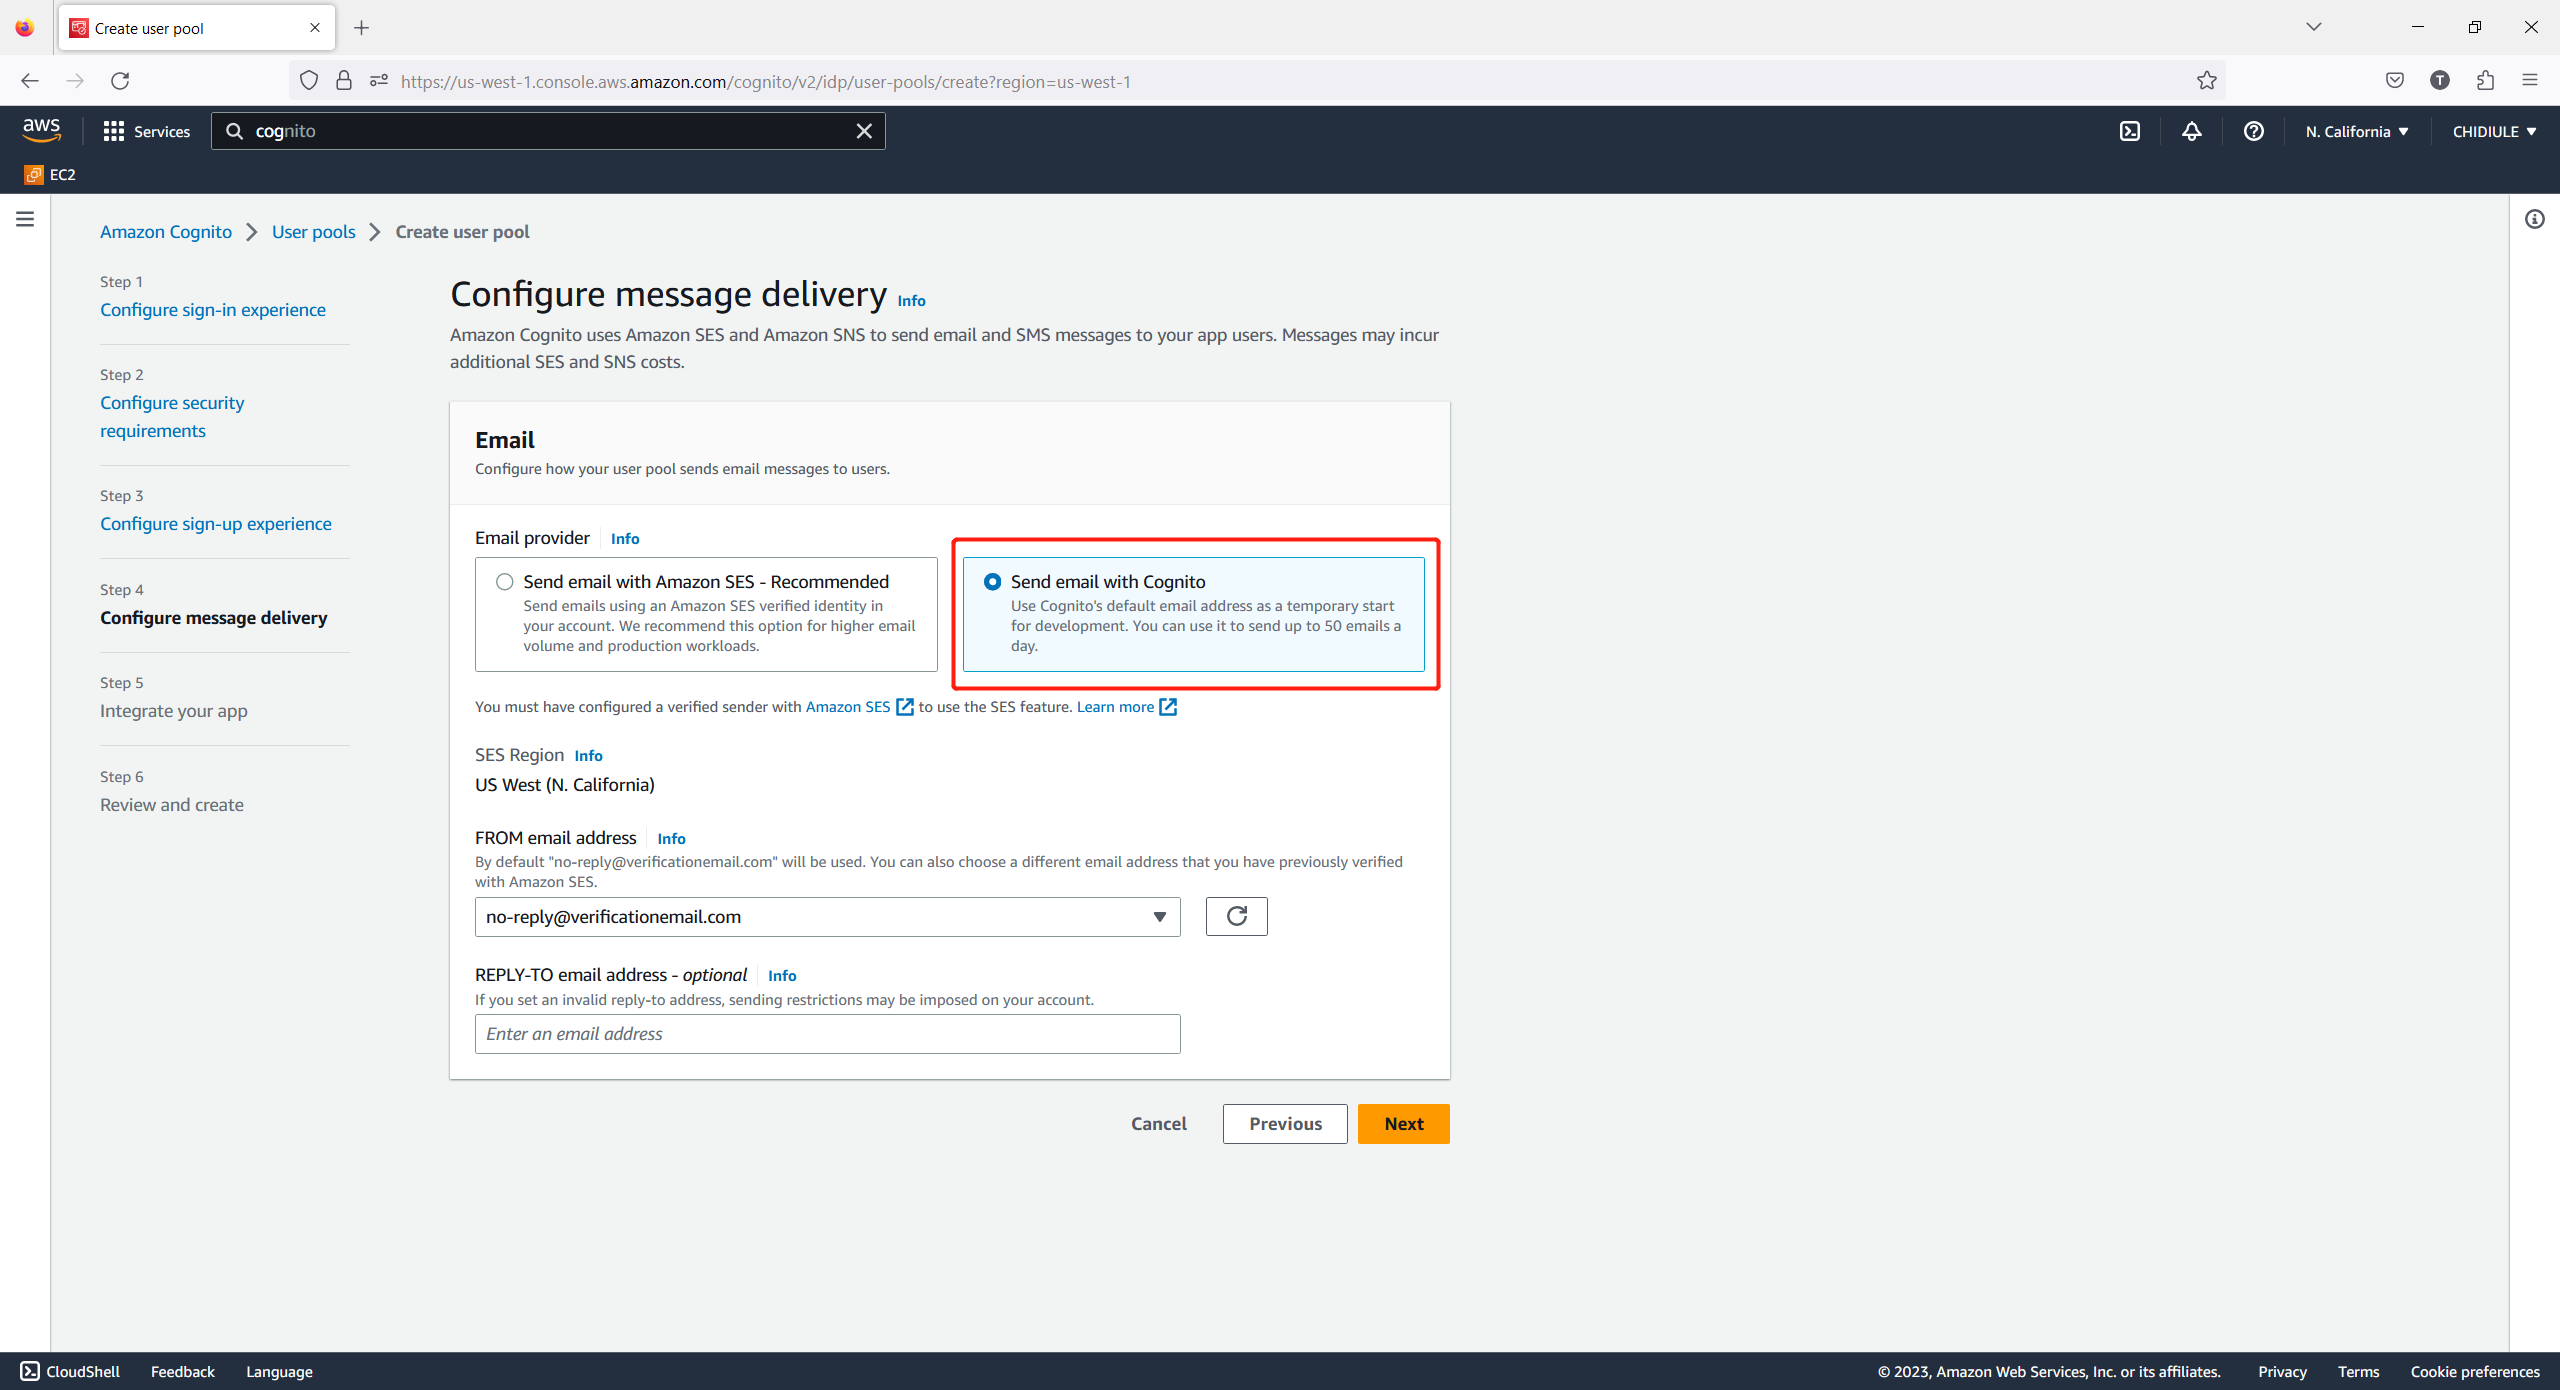
Choose Send email with Cognito and then click Next:
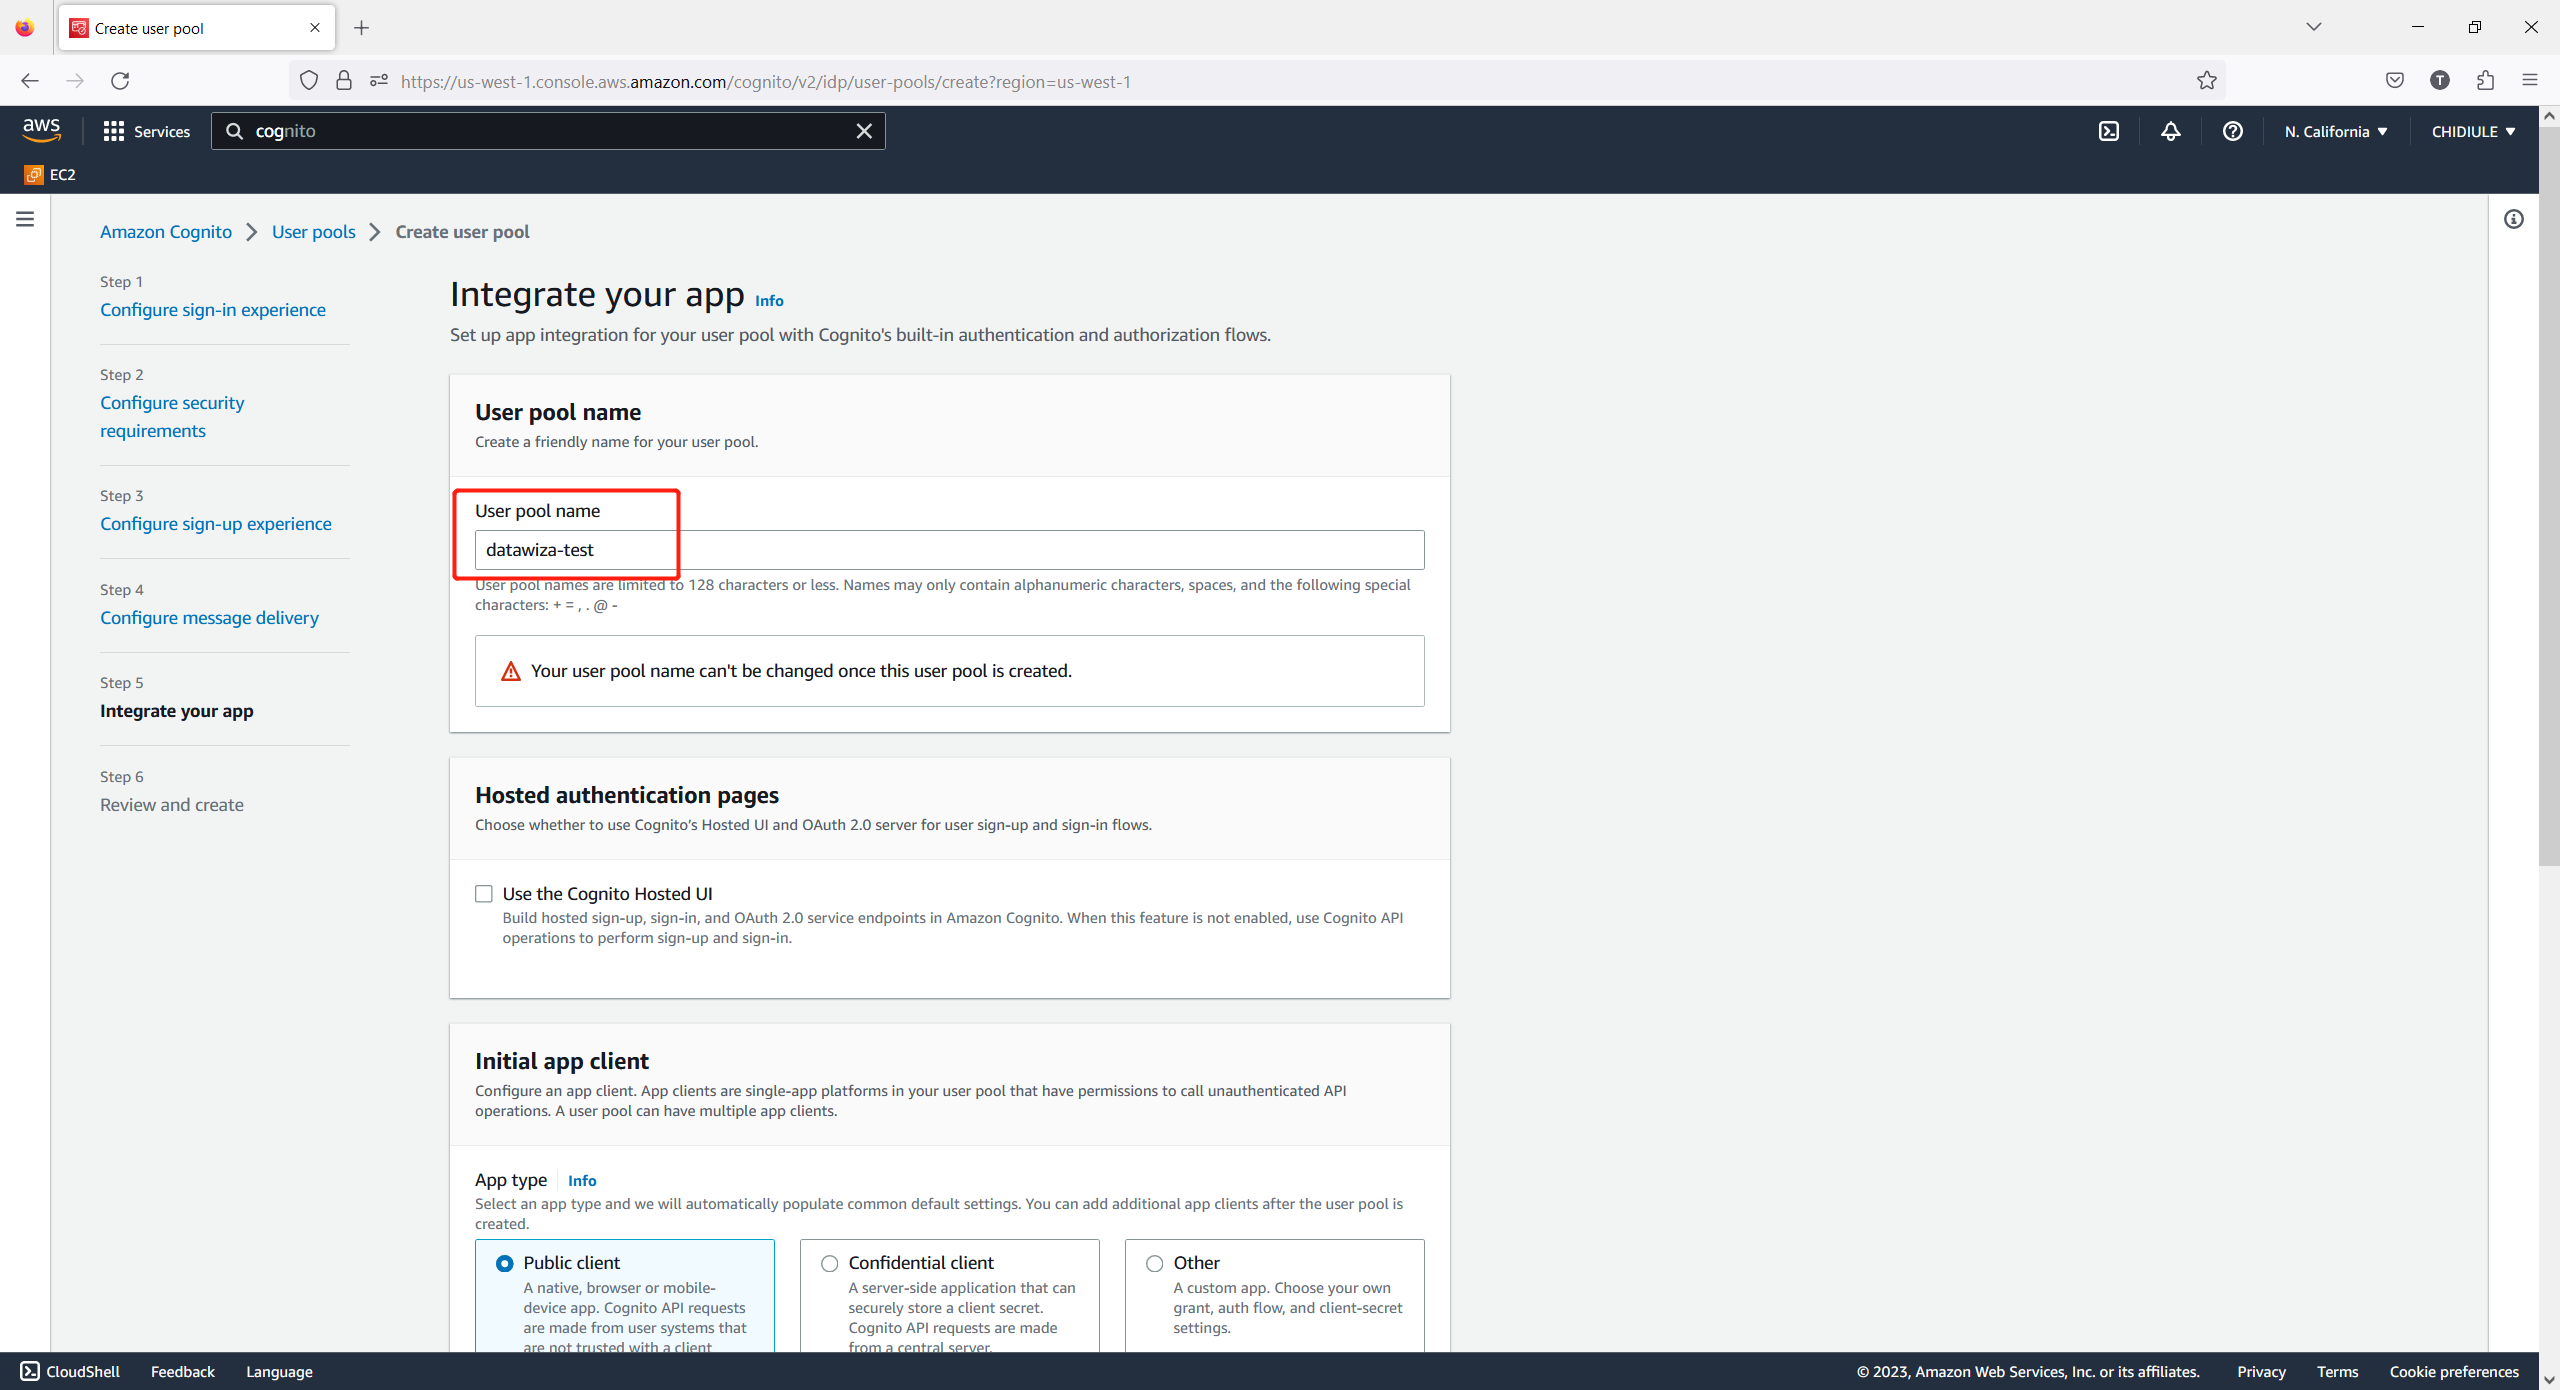
Input the User pool name:
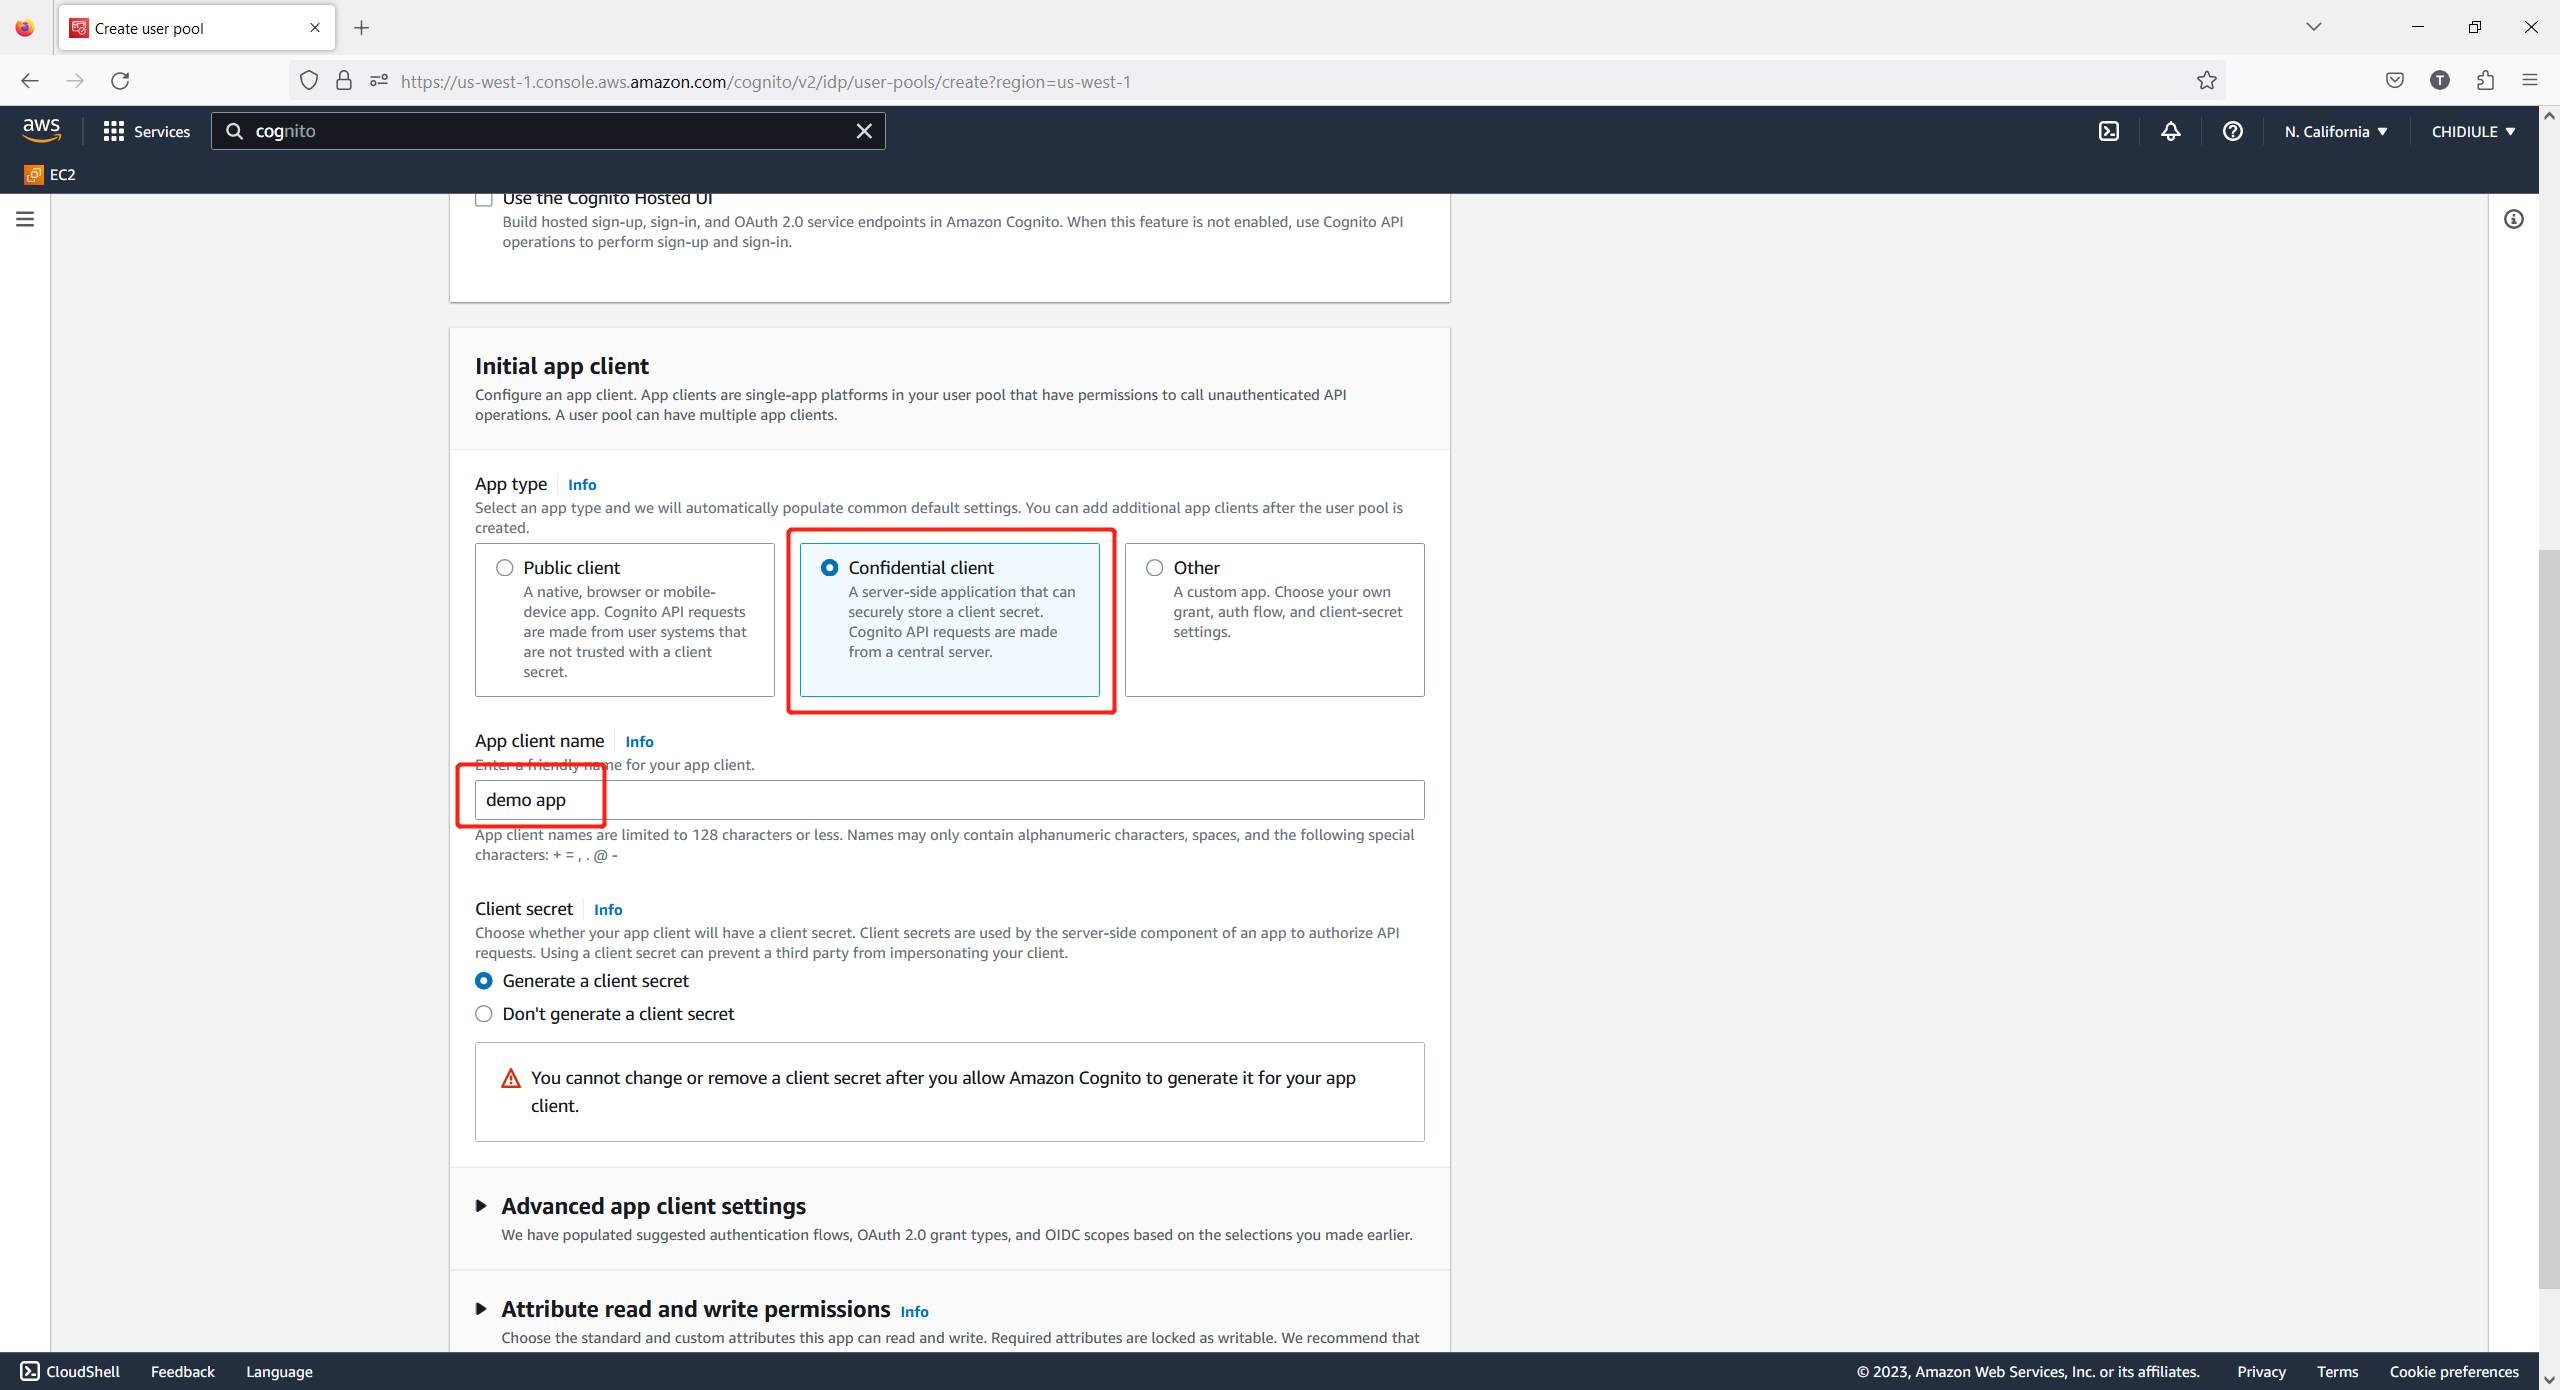
Choose app type as Confidential client, and input the App client name, then click Next:
Review all your settings and click the Create user pool:
Now, you have successfully created the app client. Note down the Pool ID: 
The Issuer we required is in the form of https://cognito-idp.${AWS-REGION}.amazonaws.com/${Pool_ID}. For example, it should be https://cognito-idp.us-west-1.amazonaws.com/us-west-1_JnFFmhMb5 for our test app client.
Click the App Integrated tab and scroll down to the bottom of the page. Click the client app you just created: 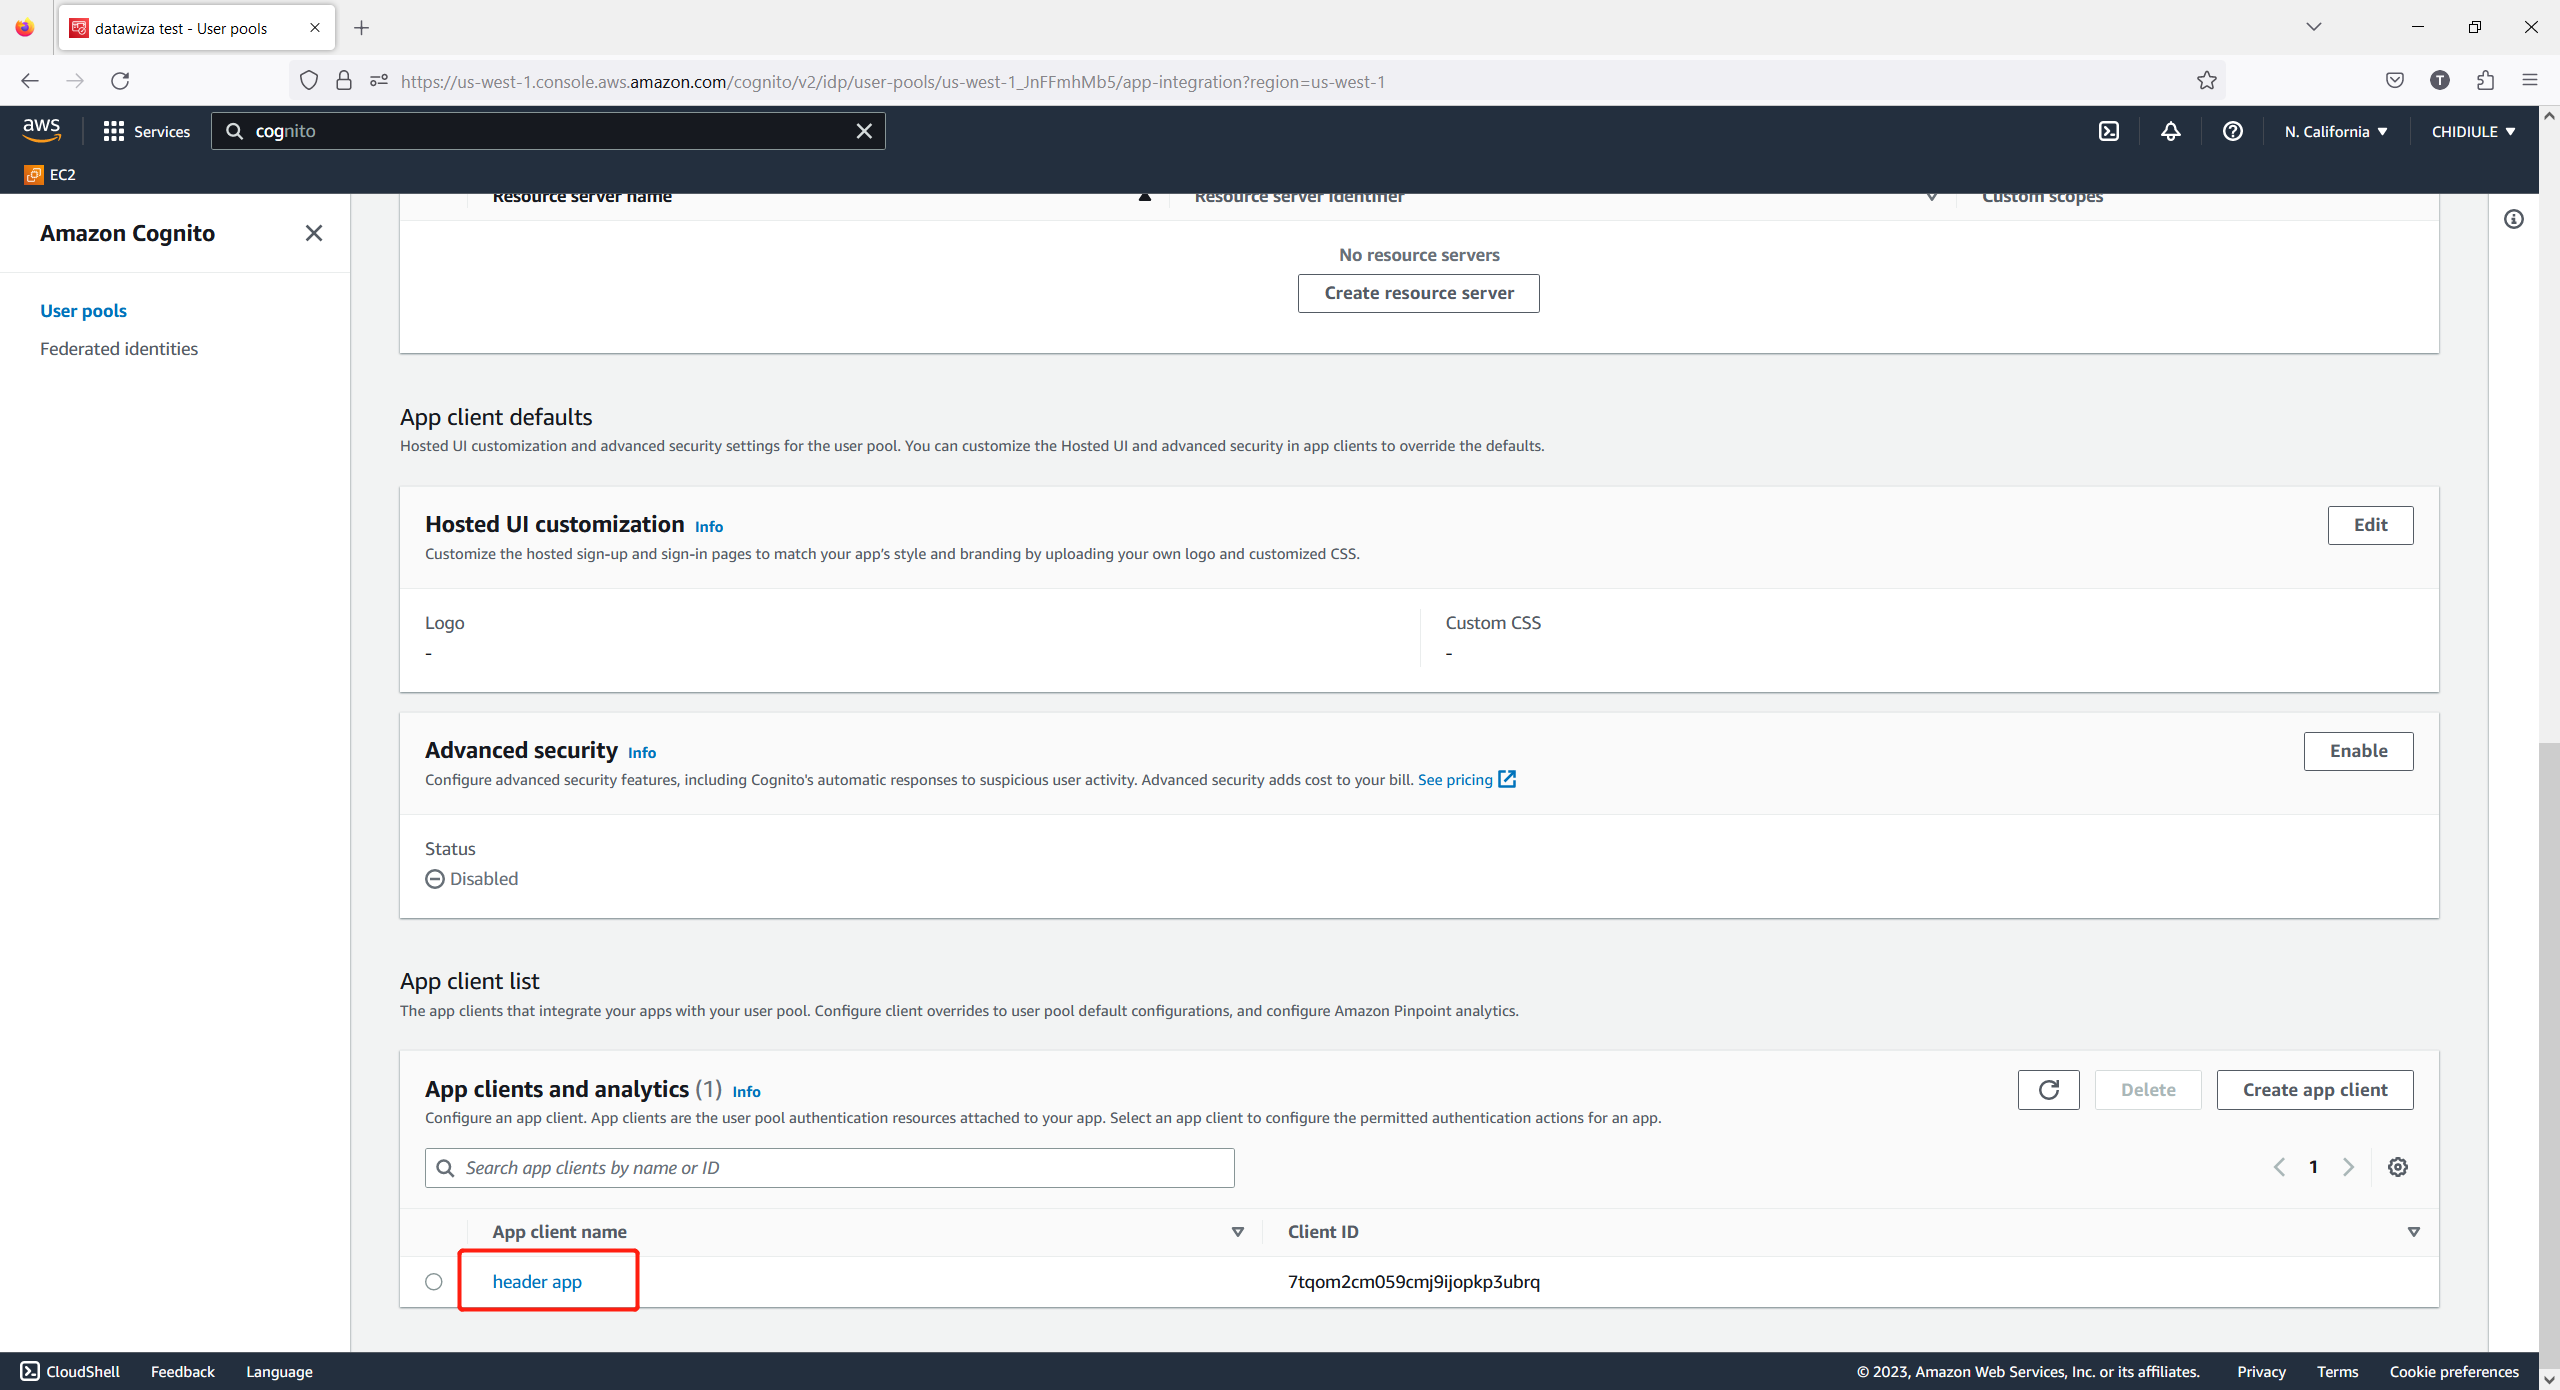
Note down the App client id and App client secret: 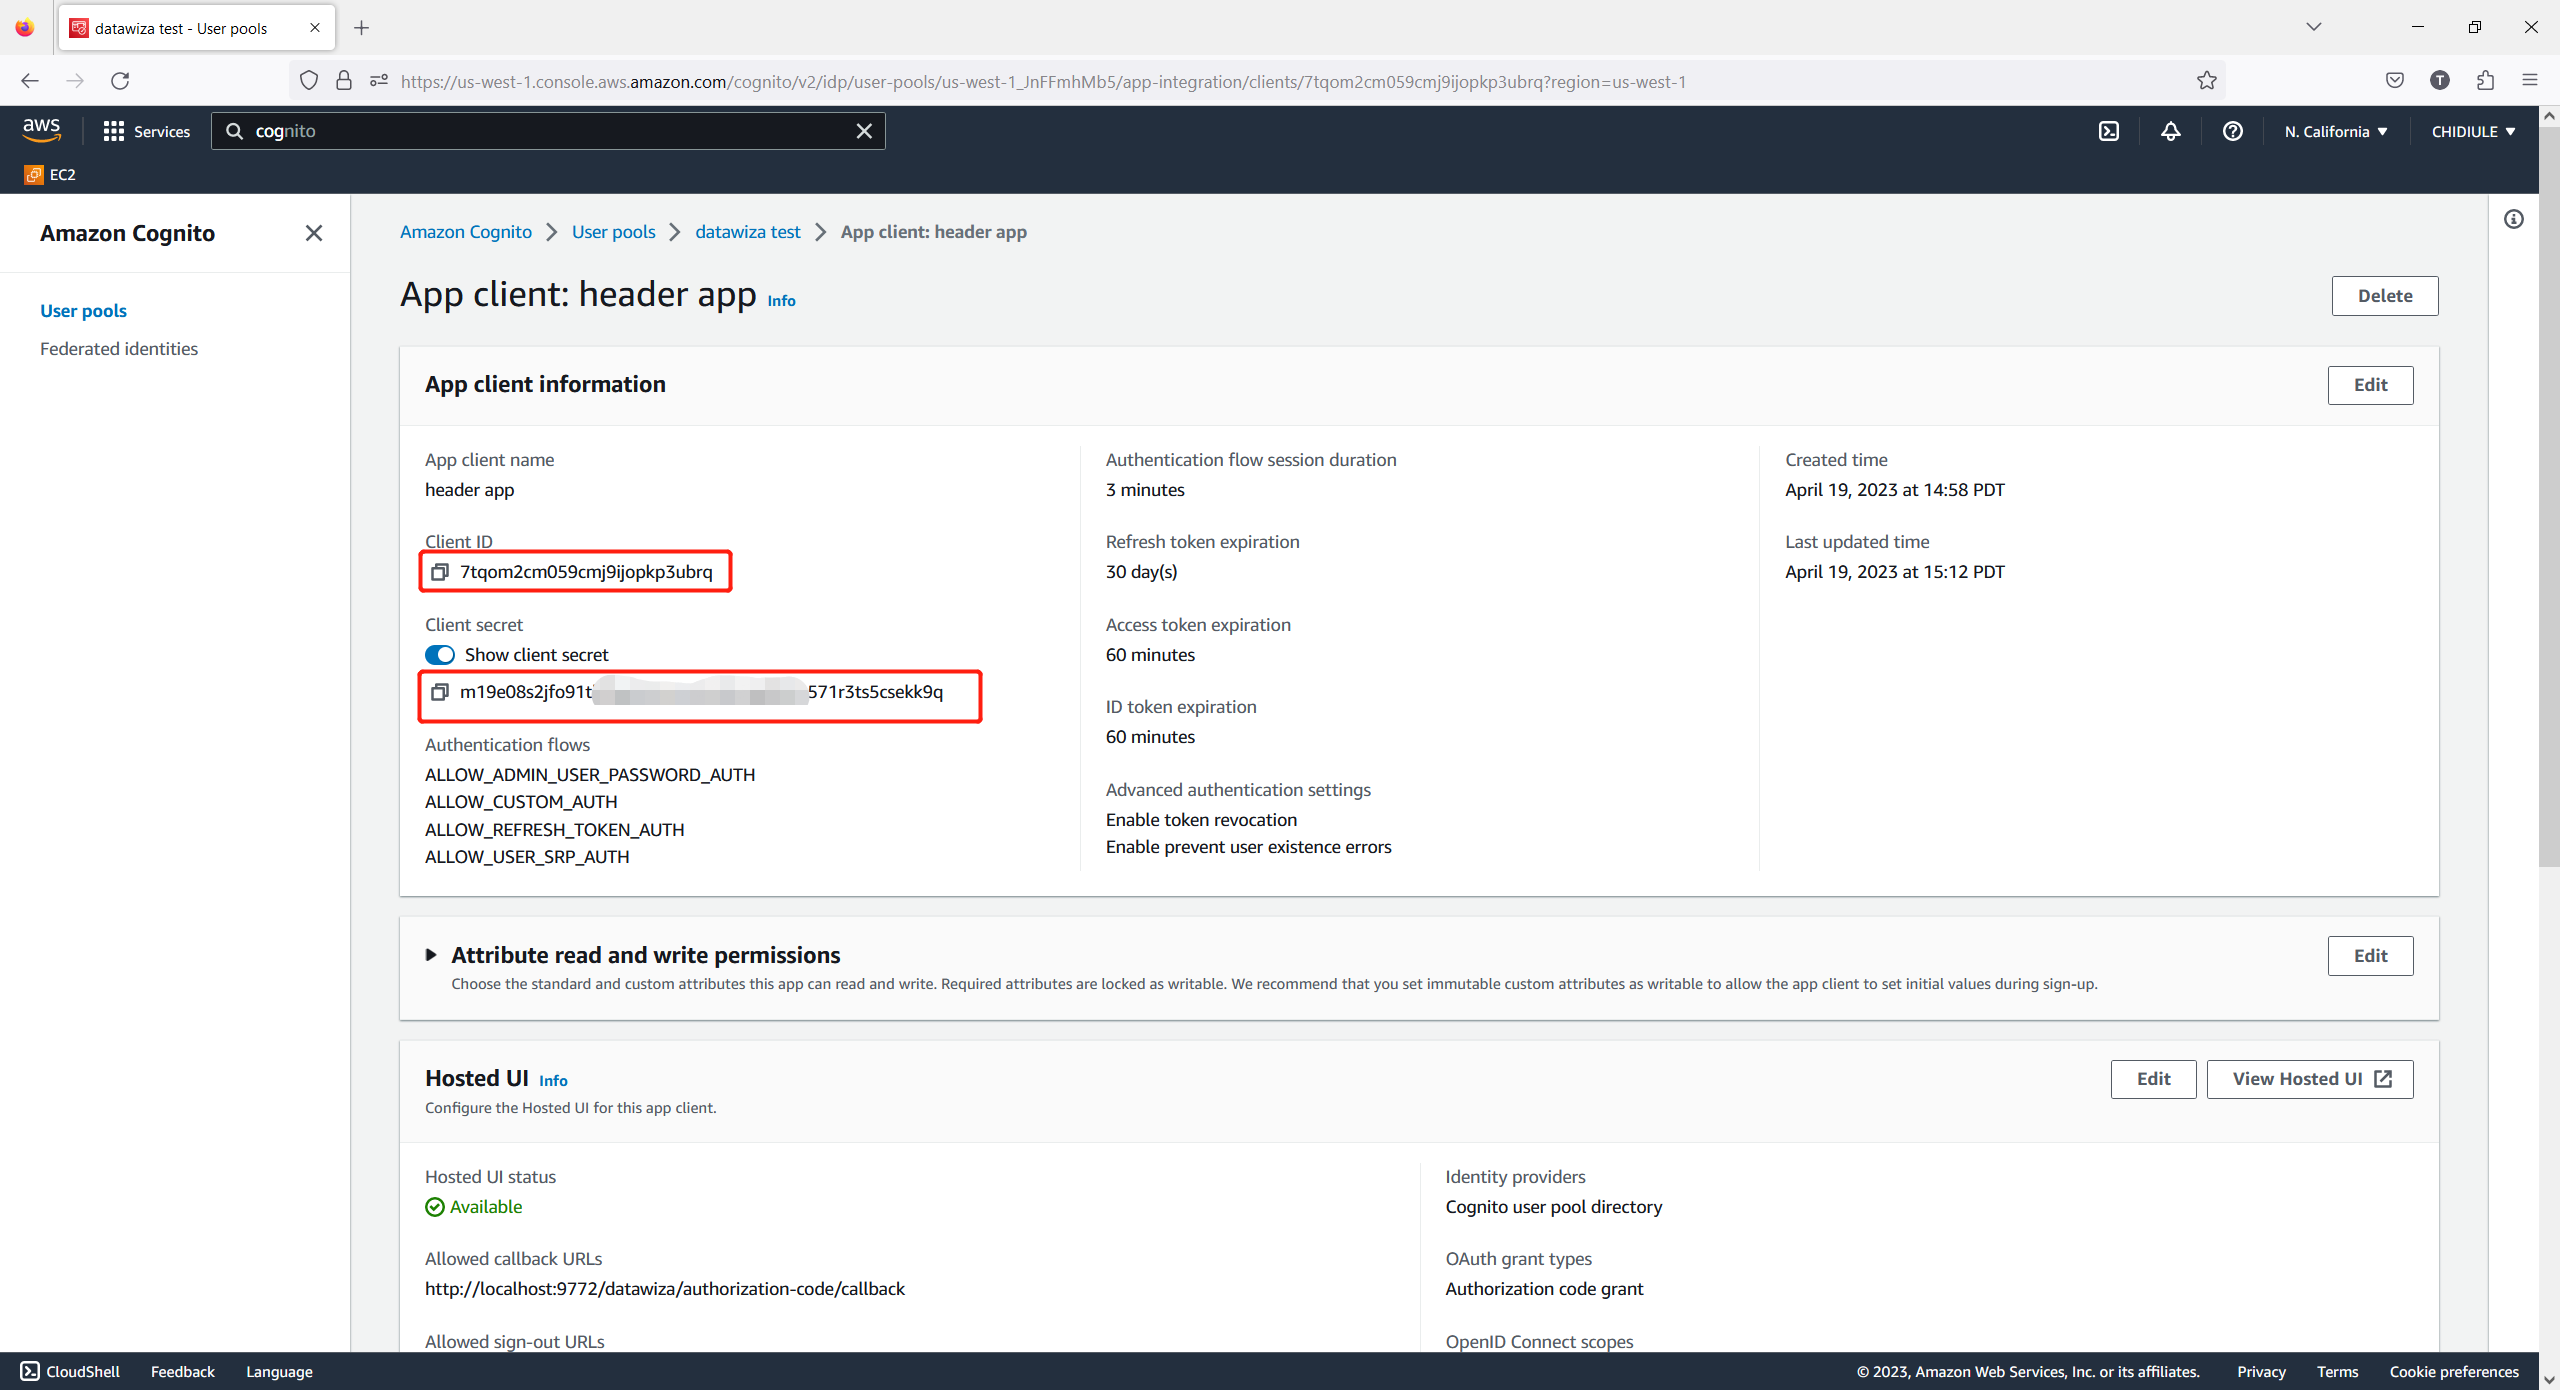
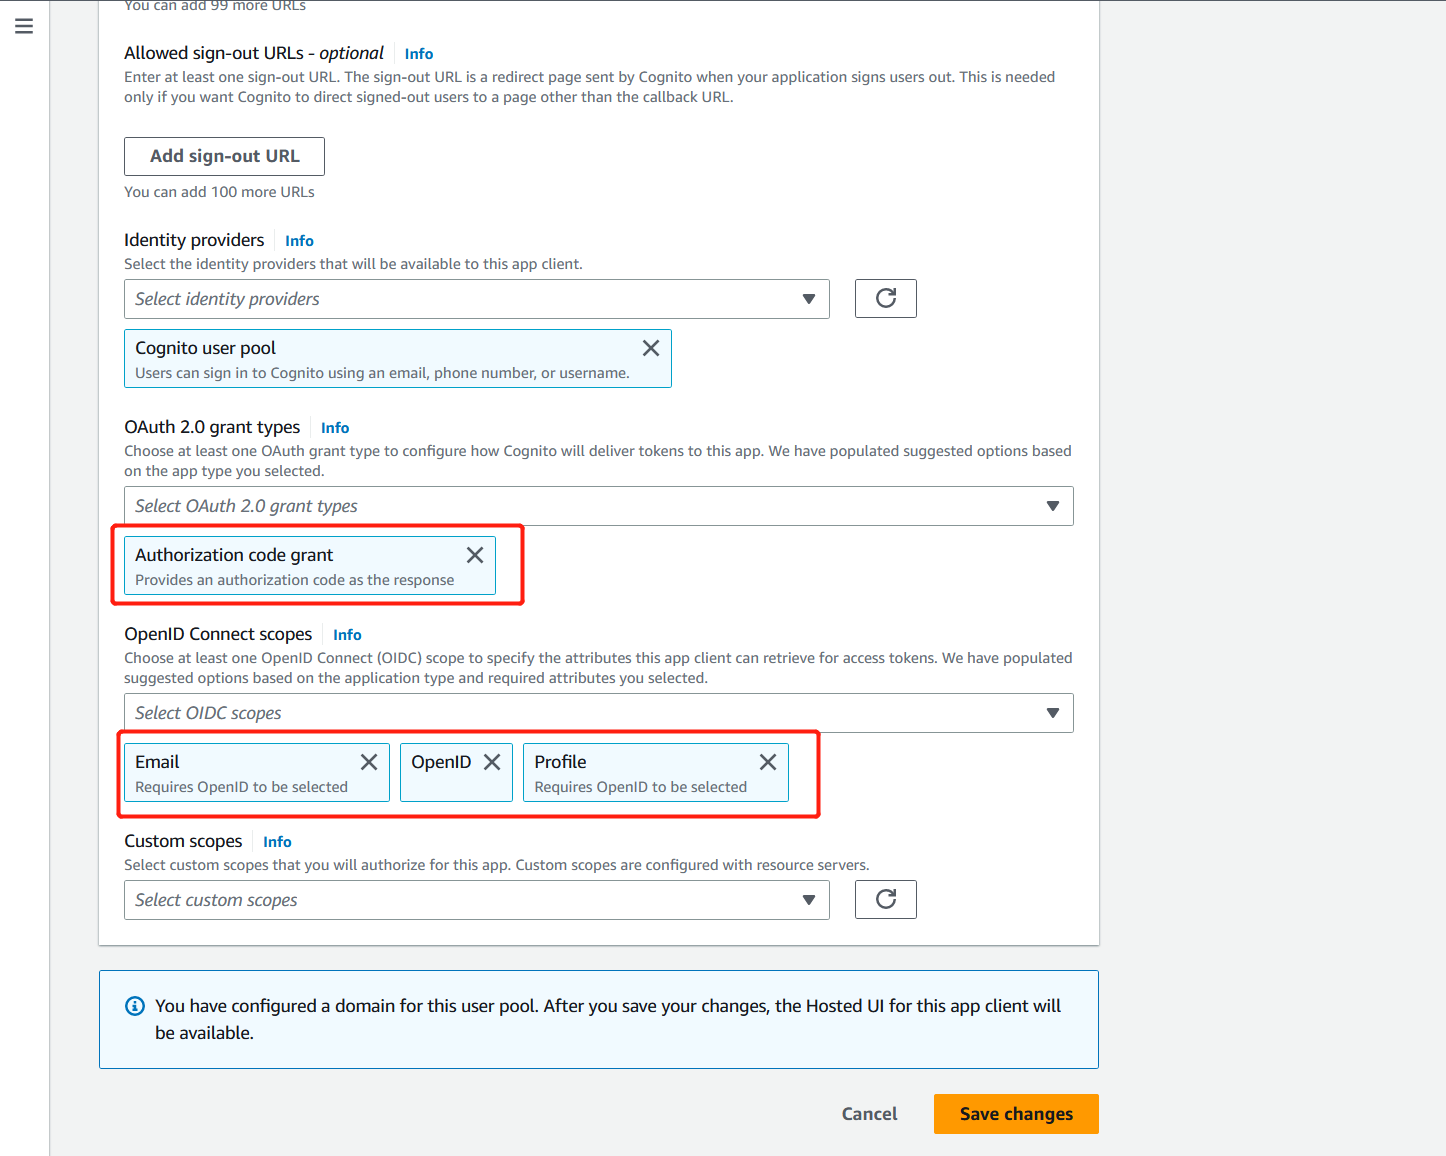
Click the Edit Hosted UI. Input Callback URL(s), which should be http://localhost:9772/datawiza/authorization-code/callback and choose Cognito user pool for Identity Providers. For OAuth 2.0 grant types, select Authorization code grant. For OpenID Conenct scopes, select Email, openid, and Profile. Then click Save changes. 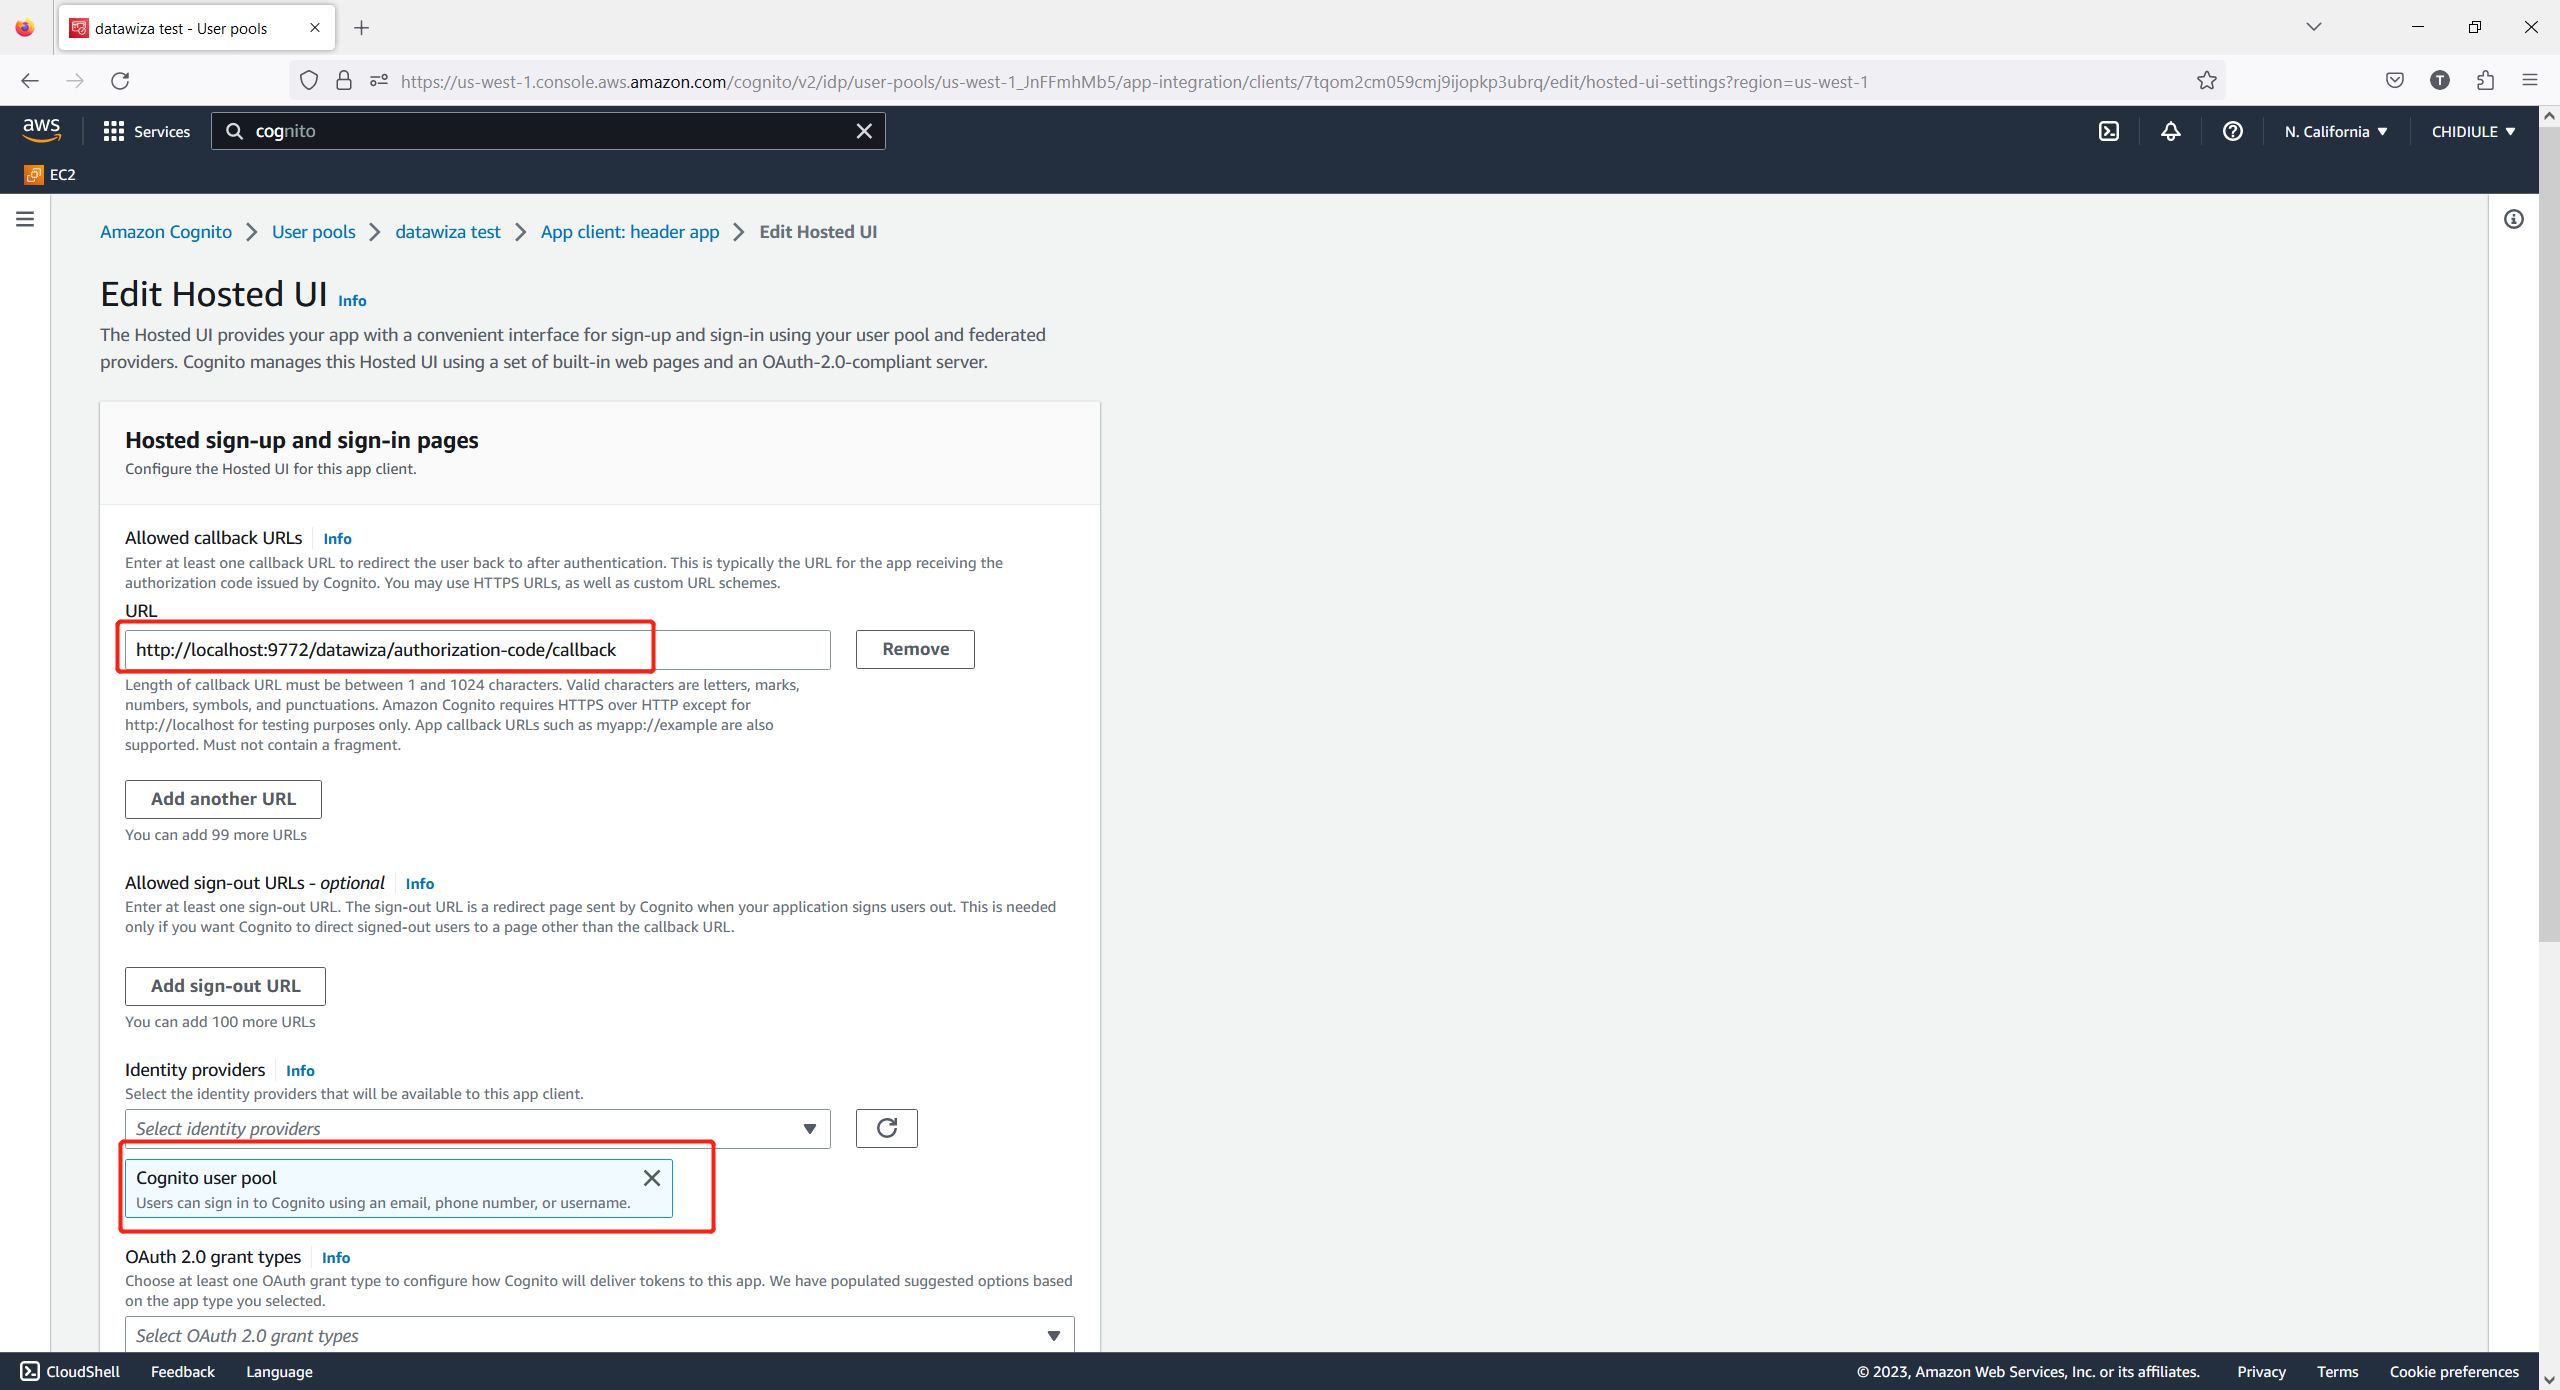
Select Domain, input the Domain prefix and note down the whole domain. It is the Domain we required: 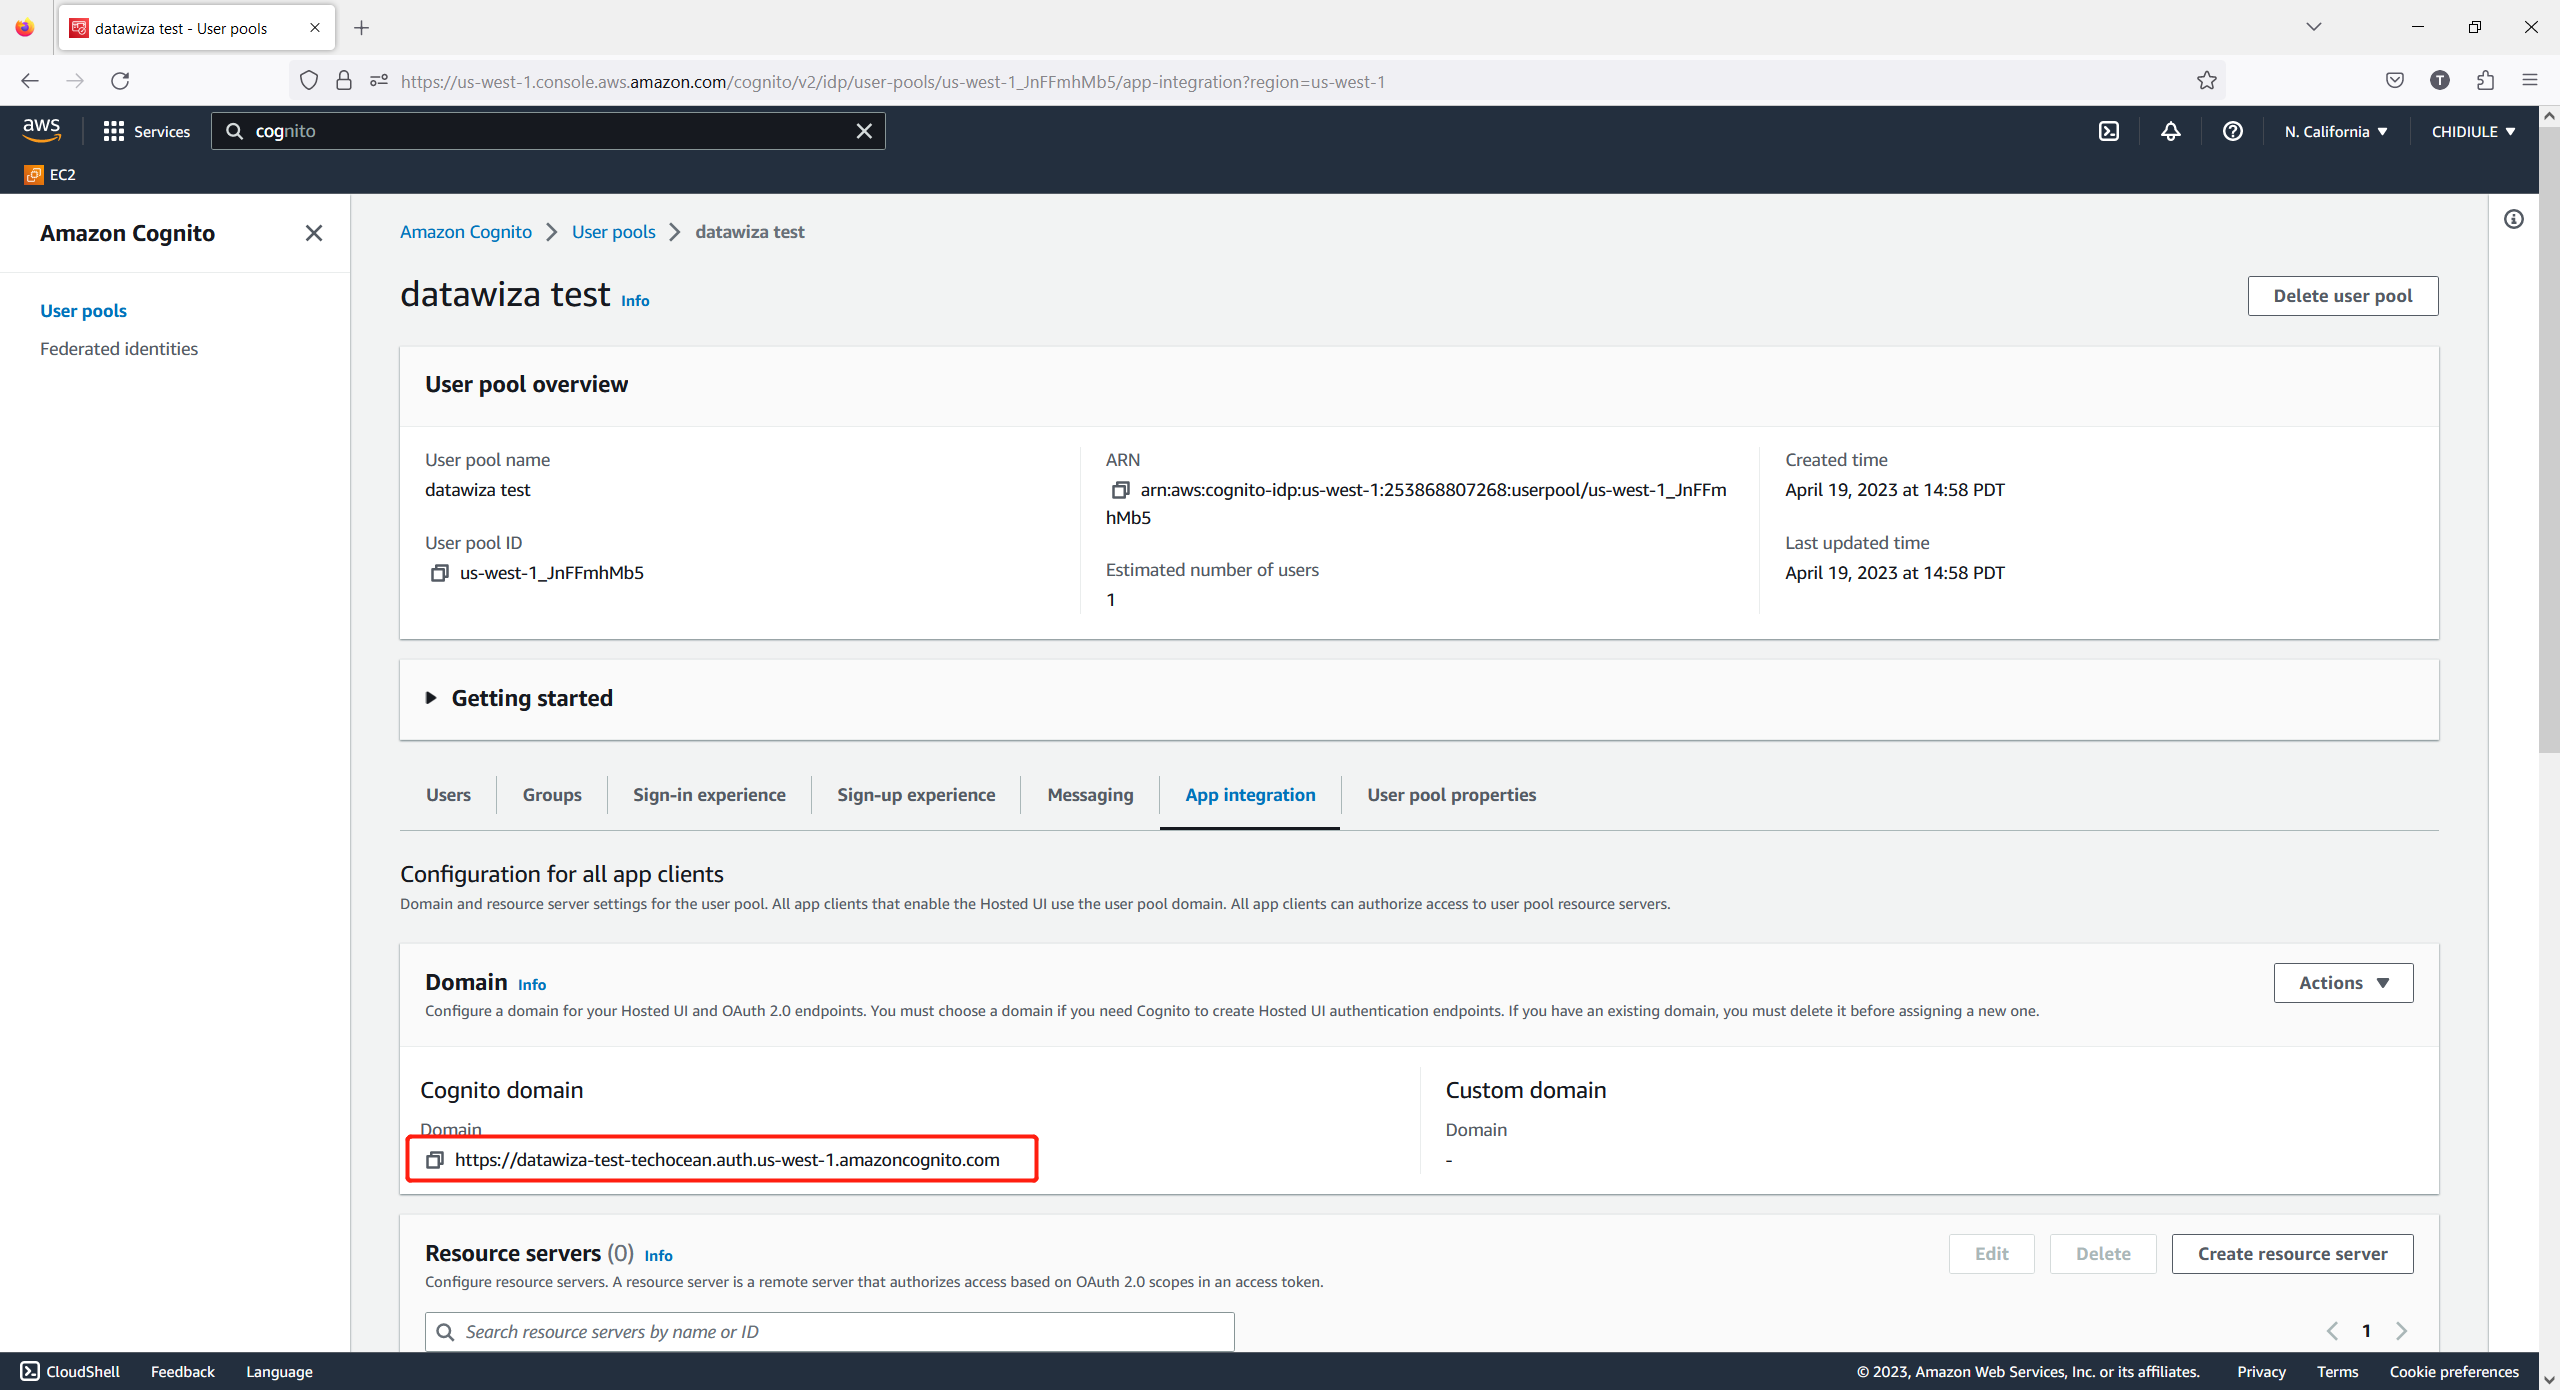
User and Groups
User
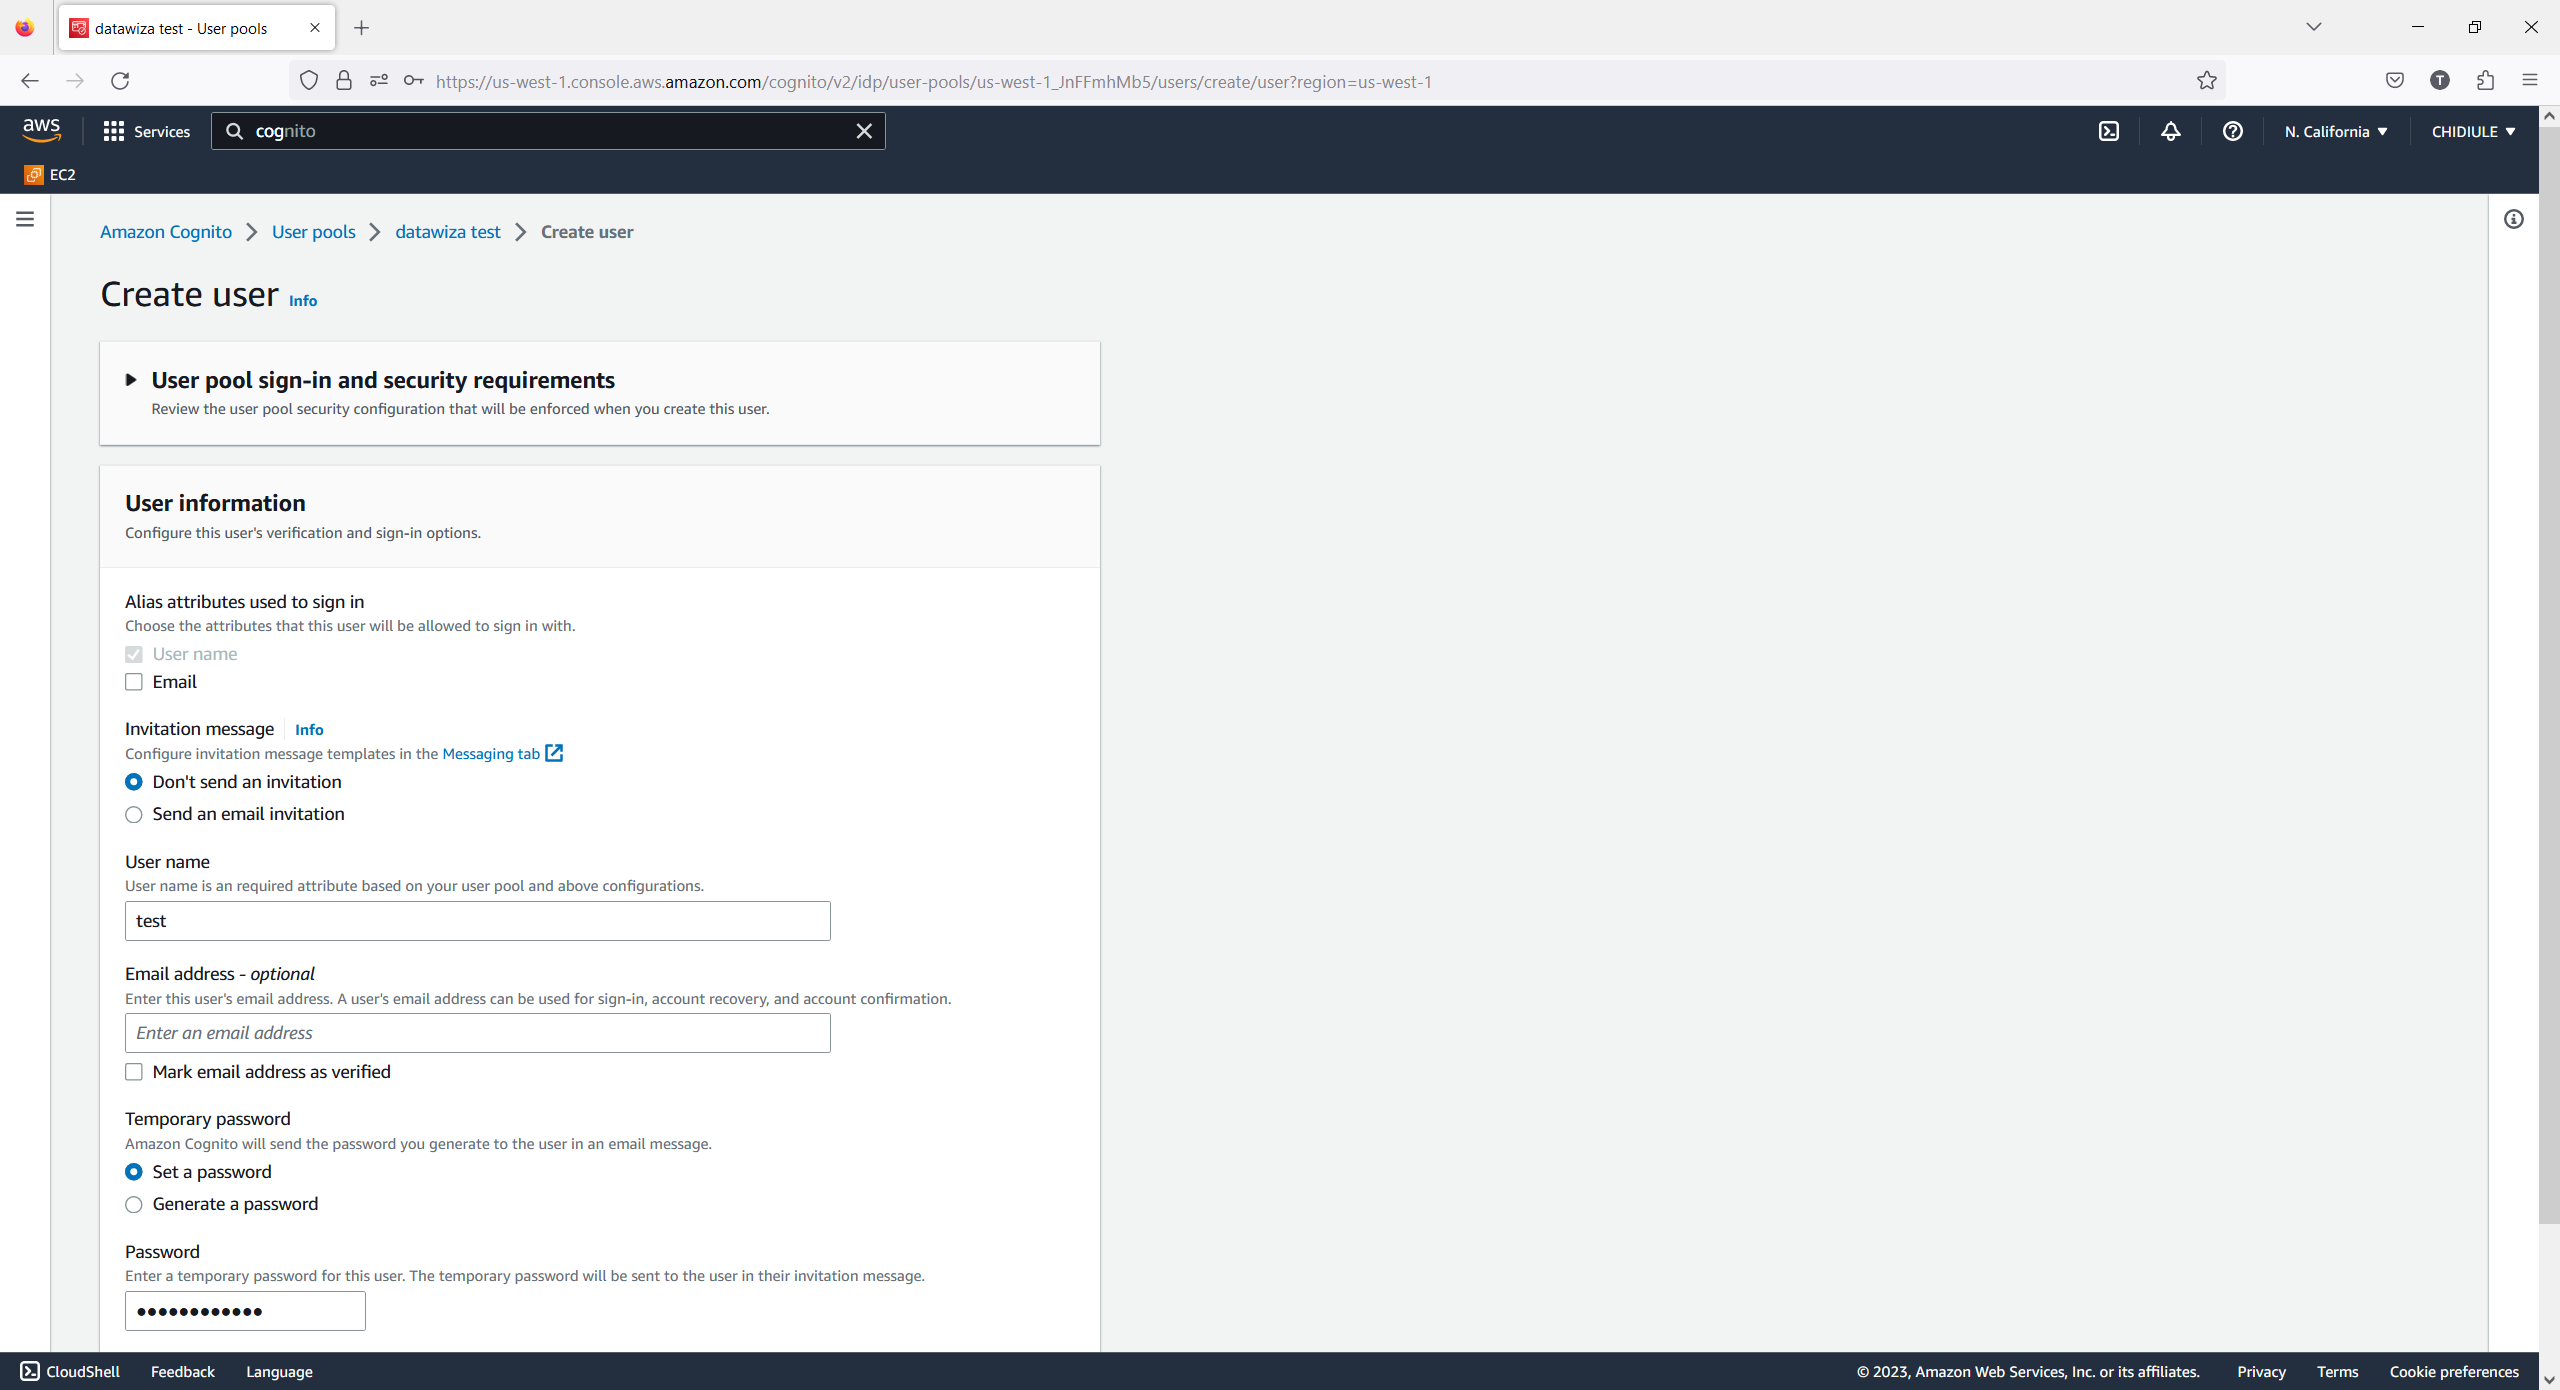
- Select Users and Groups, click Create User. Input the basic information, then click Create User:
Groups (Optional)
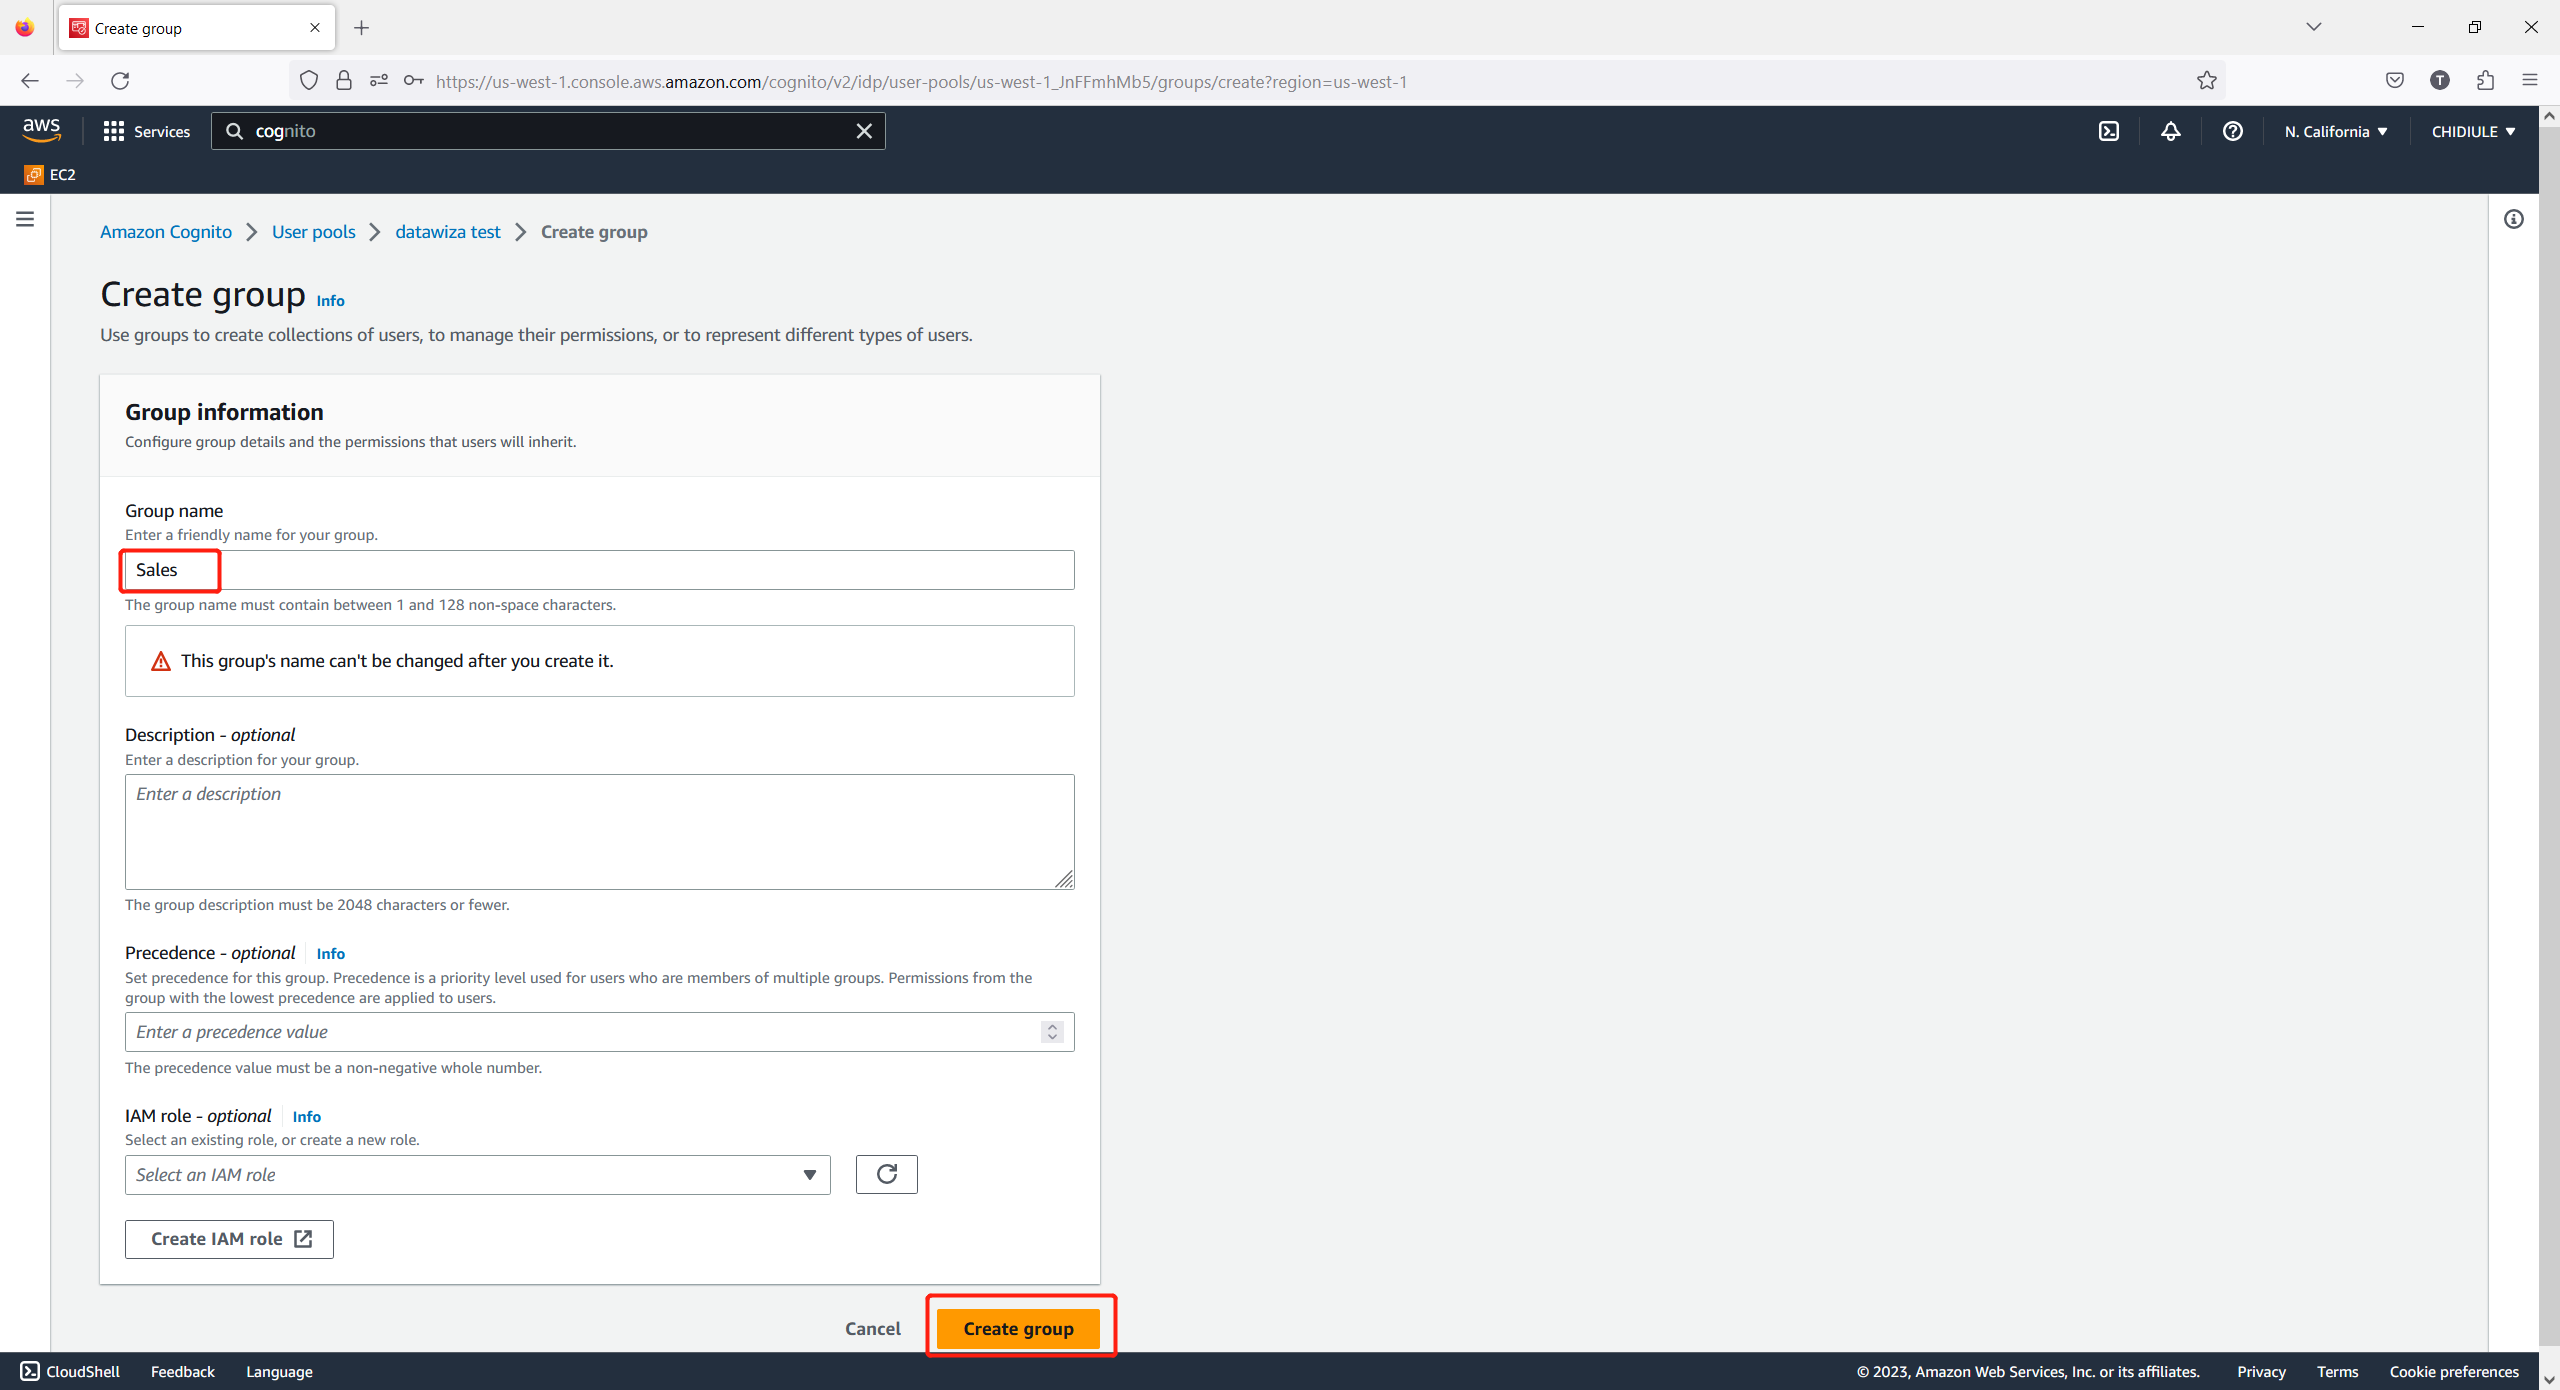
Select Groups tab and click Create group, Input the basic information, then click Create group:
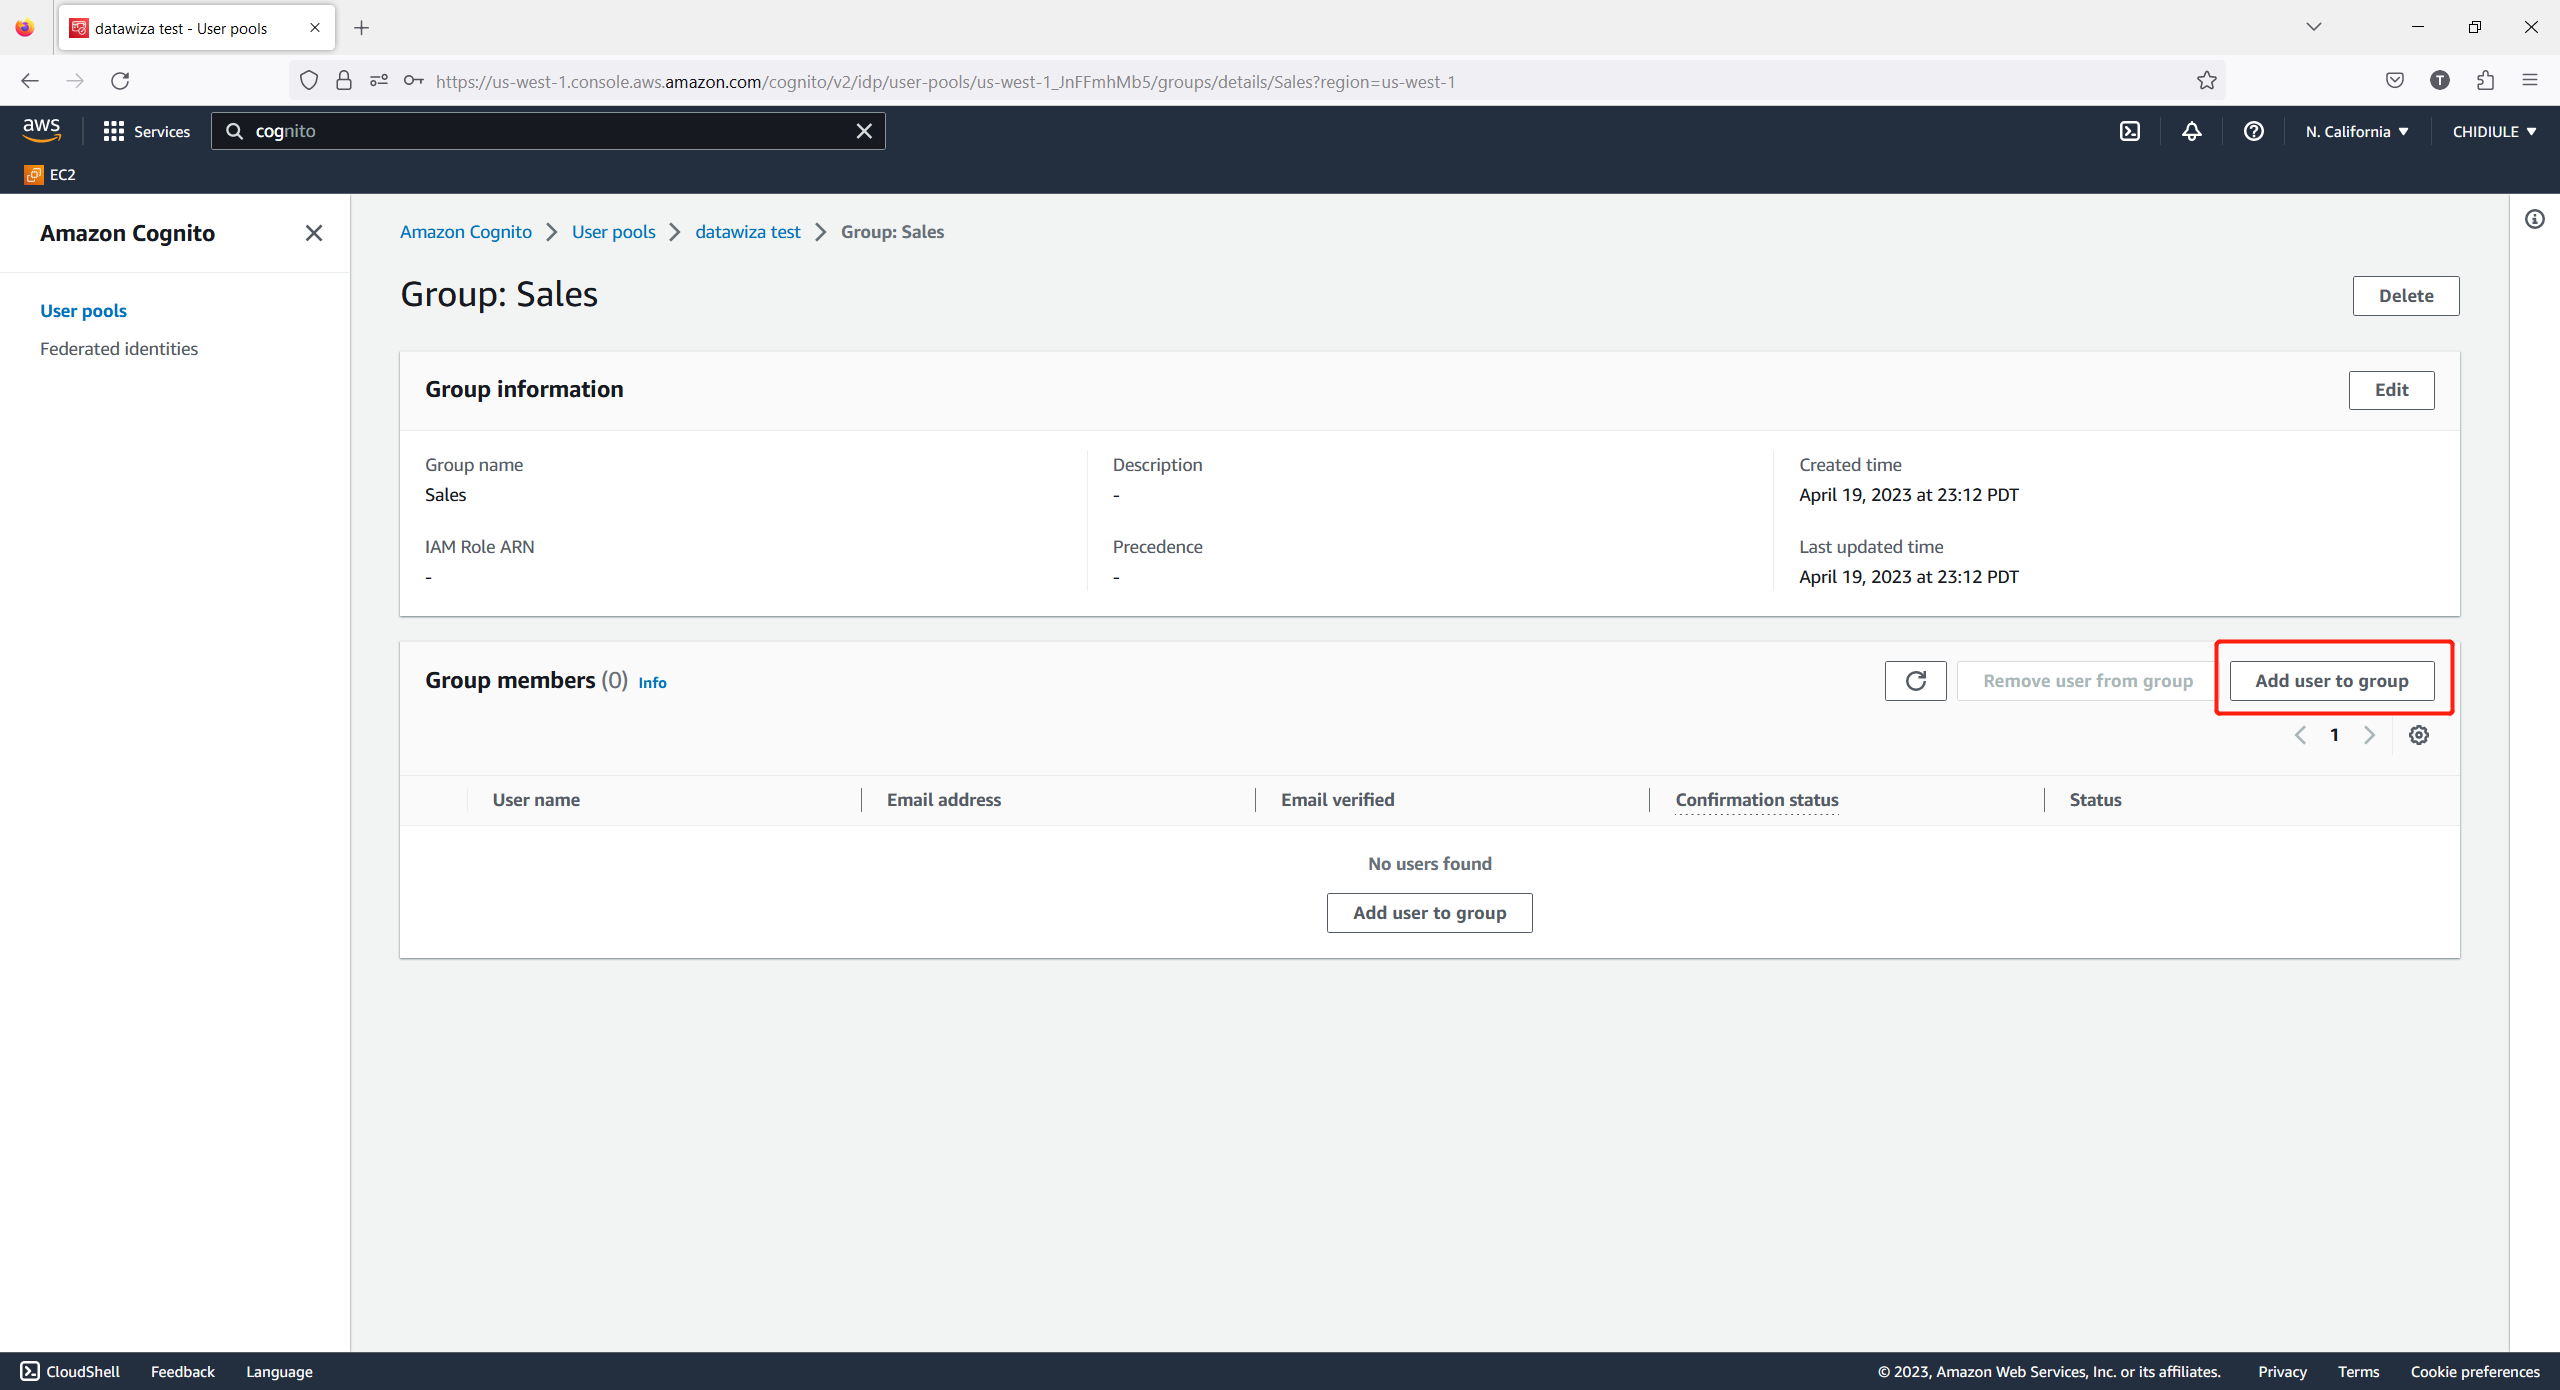
Click the group we just created, then click Add user to group:
 Add the user:
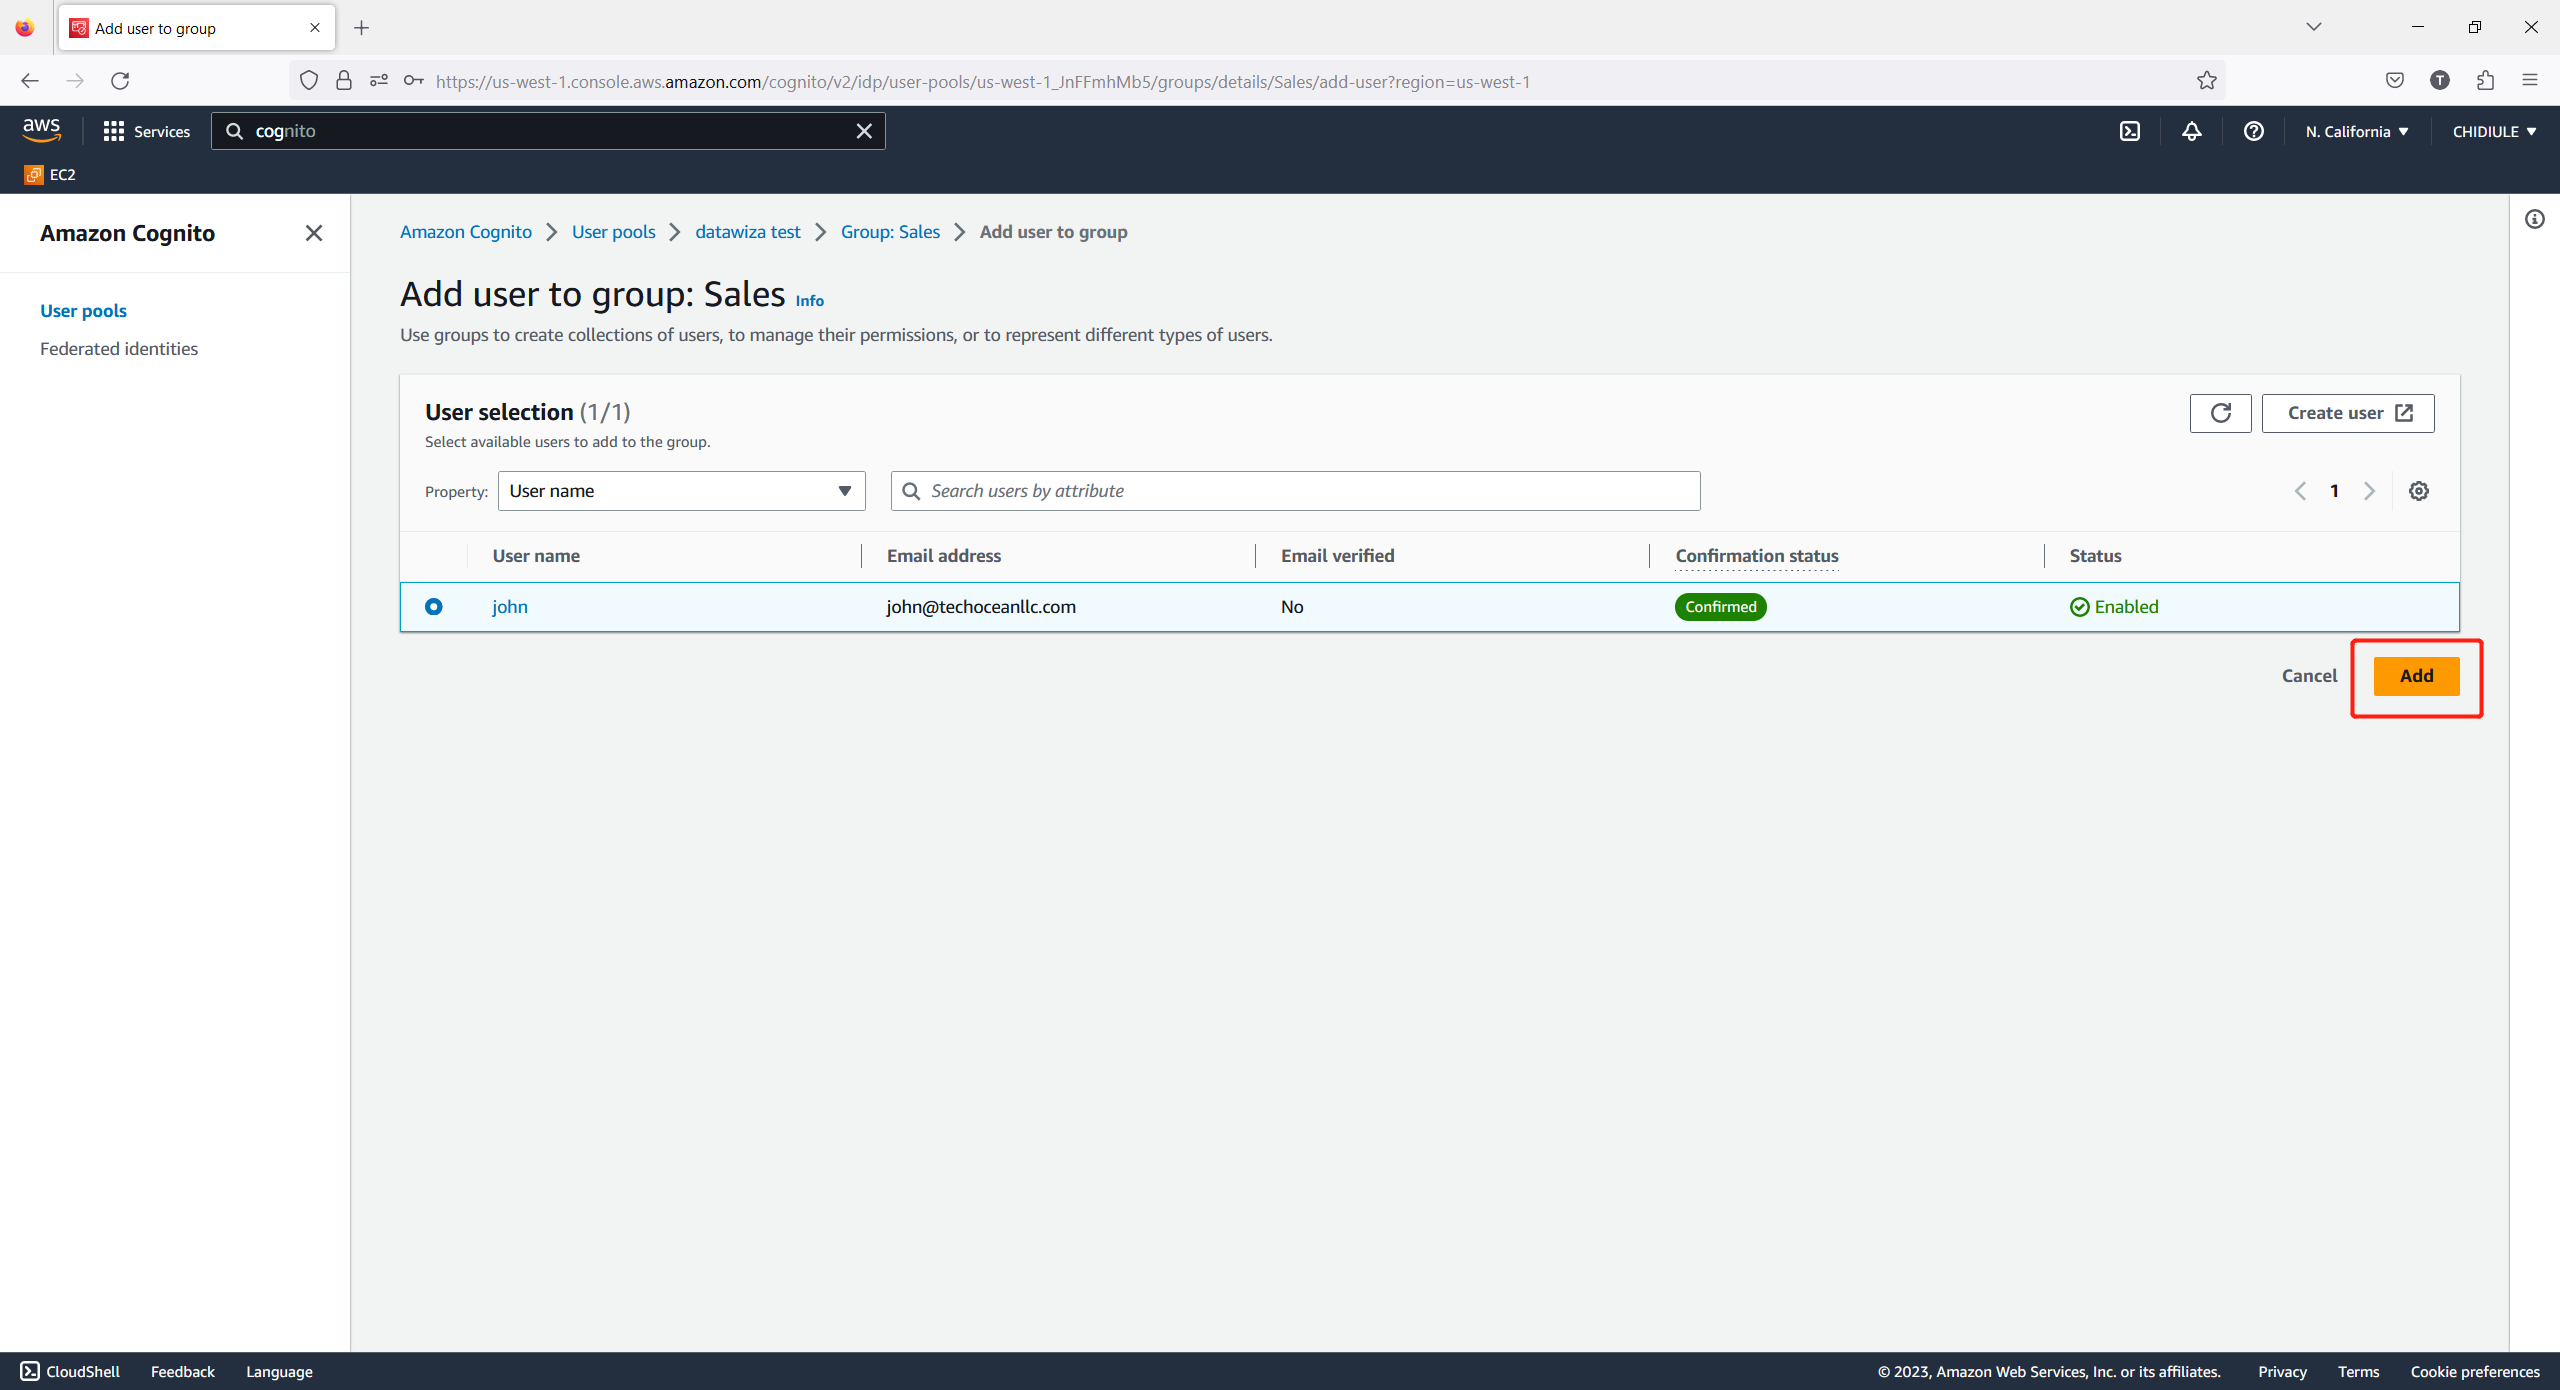
Summary
We have shown how to register an app client on Cognito. Please make sure to save the following values for later setting in Datawiza Cloud Management Console.
- Client ID
- Client Secret
- Issuer
- Domain