Datawiza Access-Proxy WordPress Integration
Overview
This tutorial shows how to enable SSO and MFA for an WordPress application via Datawiza.
The benefits of integrating applications with SSO via Datawiza includes:
- Quick Implementation: Datawiza can typically be deployed in minutes by few clicks, without the need for code changes.
- Multi-Tenant SSO Integration: Integrate with any identity providers including Microsoft Entra ID (Azure AD), Okta, Ping, Cisco Duo, IDCS, Google Workspace and others via OpenID Connect (OIDC), OAuth, SAML, LDAP.
- Patch-Free Solution: No patches or additional installations on your existing applications. Simply run our container on a separate server for an easy and seamless integration.
- single control plane: A single control plane, Datawiza Cloud Manage Console, to manage access to applications in public clouds and on-premise.
Background
In this demo, we are using Okta as our identity provider, but you can replace it with any other Identity Provider as you want. We have a WordPress running in docker on port 8081: http://{your_WordPress_url}:8081. And the docker-compose.yml is like:
version: '3.1'
services:
  wordpress:
    image: wordpress
    depends_on:
      - db
    ports:
      - 8081:80
    environment:
      WORDPRESS_DB_HOST: db
      WORDPRESS_DB_USER: exampleuser
      WORDPRESS_DB_PASSWORD: examplepass
      WORDPRESS_DB_NAME: exampledb
    volumes:
      - wordpress:/var/www/html

  db:
    image: mysql:5.7
    restart: always
    environment:
      MYSQL_DATABASE: exampledb
      MYSQL_USER: exampleuser
      MYSQL_PASSWORD: examplepass
      MYSQL_RANDOM_ROOT_PASSWORD: '1'
    volumes:
      - db:/var/lib/mysql

volumes:
  wordpress:
  db:
Let's walk through deploying Datawiza Access-Proxy (DAP) and enabling SSO for WordPress, step by step. Before we begin, let's ensure you have the following prerequisites in place:
Prerequisites
Prior Datawiza Access Proxy experience isn't necessary, but you need:
- An Okta subscription. If you don't have one, you can get an Okta free account.
- An account with Okta and the Application administrator role.
- Install Docker and Docker Compose.
- An Wordpress environment. Or you can use the one we provided in the docker compose file.
- (Optional) An SSL web certificate to publish services over HTTPS. You can also use default Datawiza self-signed certs for testing.
Configure Datawiza Cloud Management Console (DCMC)
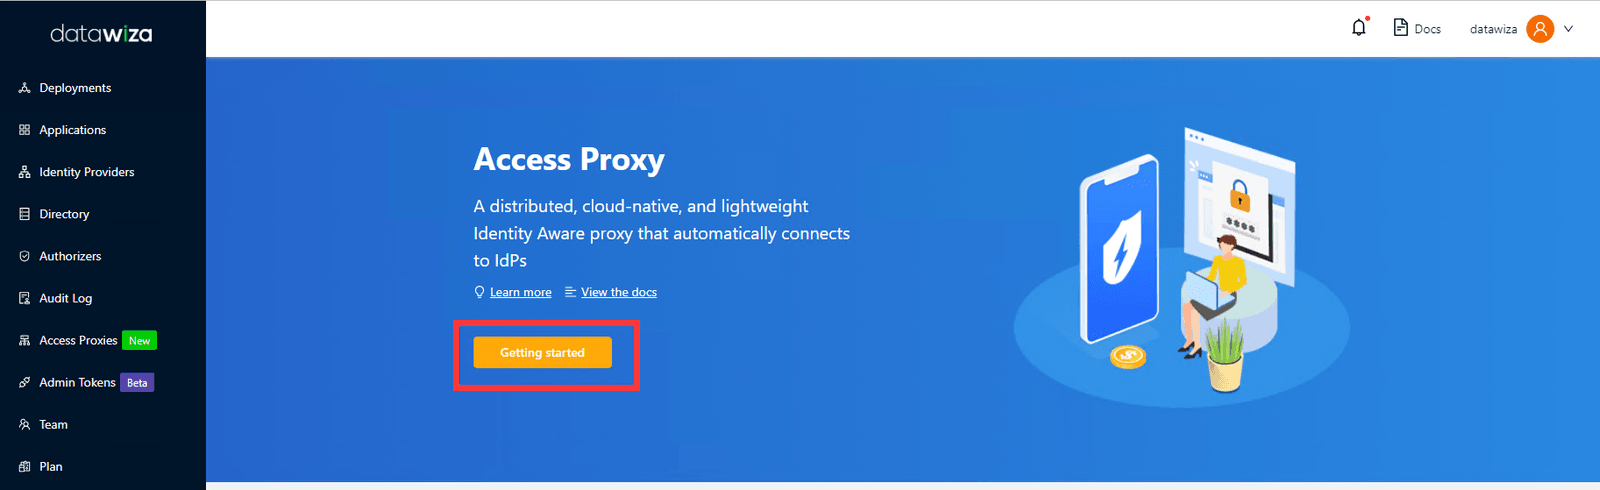
Sign in to Datawiza Cloud Management Console.
The Welcome page appears.
Select the orange Getting started button.
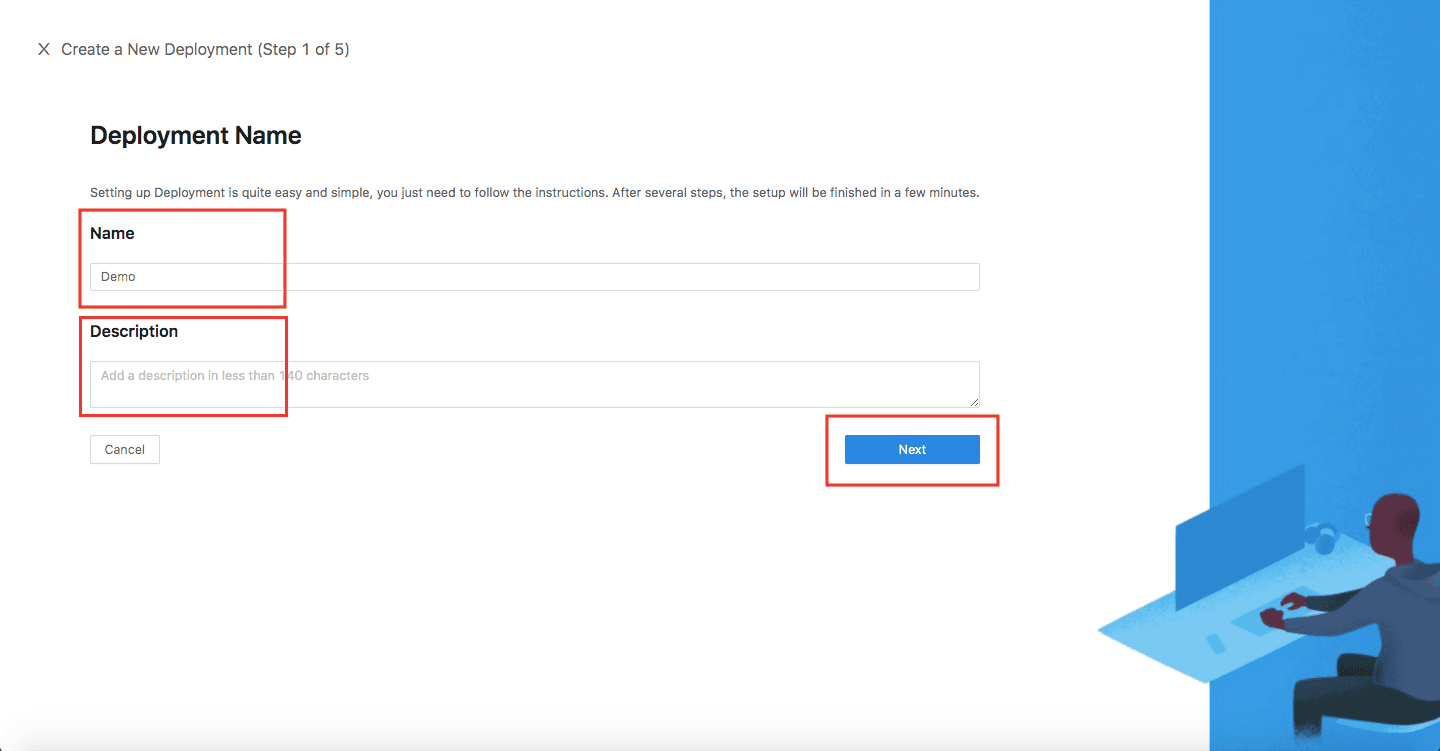
In the Name and Description fields, enter the relevant information.
Select Next.
On the Add Application dialog, use the following values:
Property Value Platform Web App Name Enter a unique application name. Public Domain For example: https://wordpress.example.com. For testing, you can use localhost DNS. If you aren't deploying DAP behind a load balancer, use the Public Domain with the port.SSL Check the Enable SSL and use datawiza self-signed certificate checkbox for testing if you are using SSL. For production, you can upload your own certificates. Listen Port The port that DAP listens on. I use 443. Upstream Servers The WordPress implementation URL and port to be protected. In this demo, it would be http://wordpress:80.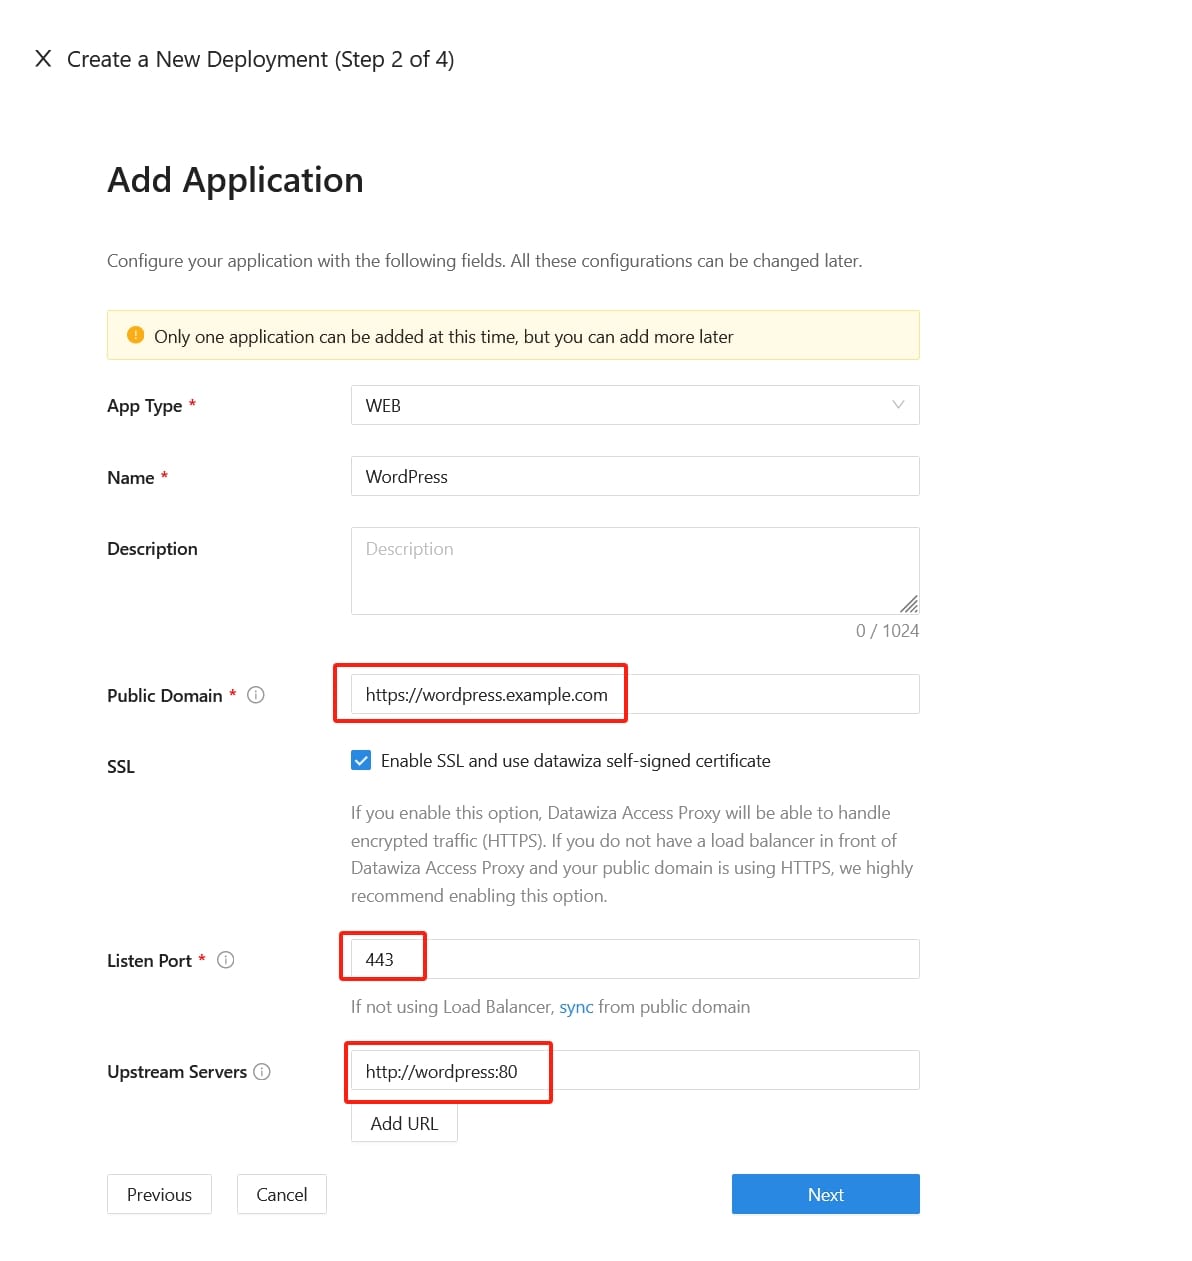
Select Next.
On the Configure IdP dialog, enter the relevant information.
Input the IdP name. Select
OIDCasProtocolandOktaasIdentity Provider. Populate the fields of the form with the keys/values obtained from IdP Configuration Guide: Okta.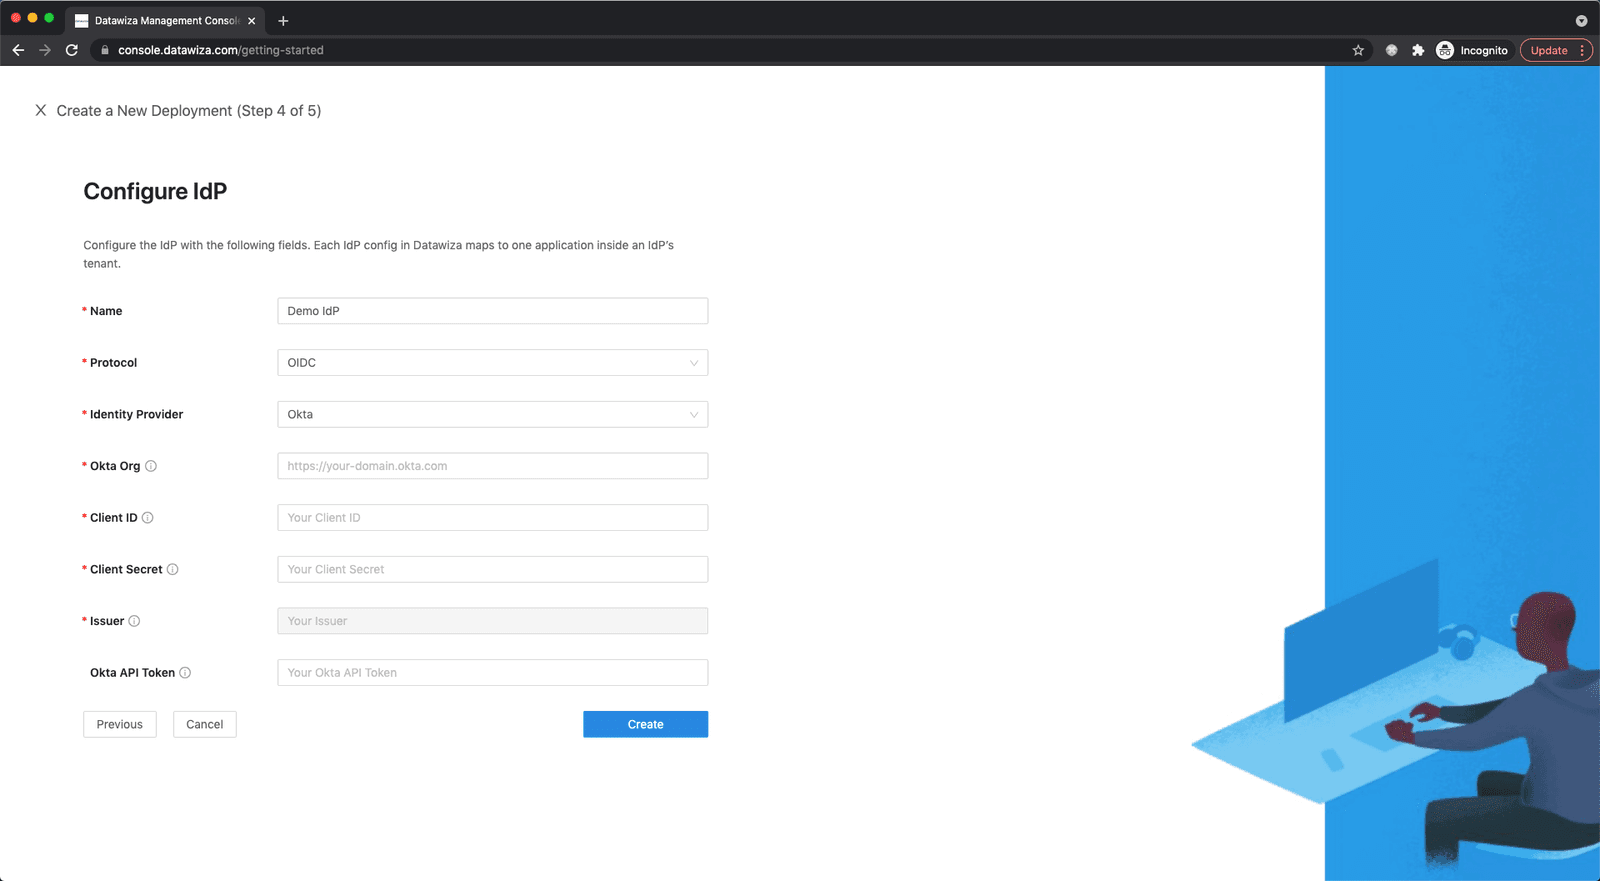
Select Create.
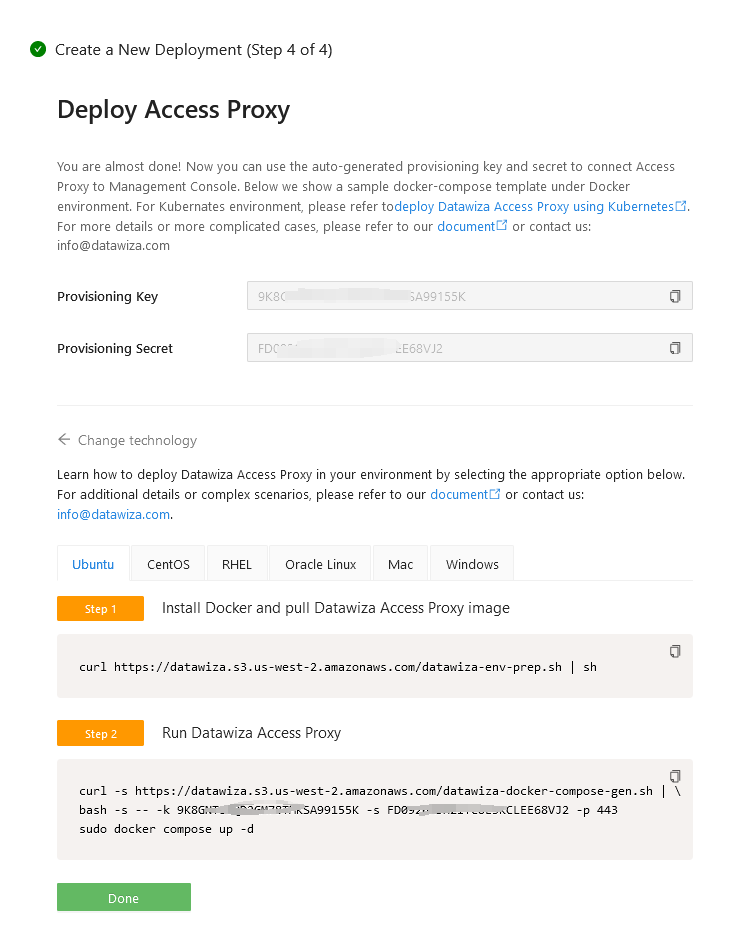
Install and run Datawiza Access Proxy
Once clicking on the Create button, the basic configuration on the management console is finished. You will see the final step of the guide, which presents you with a page showing the simple steps to deploy Datawiza Access Proxy (DAP) with your application. Note down the commands for your deployment. The first command will download Docker and Datawiza Access Proxy image, and the second command will create a Docker Compose file and run Datawiza Access Proxy. You can refer to Install and Run Datawiza Access Proxy by command for more information.
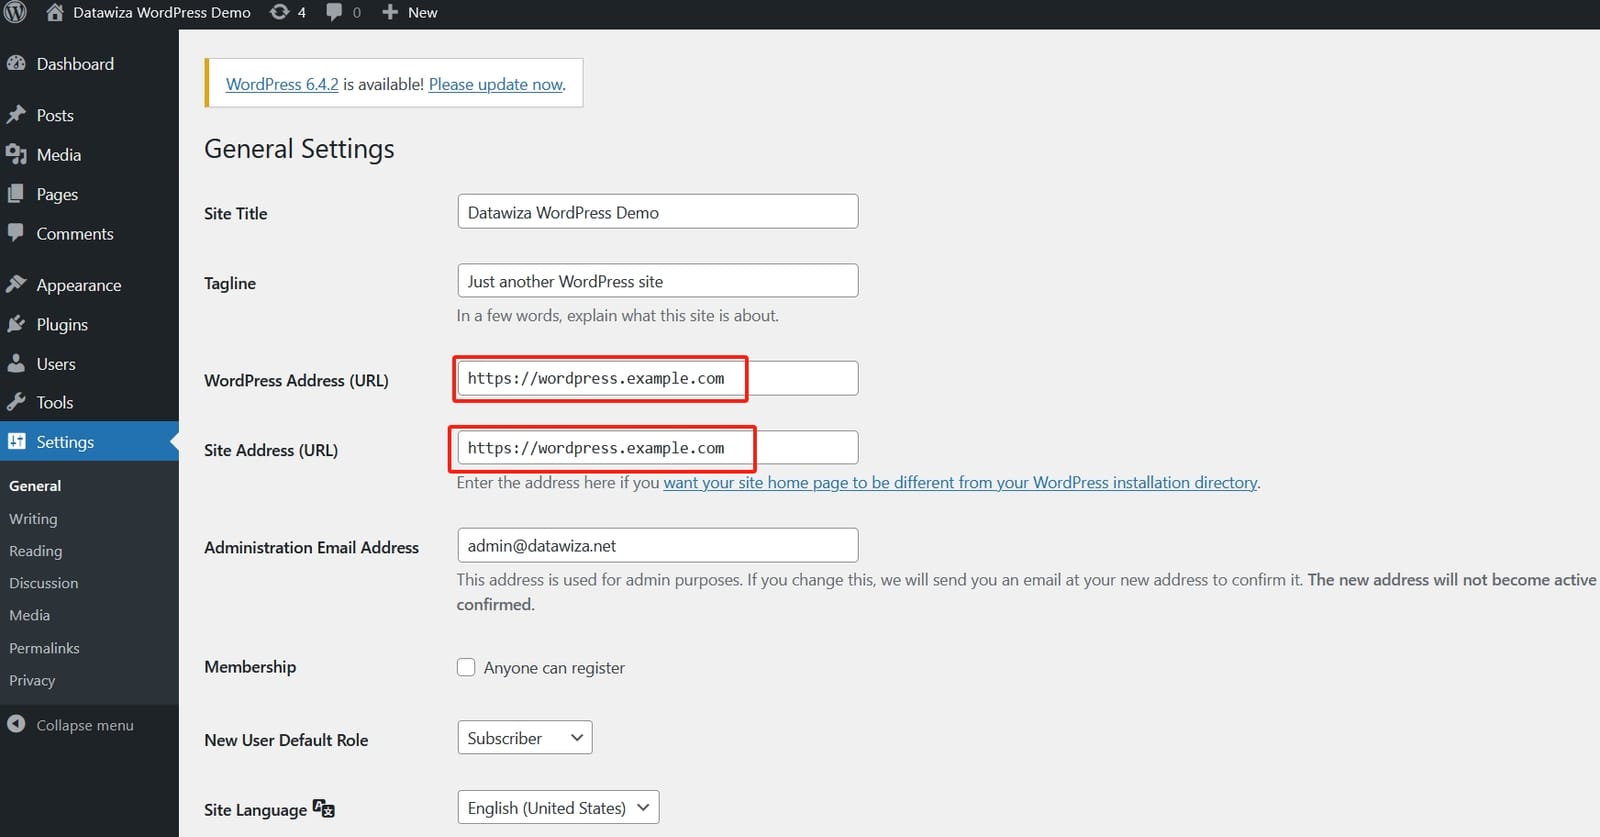
Update WordPress Address
Meanwhile, we need to change WordPress configuration. Please keep the WordPress Address (URL) and Site Address (URL) the same as the Public Domain you've configured in DCMC:
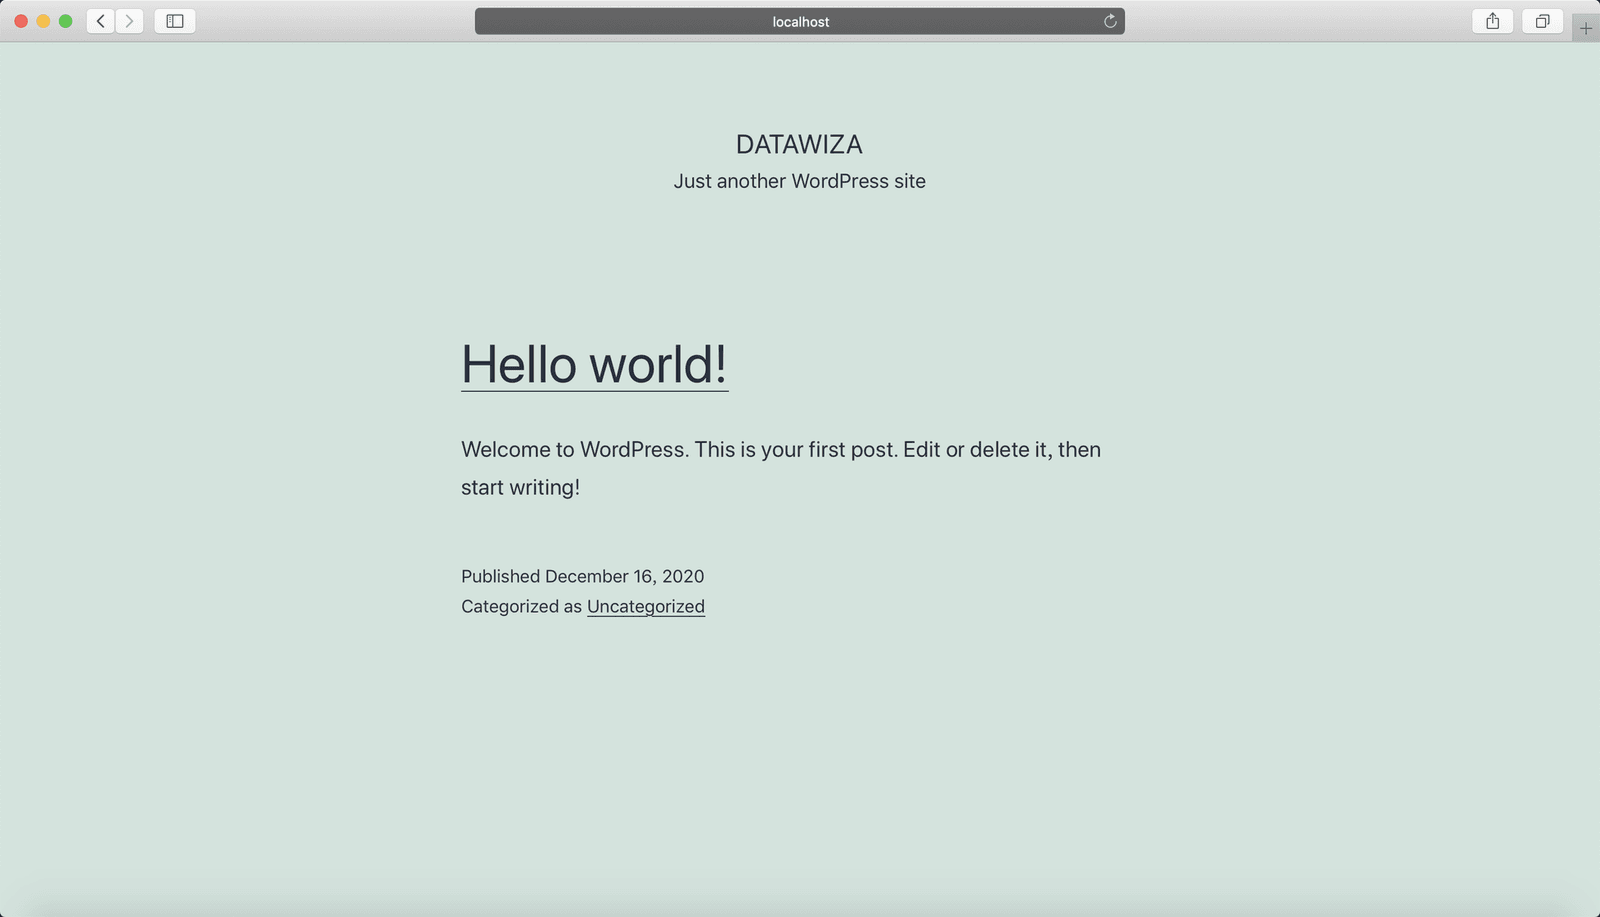
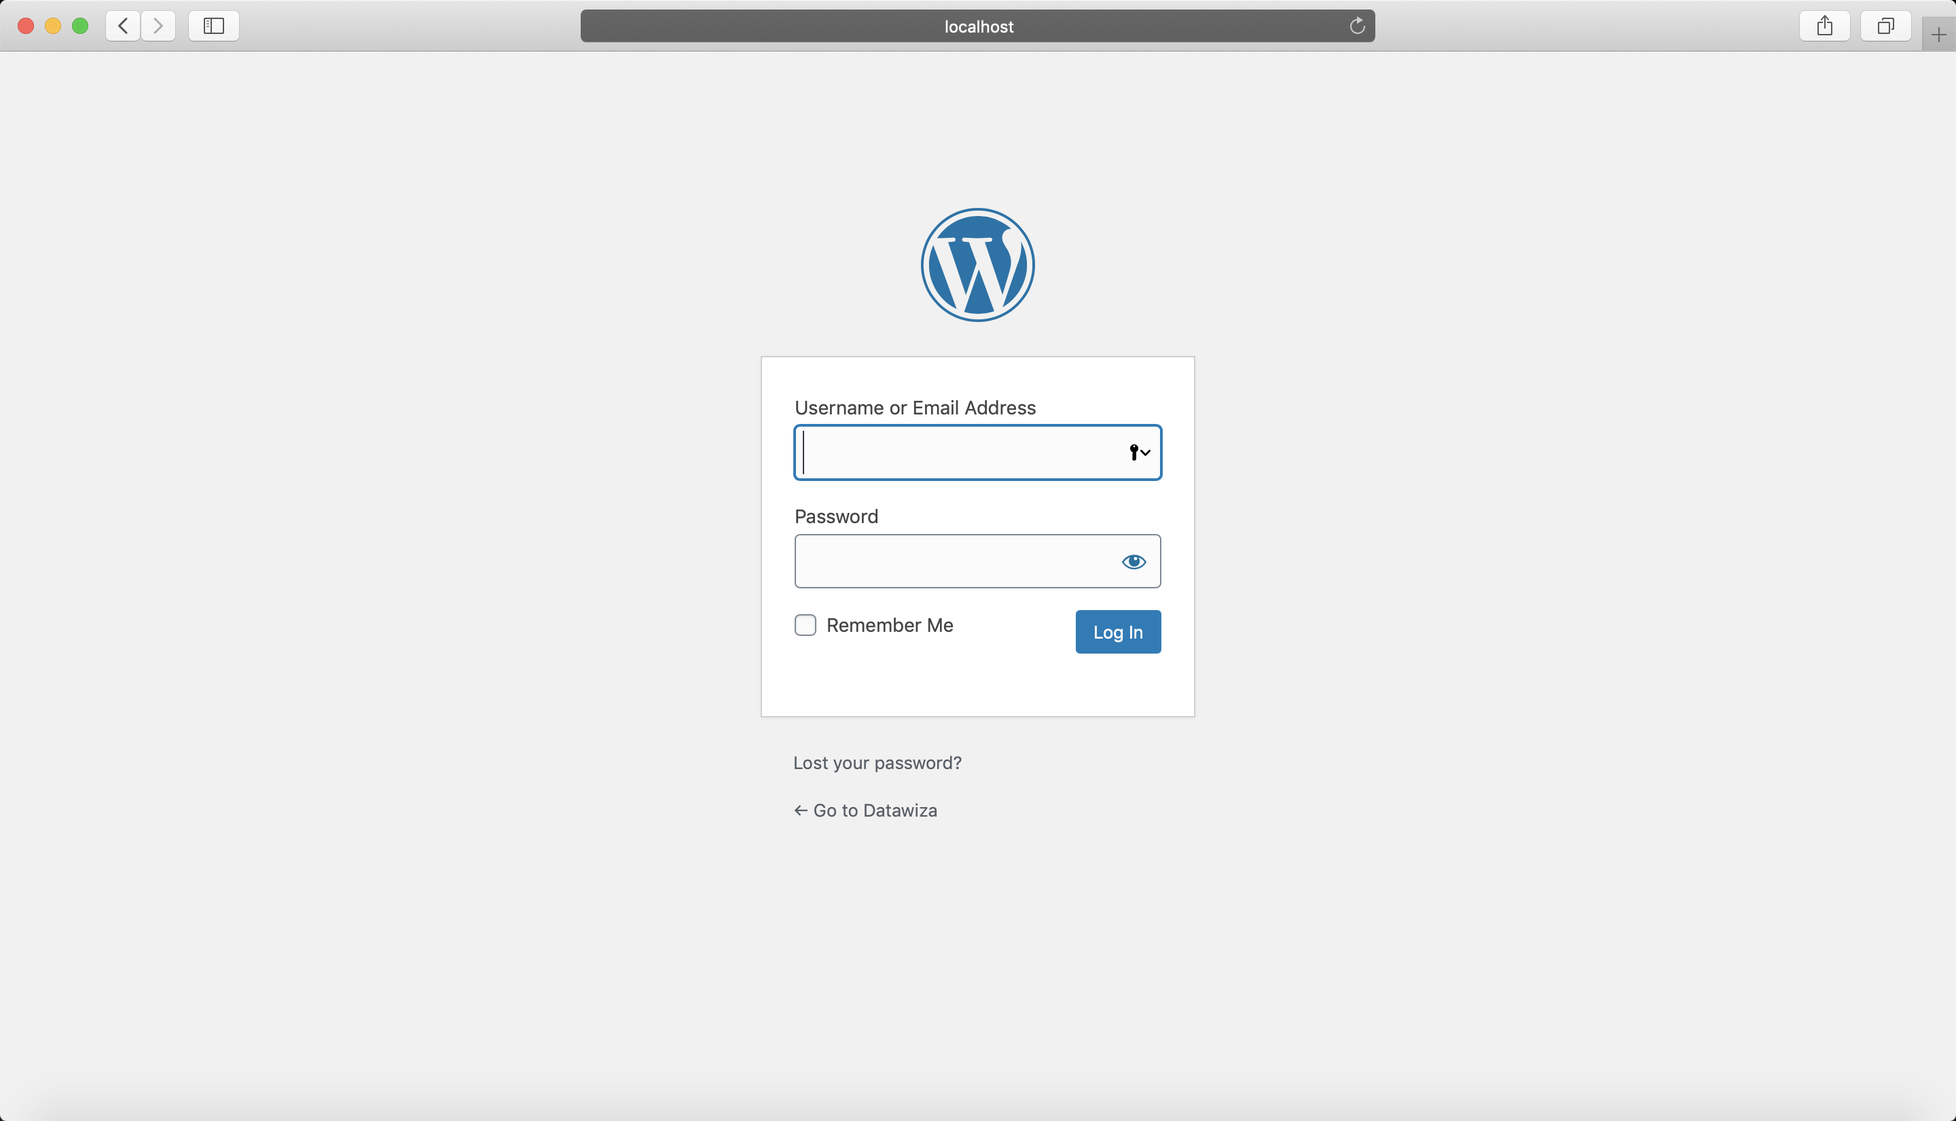
Now if you visit WordPress through the public domain, you will be redirected to Okta login page.
Delegate the Authentication to DAP
After login Okta, the follow page will be shown:
If you go to https://wordpress.example.com/wp-admin/, you will be redirected to WordPress login page. To enable single sign-on for accessing the admin portal, a few additional configurations are necessary.
With WordPress plugin Datawiza Proxy Auth Plugin - SSO, here is a way to delegate the authentication to DAP:
Install Plugin in WordPress
Click Plugins and then click Add New.
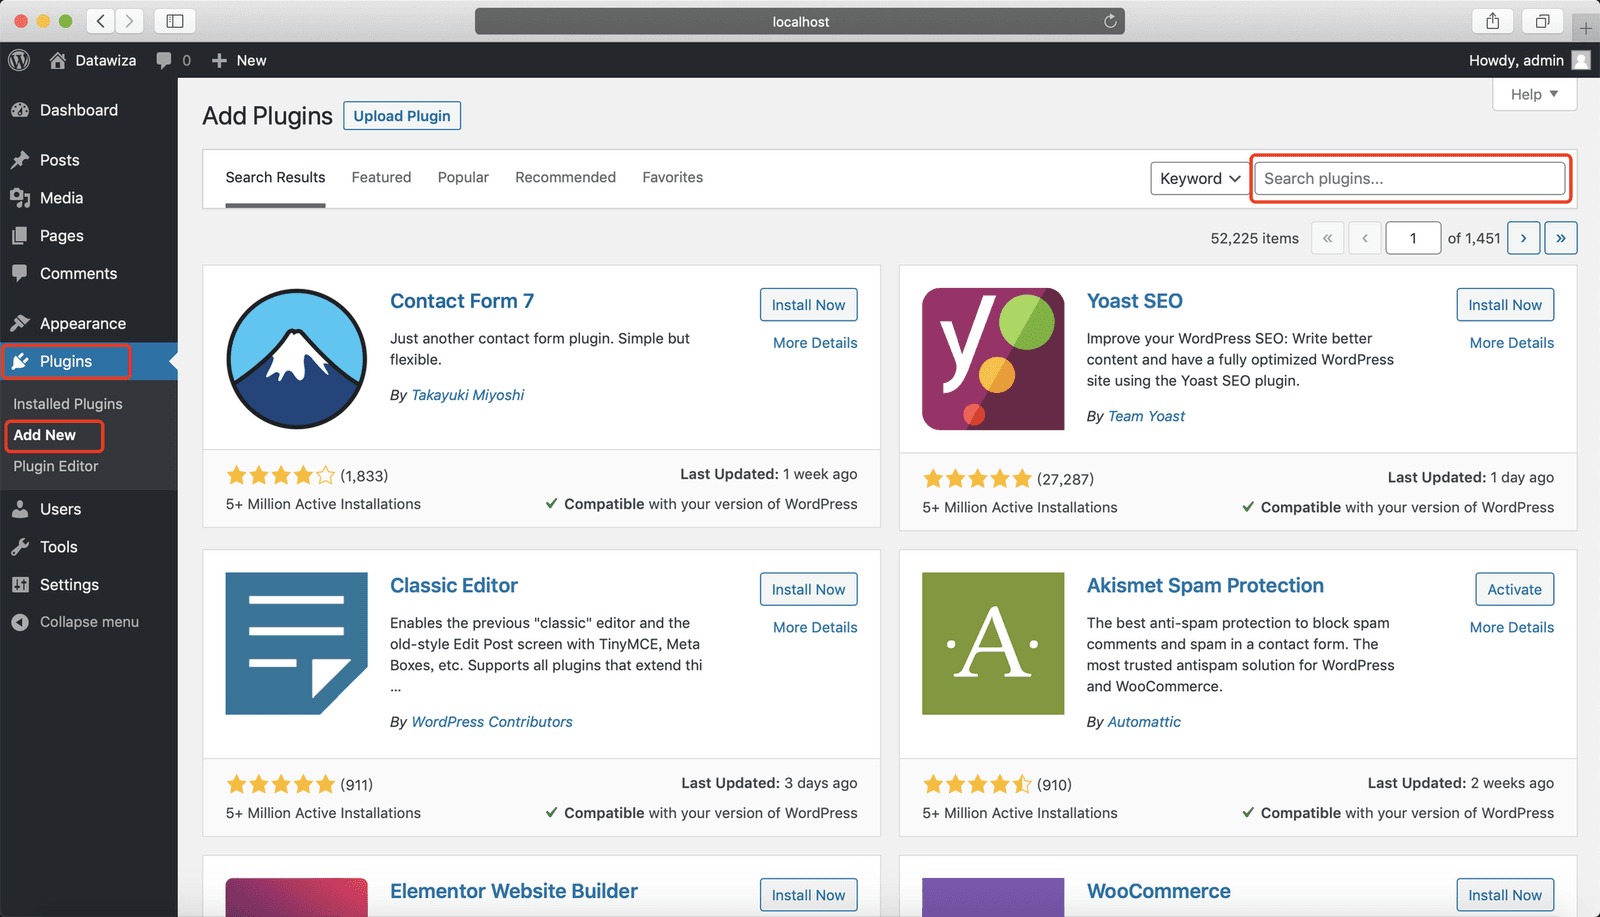
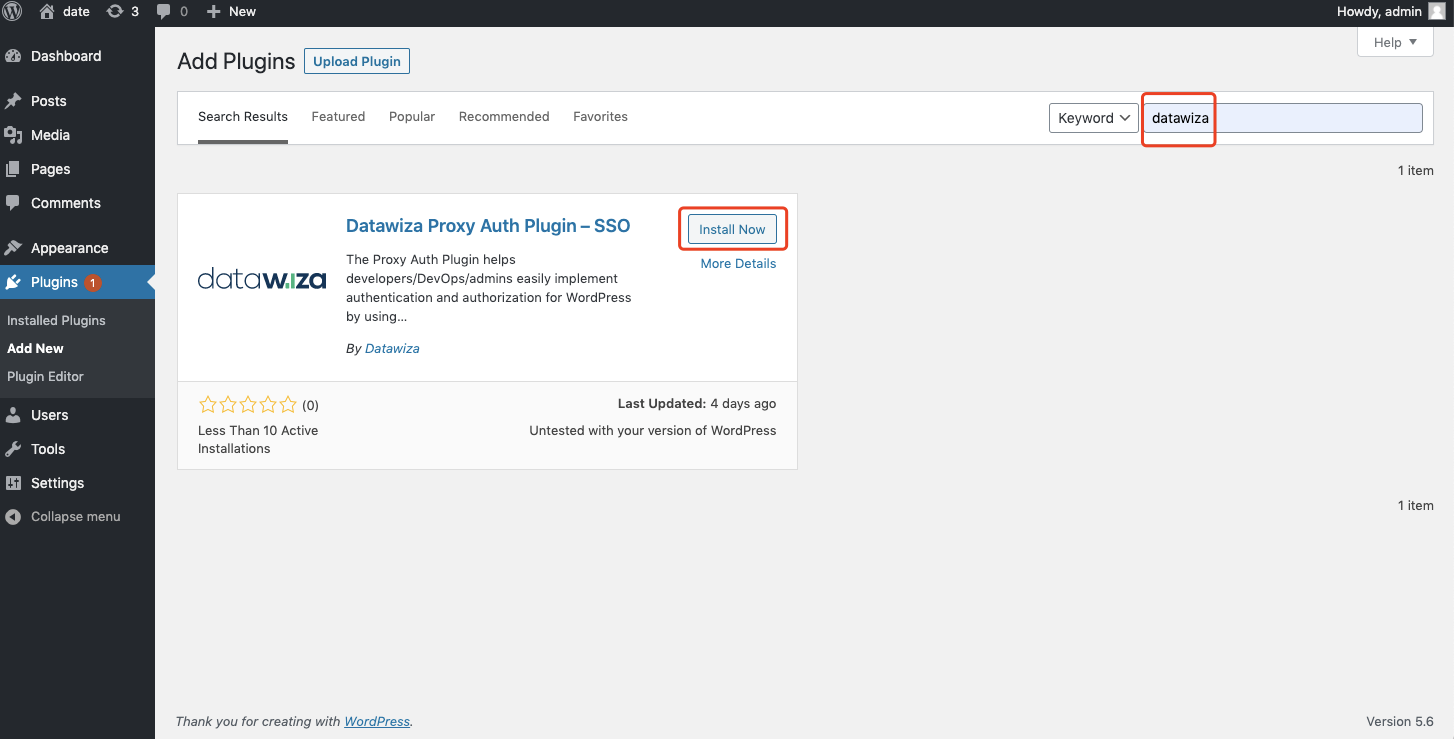
Search for datawiza and click Install Now:
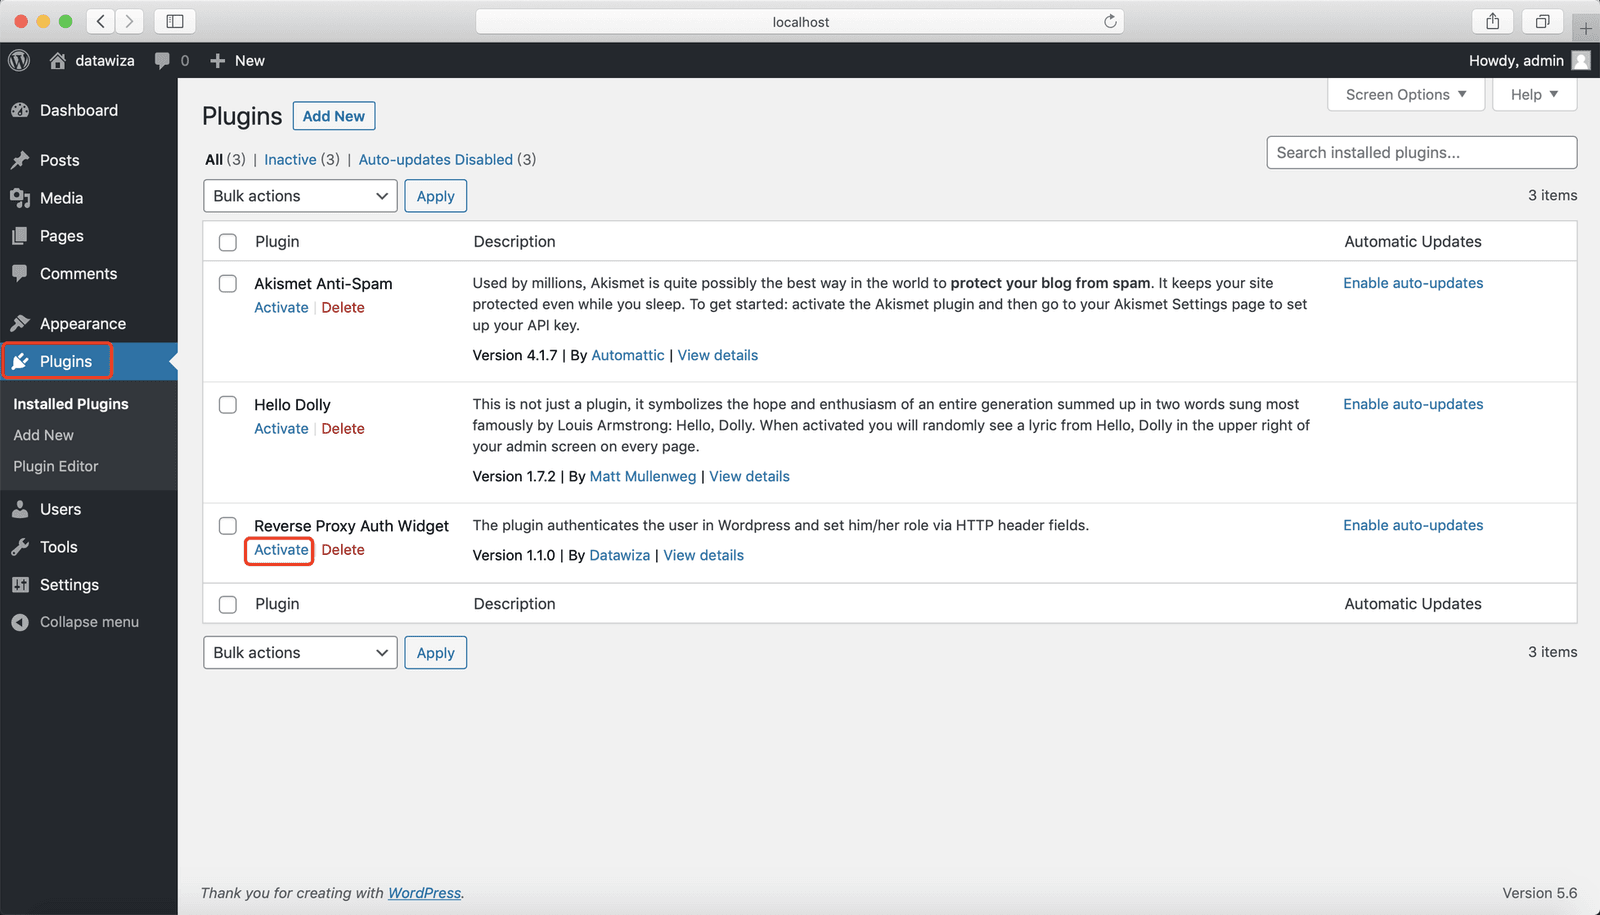
Activate it:
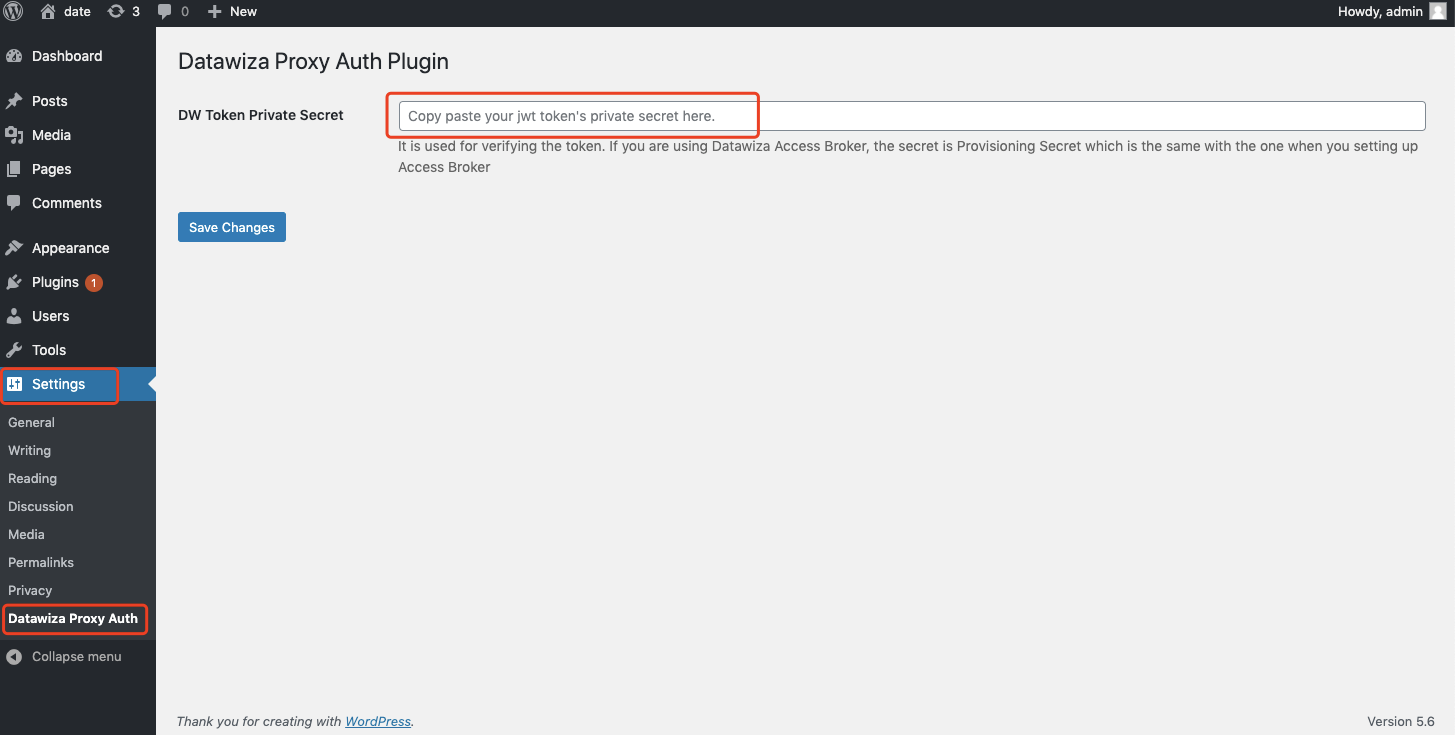
In Settings >> Datawiza Proxy Auth, input your Private Secret and save changes. If you use the plugin with DAP, the private secret should be the PROVISIONING_SECRET in your docker-compose file.
Note
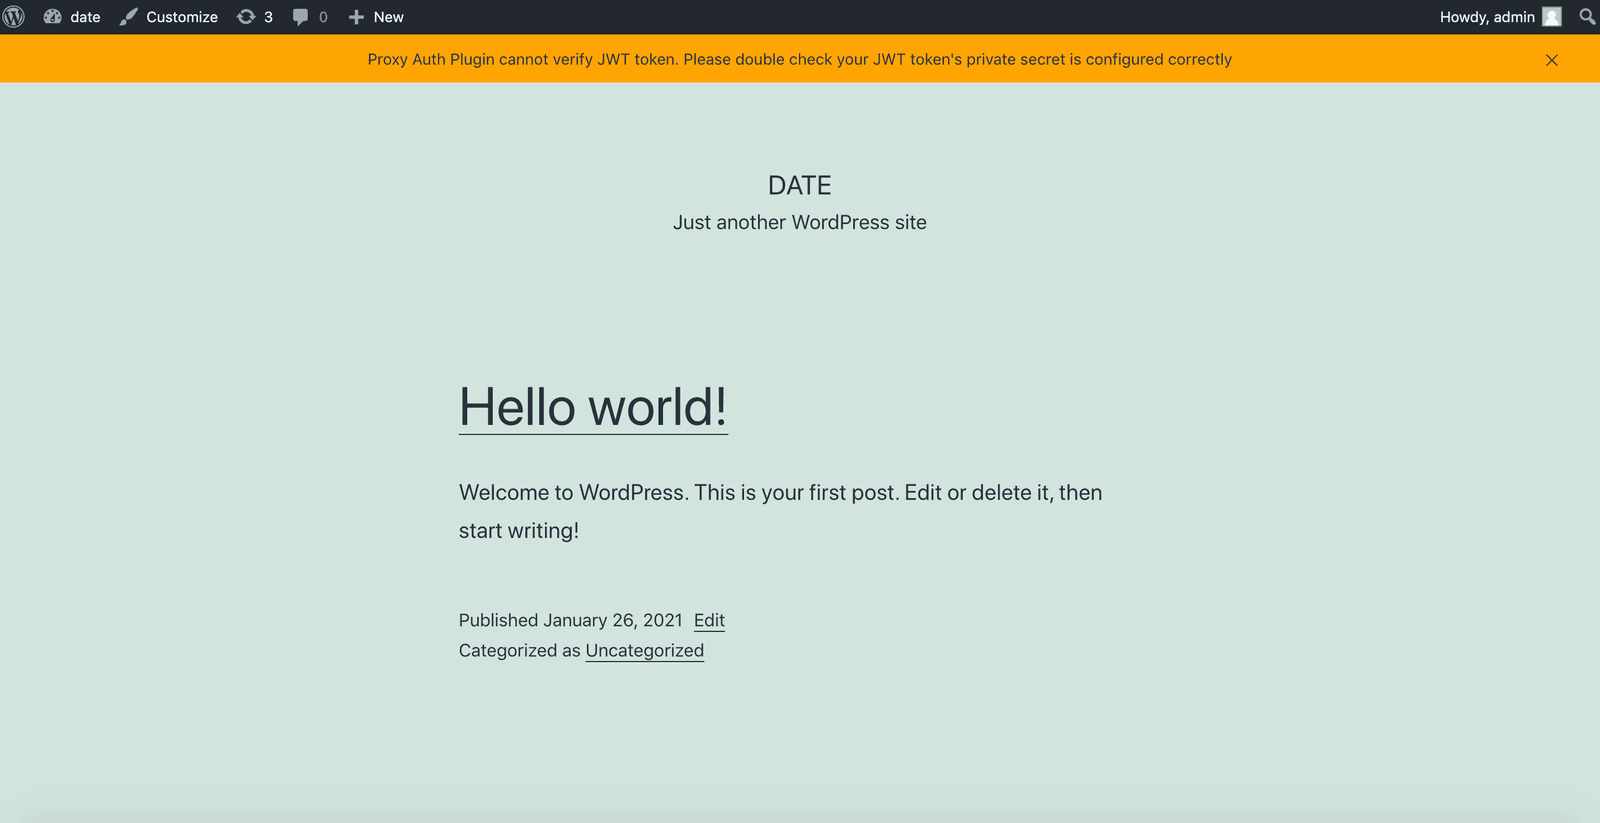
If the secret is wrong, you may see the error notification:
Proxy Auth Plugin cannot verify JWT token. Please double check your JWT token's private secret is configured correctly
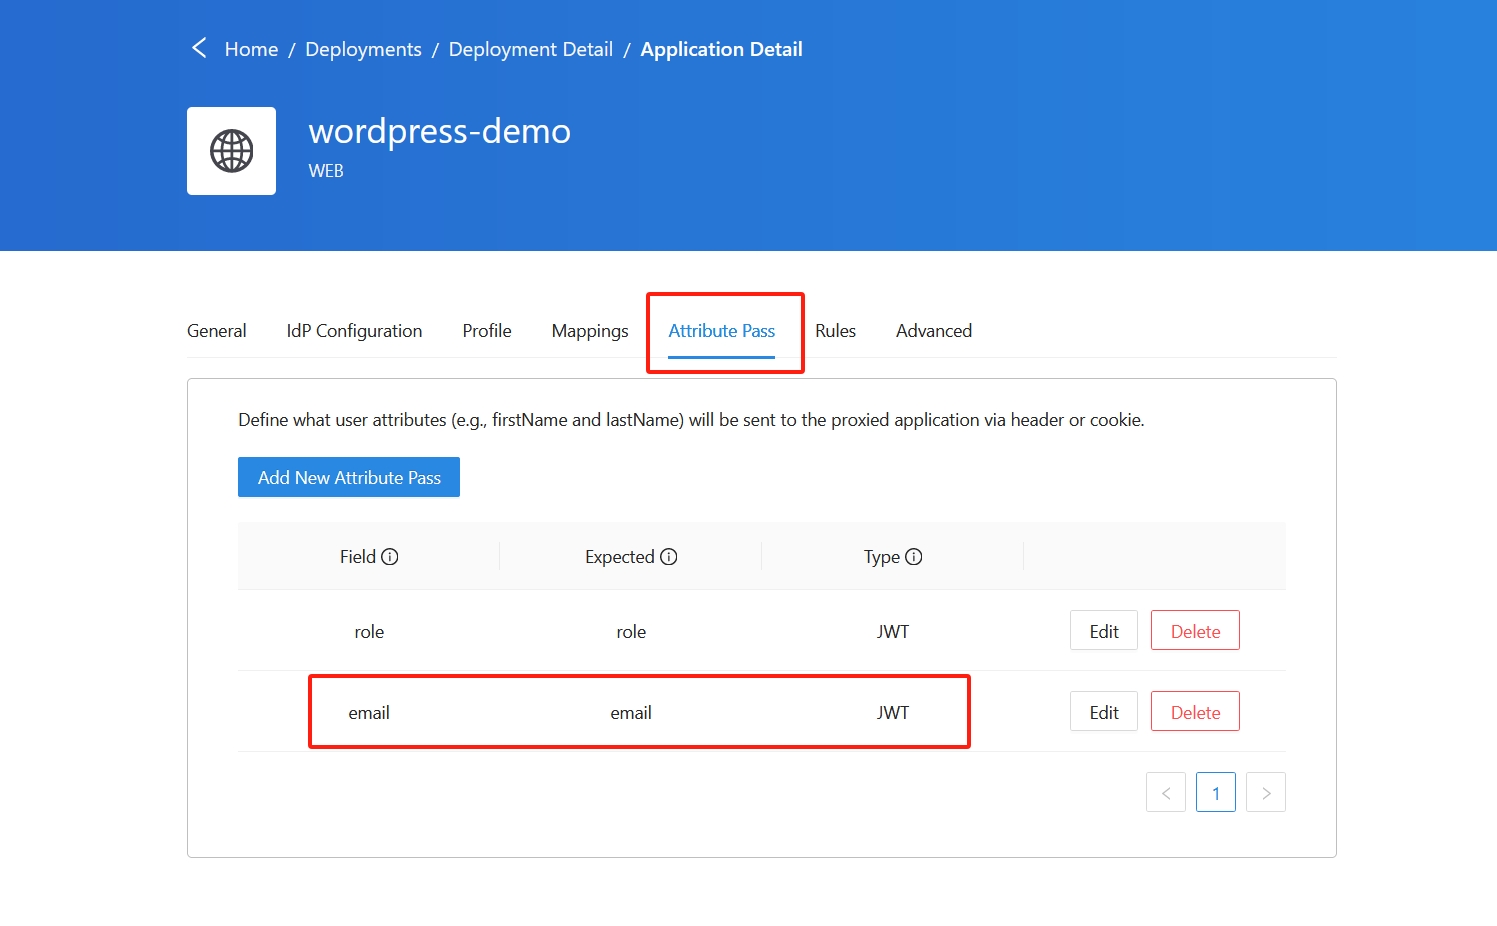
Add New Attribute Pass
Now we need to go back to DCMC and add email and role in Attribute Pass for the plugin. The email field is necessary, but role is optional.
Note
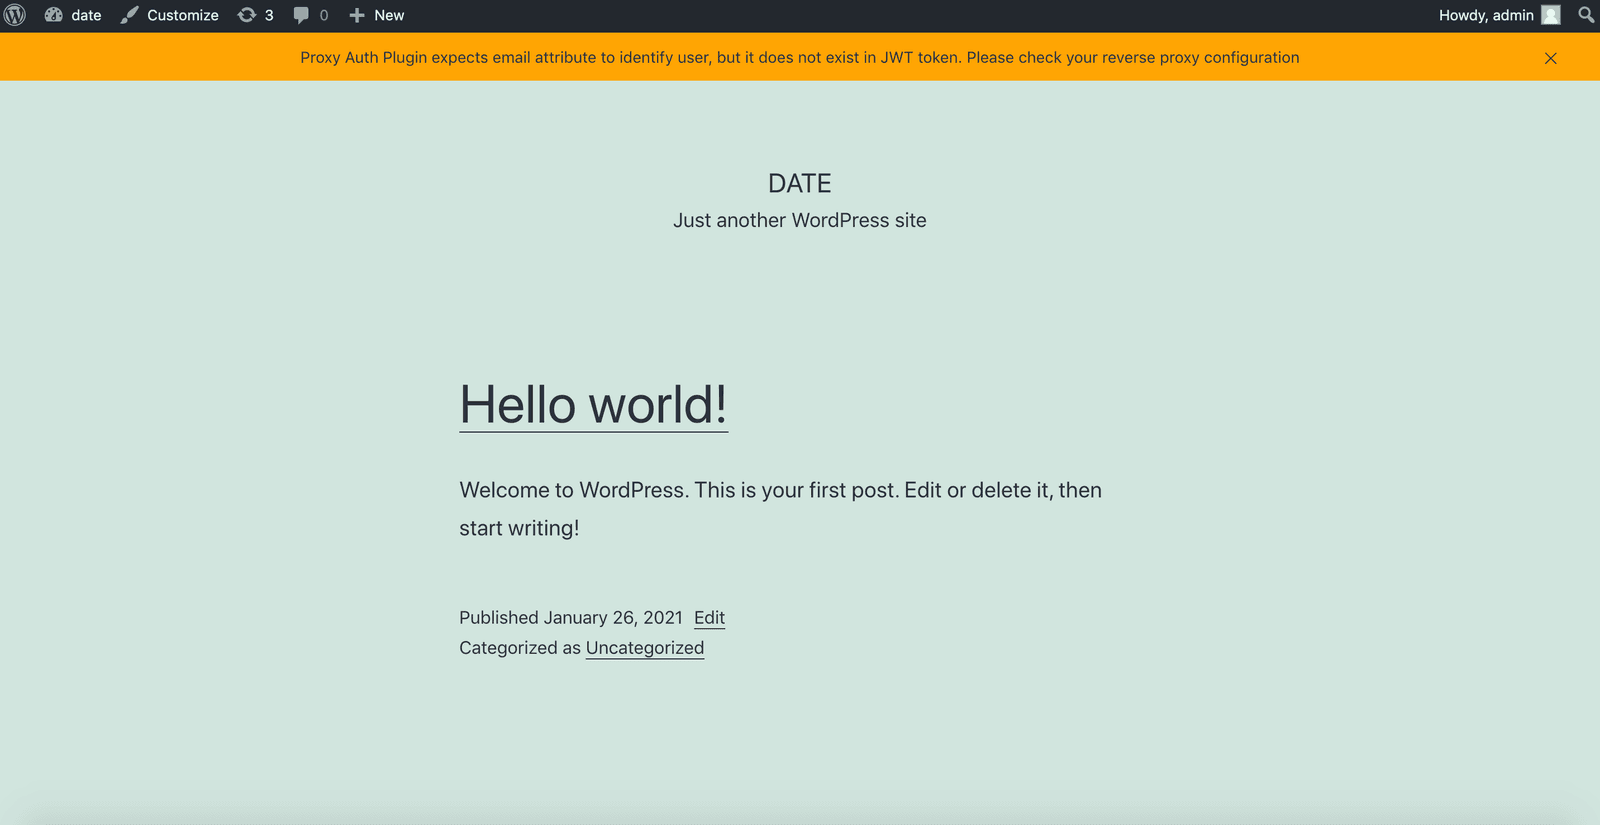
Failure to configure the attributes correctly may prompt an error notification:
Proxy Auth Plugin expects email attribute to identify user, but it does not exist in JWT token. Please check your reverse proxy configuration
To resolve this, you can verify if the email account exists within the WordPress accounts. Alternatively, feel free to contact us at info@datawiza.com for assistance in debugging.
Info
- If admin doesn’t assign role to the user, user’s role will be
subscriberby default. - If you've configured the attribute pass role and the user's role gets updated in Okta, the plugin will automatically synchronize and update the corresponding role in WordPress.
(Optional) SSL Configuration
- By default, when you set up this application, it will use the Datawiza self-sign certificate, but you still have the chance to replace it with your own certificate. Select the Advanced tab. Click the edit button, then upload your own certificate.
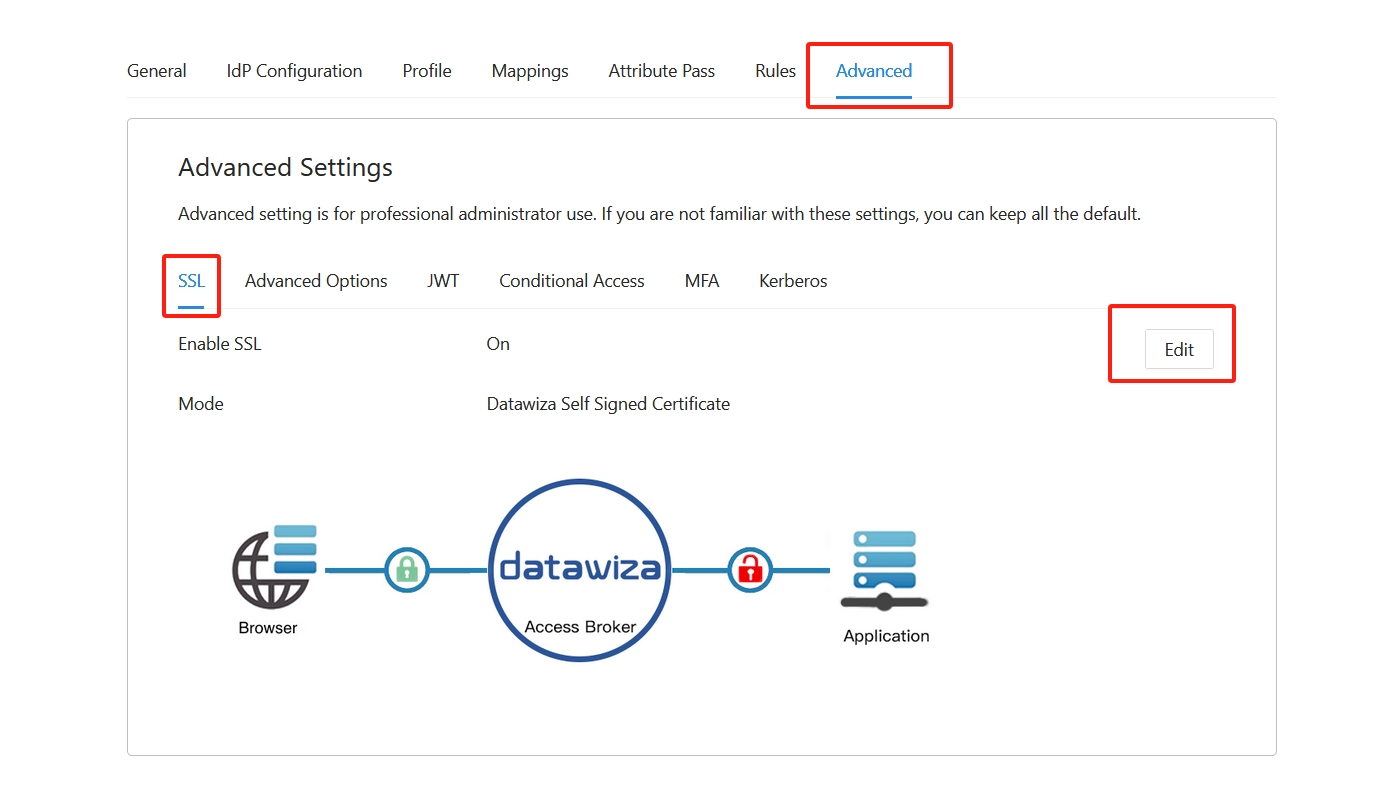
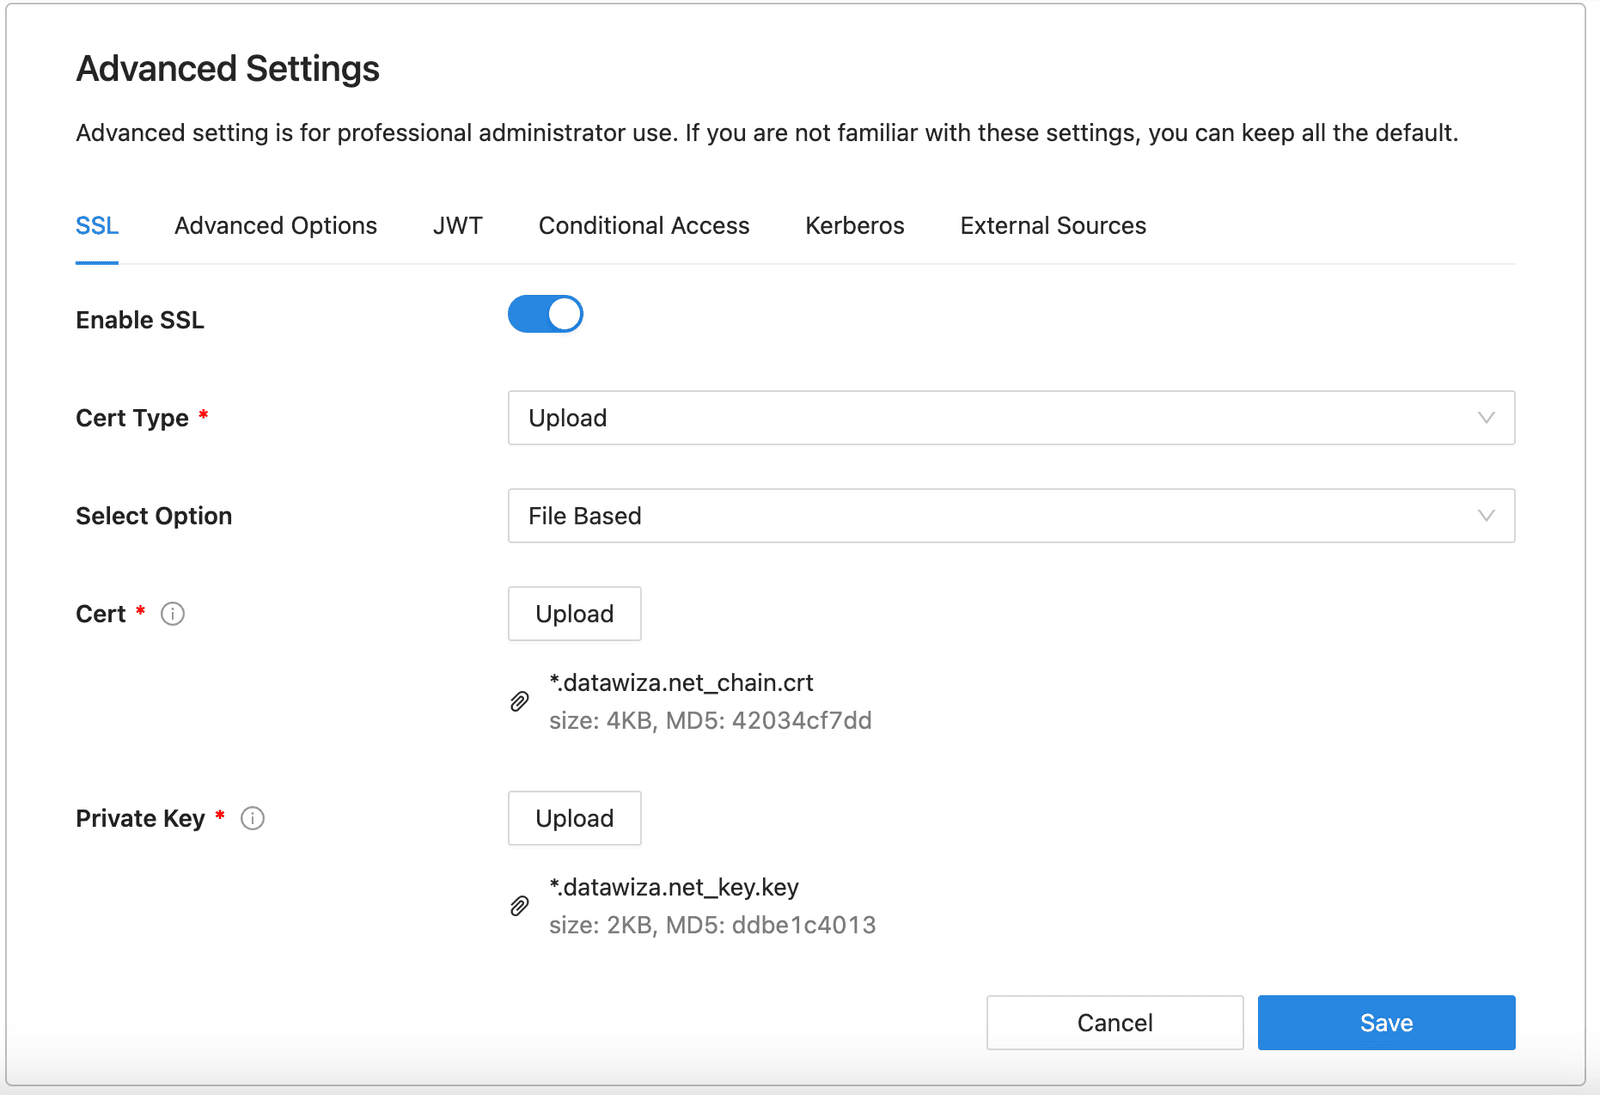
- Select Save.
Test a WordPress application
To confirm that WordPress application access occurs correctly, access the new WordPress URL https://wordpress.example.com in the browser. A prompt appears to use an Okta account for sign-in. Credentials are checked and the WordPress home page appears. If you go to https://wordpress.example.com/wp-admin, you will find the admin portal displayed without the need to input admin credentials, thanks to the single sign-on configuration.