Datawiza Attribute Pass Configuration
In our step-by-step guide: 4: Pass User Attributes, we set Okta and Auth0 as IdP and showed how to config to send first name (firstName of Okta and given_name of Auth0) to the proxied application through HTTP headers. However, since the user attributes will be transmitted in plain text, at a minimum, we need to ensure that the application can only accept requests from Datawiza Access Proxy (DAP). In addition, we can also use JSON Web Token (JWT) to pass user attributes and thus become more secure.
Configuration in Datawiza Cloud Management Console
Go to your application configuration page, then select Attribute Pass and click Add New Attribute Pass. Or edit the attribute pass you have already added: 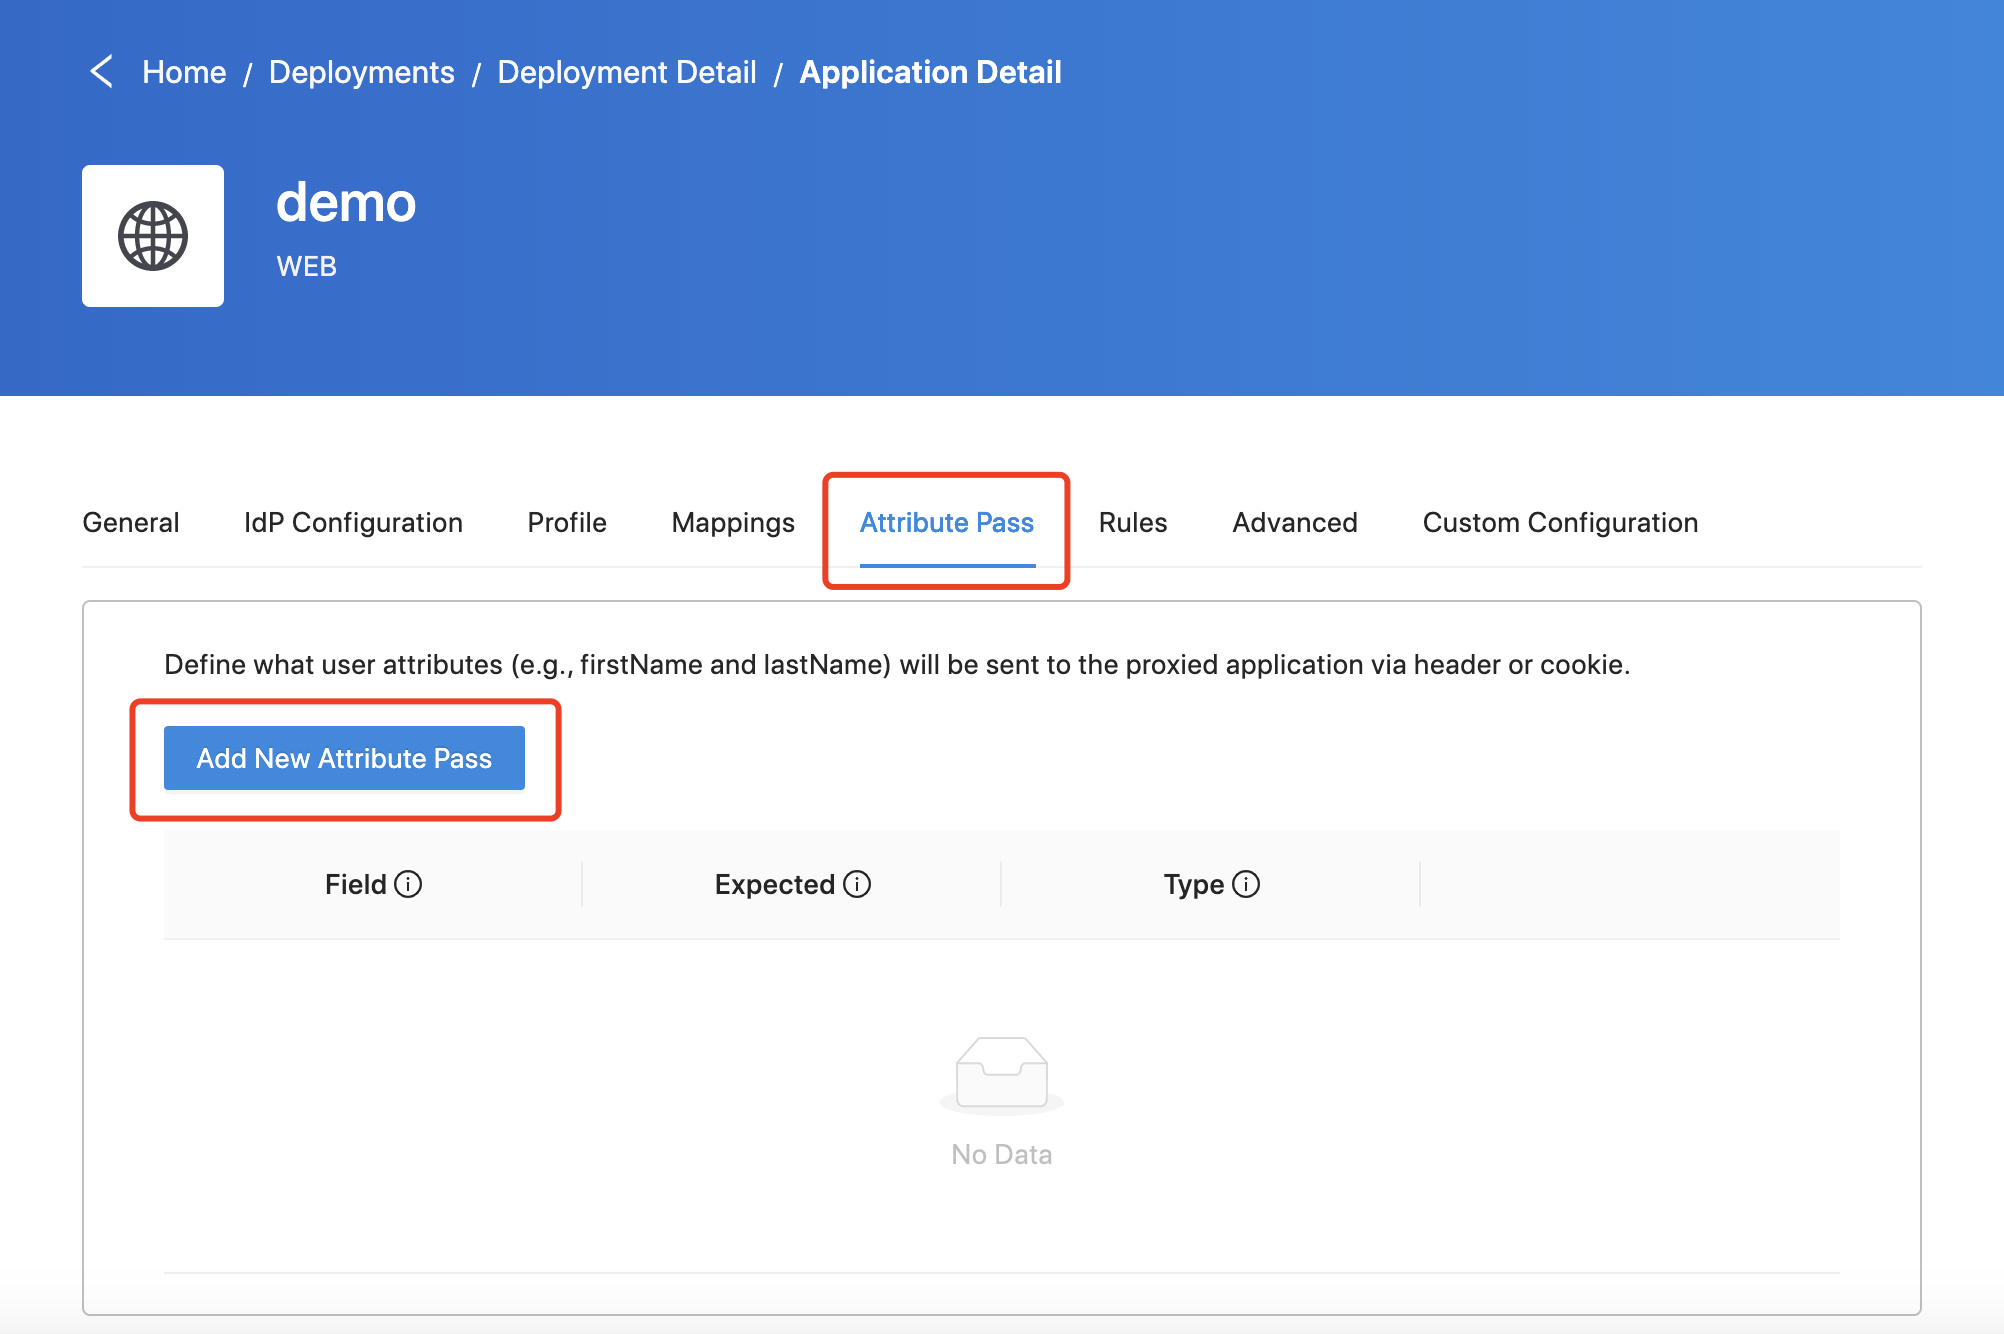 Select the
 JWT as the Type: 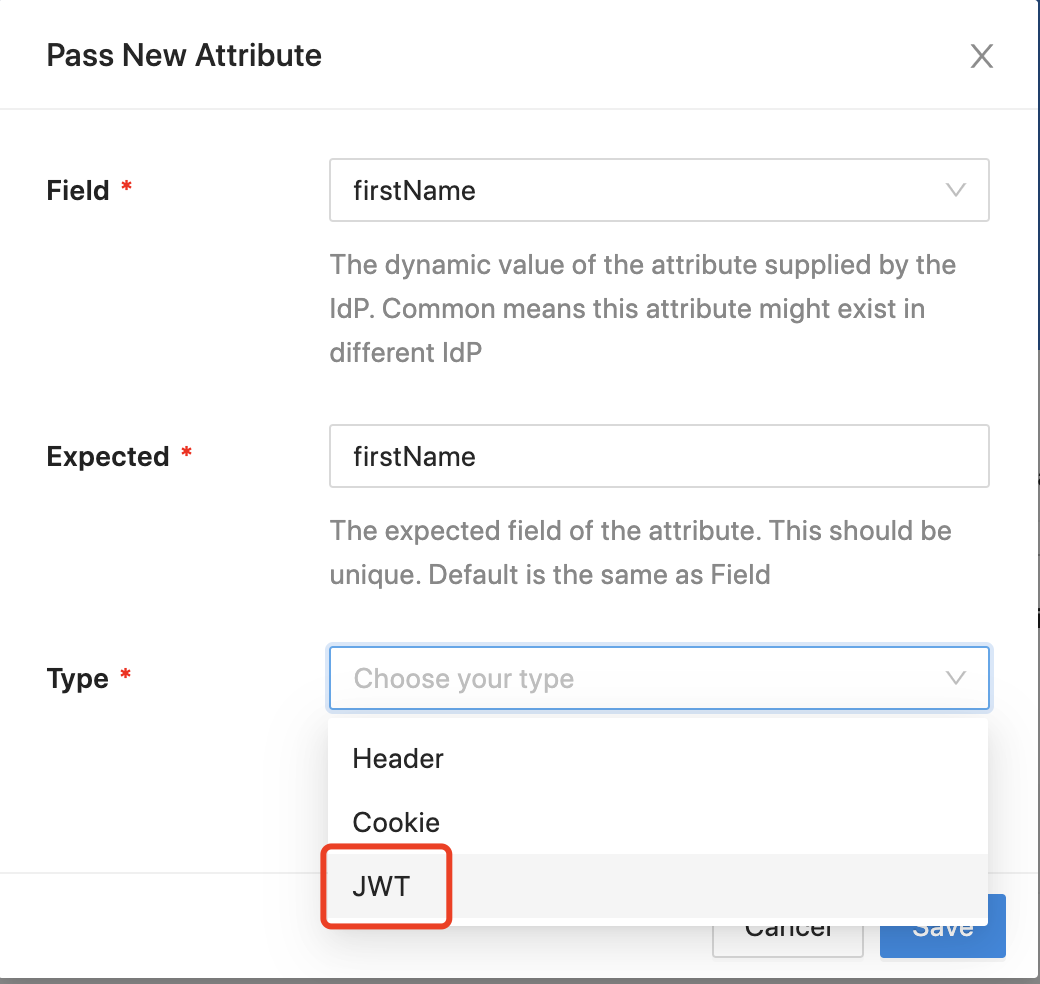 By default, we will use HS256 as the JWT algorithm and provisioning secret to encrypt the JWT (If you have more than one pair of provisioning key and secret, DAP will use the secret you set in the DAP docker-compose file). Also, you can customize the JWT secret. Select the
 Advanced tab and click JWT, select Use your custom secret as the JWT Secret Option and enter it in the JWT Secret: 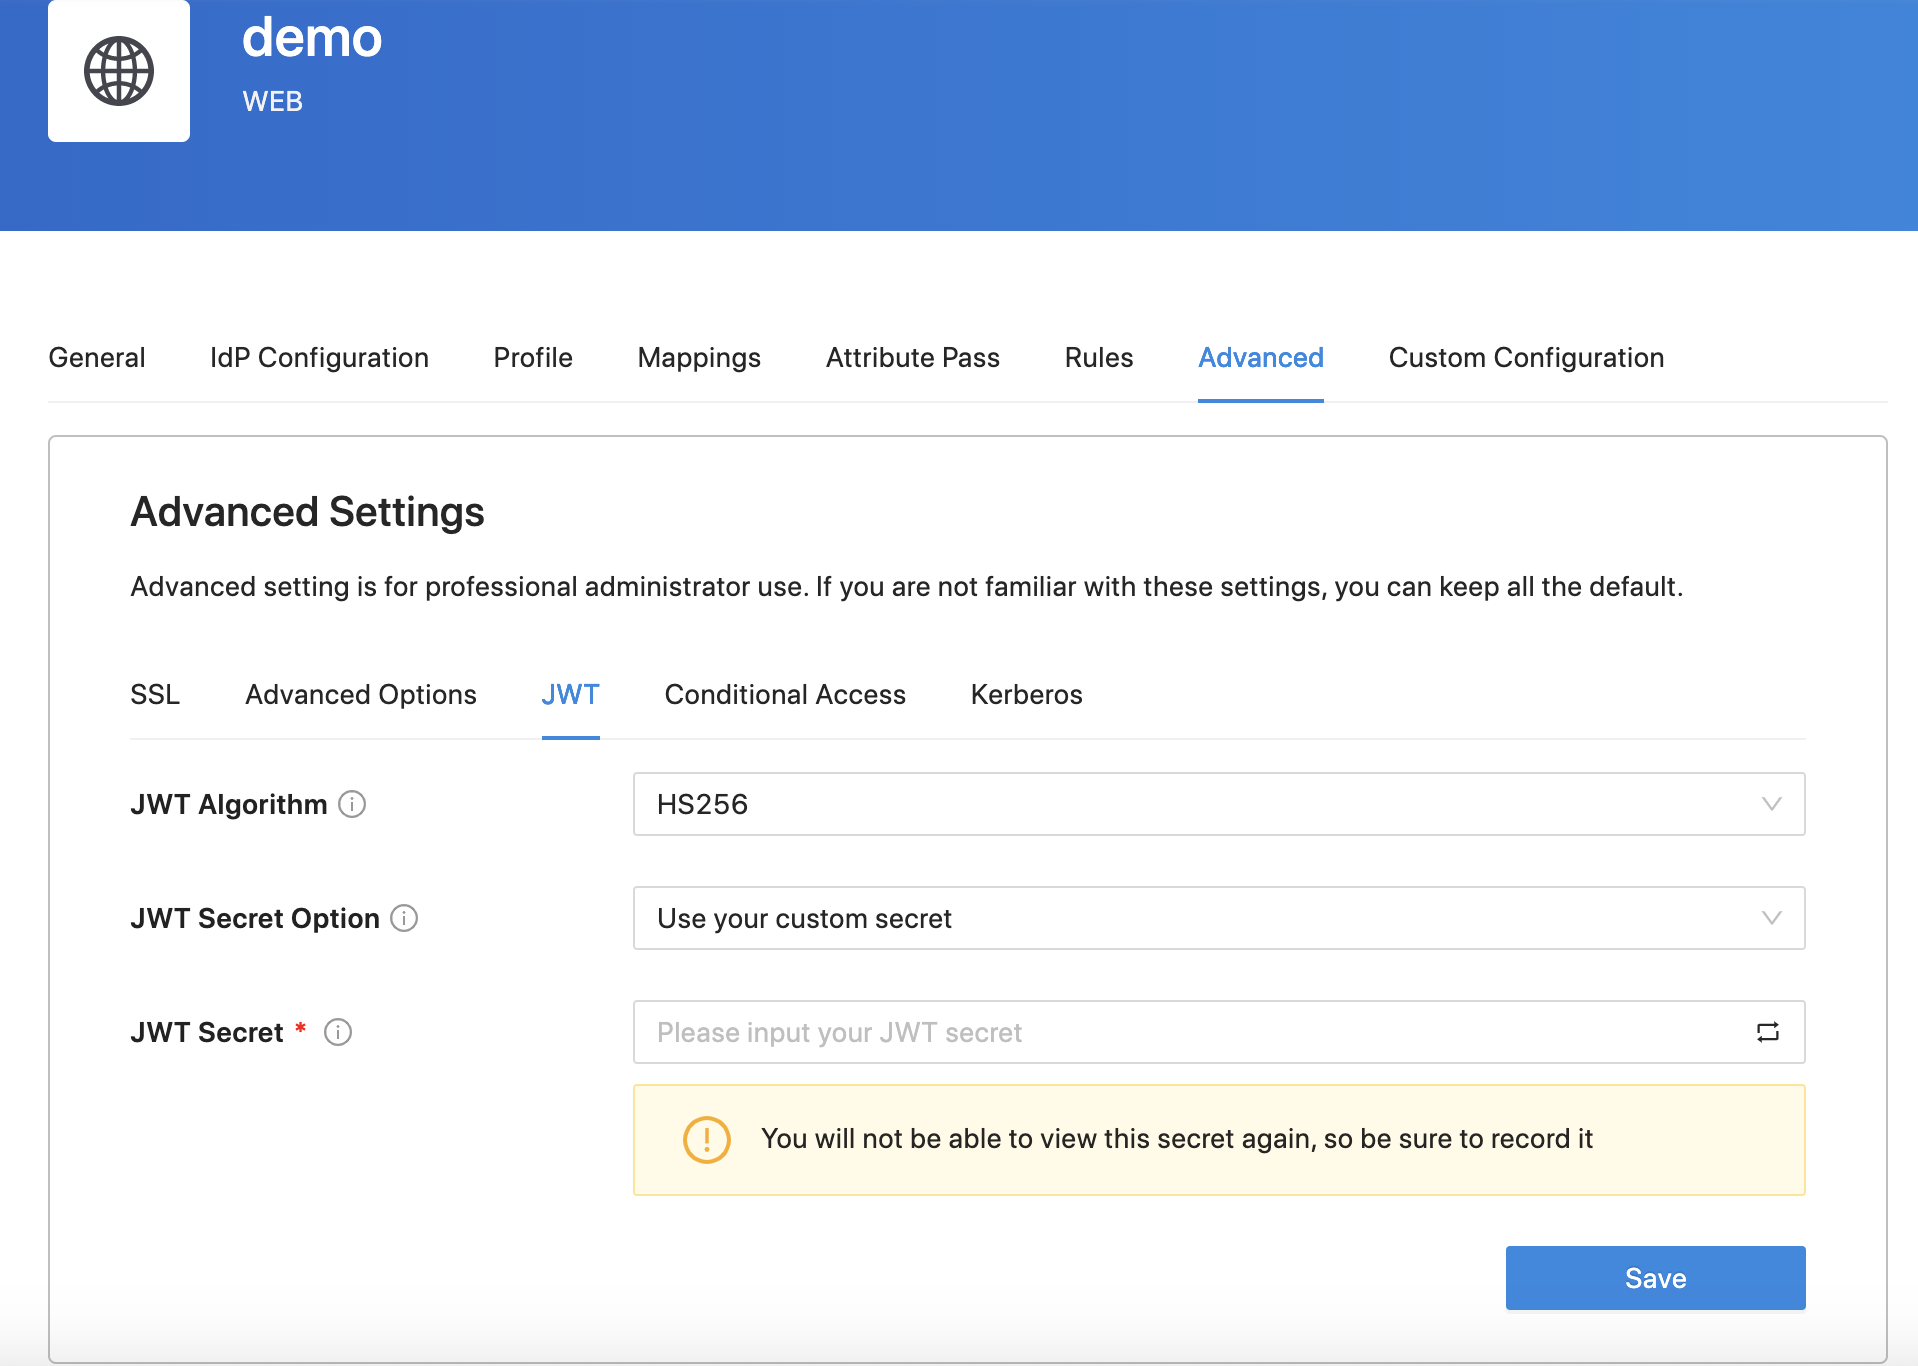 In addition, you can also use
 RS256 as the JWT algorithm: 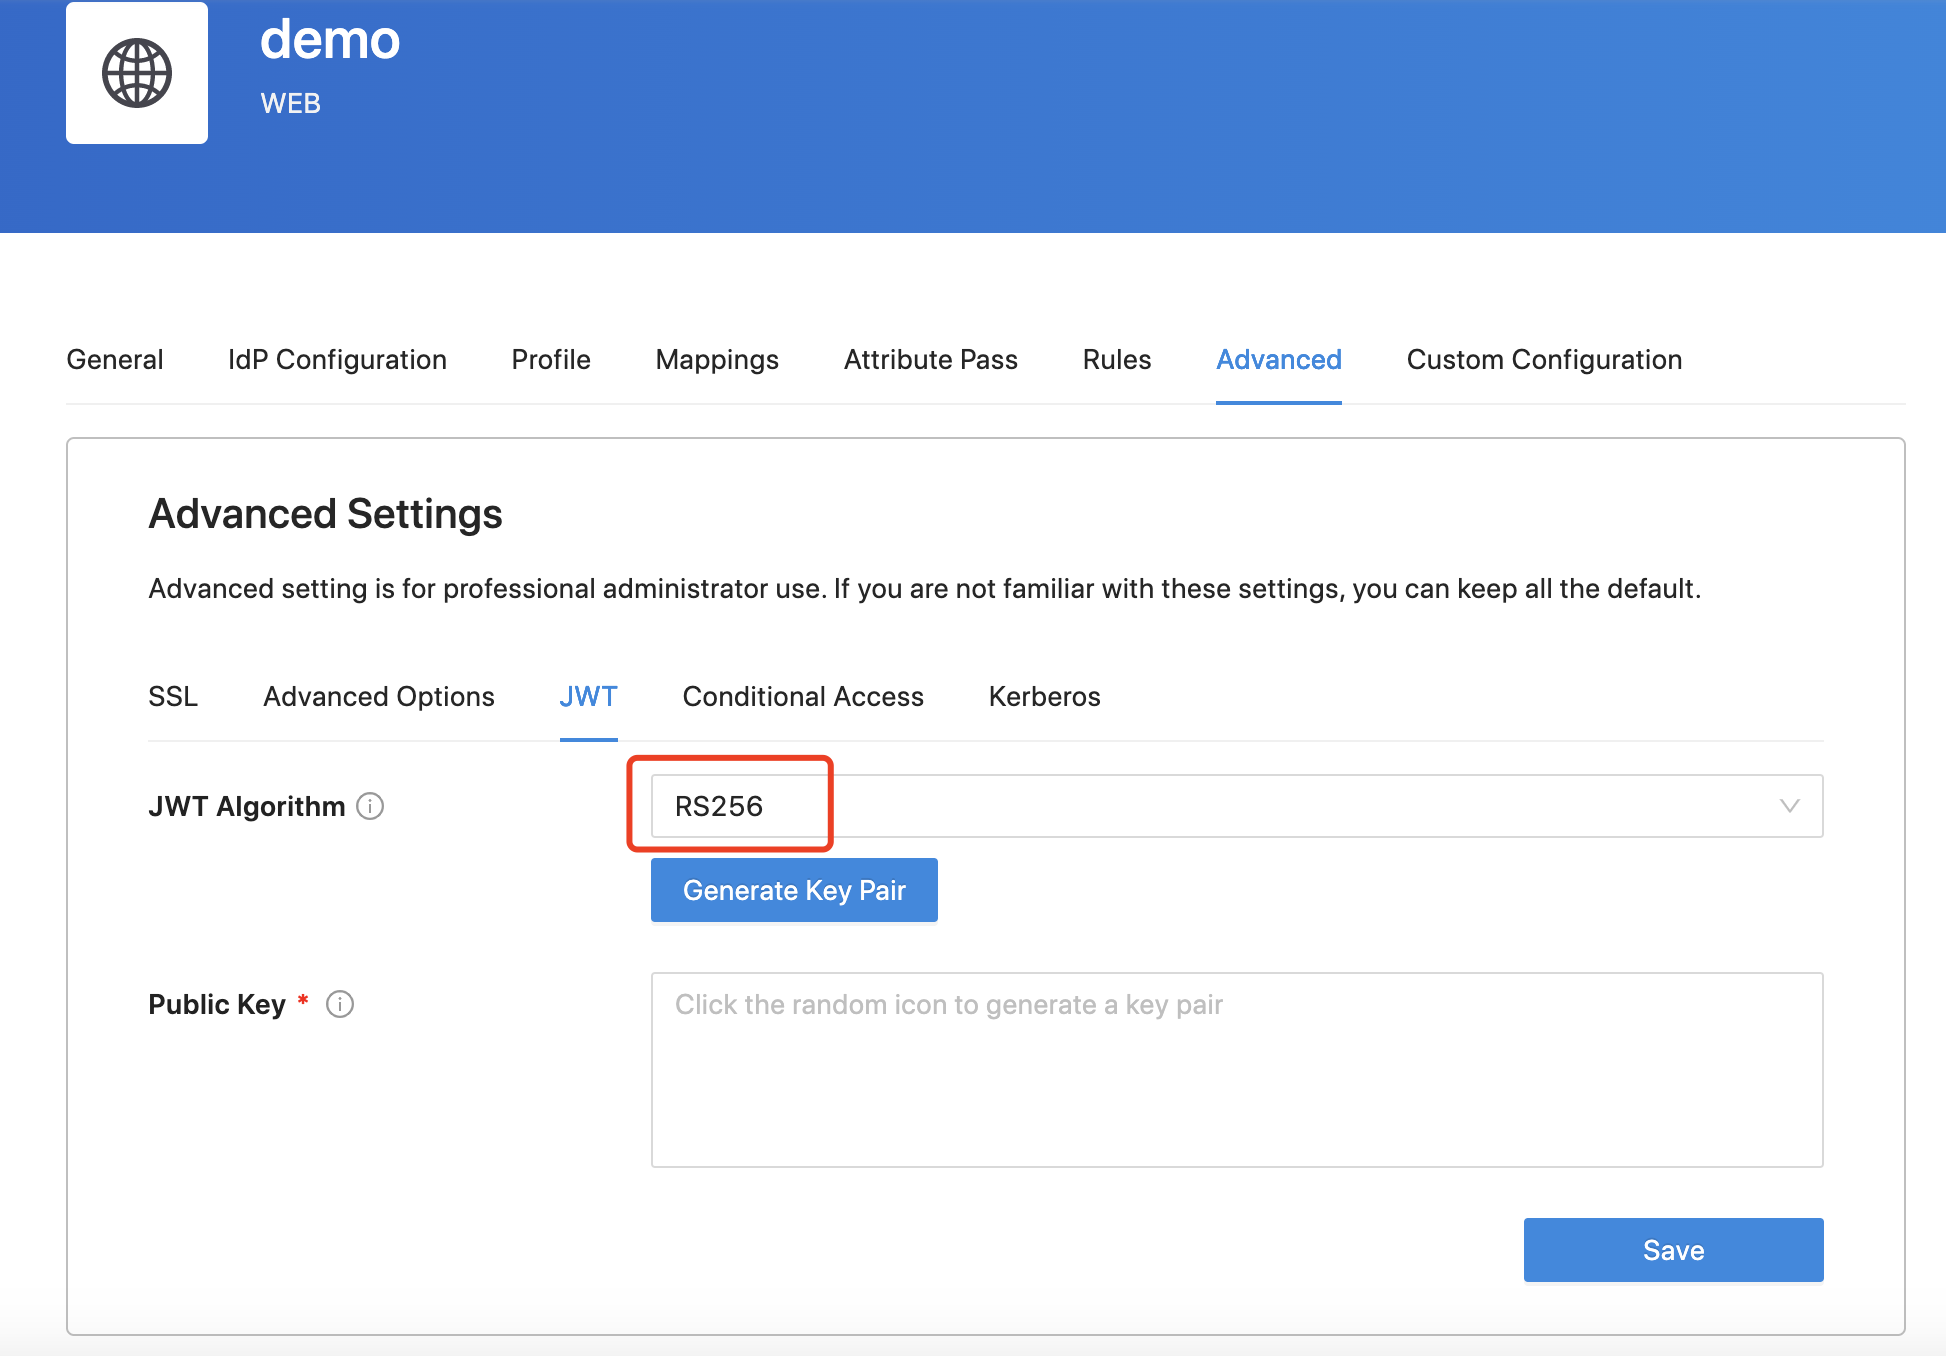
Check the JWT
Change the upstream to Dummy Application, in which we provide a built-in header-based application to read and display request headers. After logging in to your IdP, the default attribute will be shown: 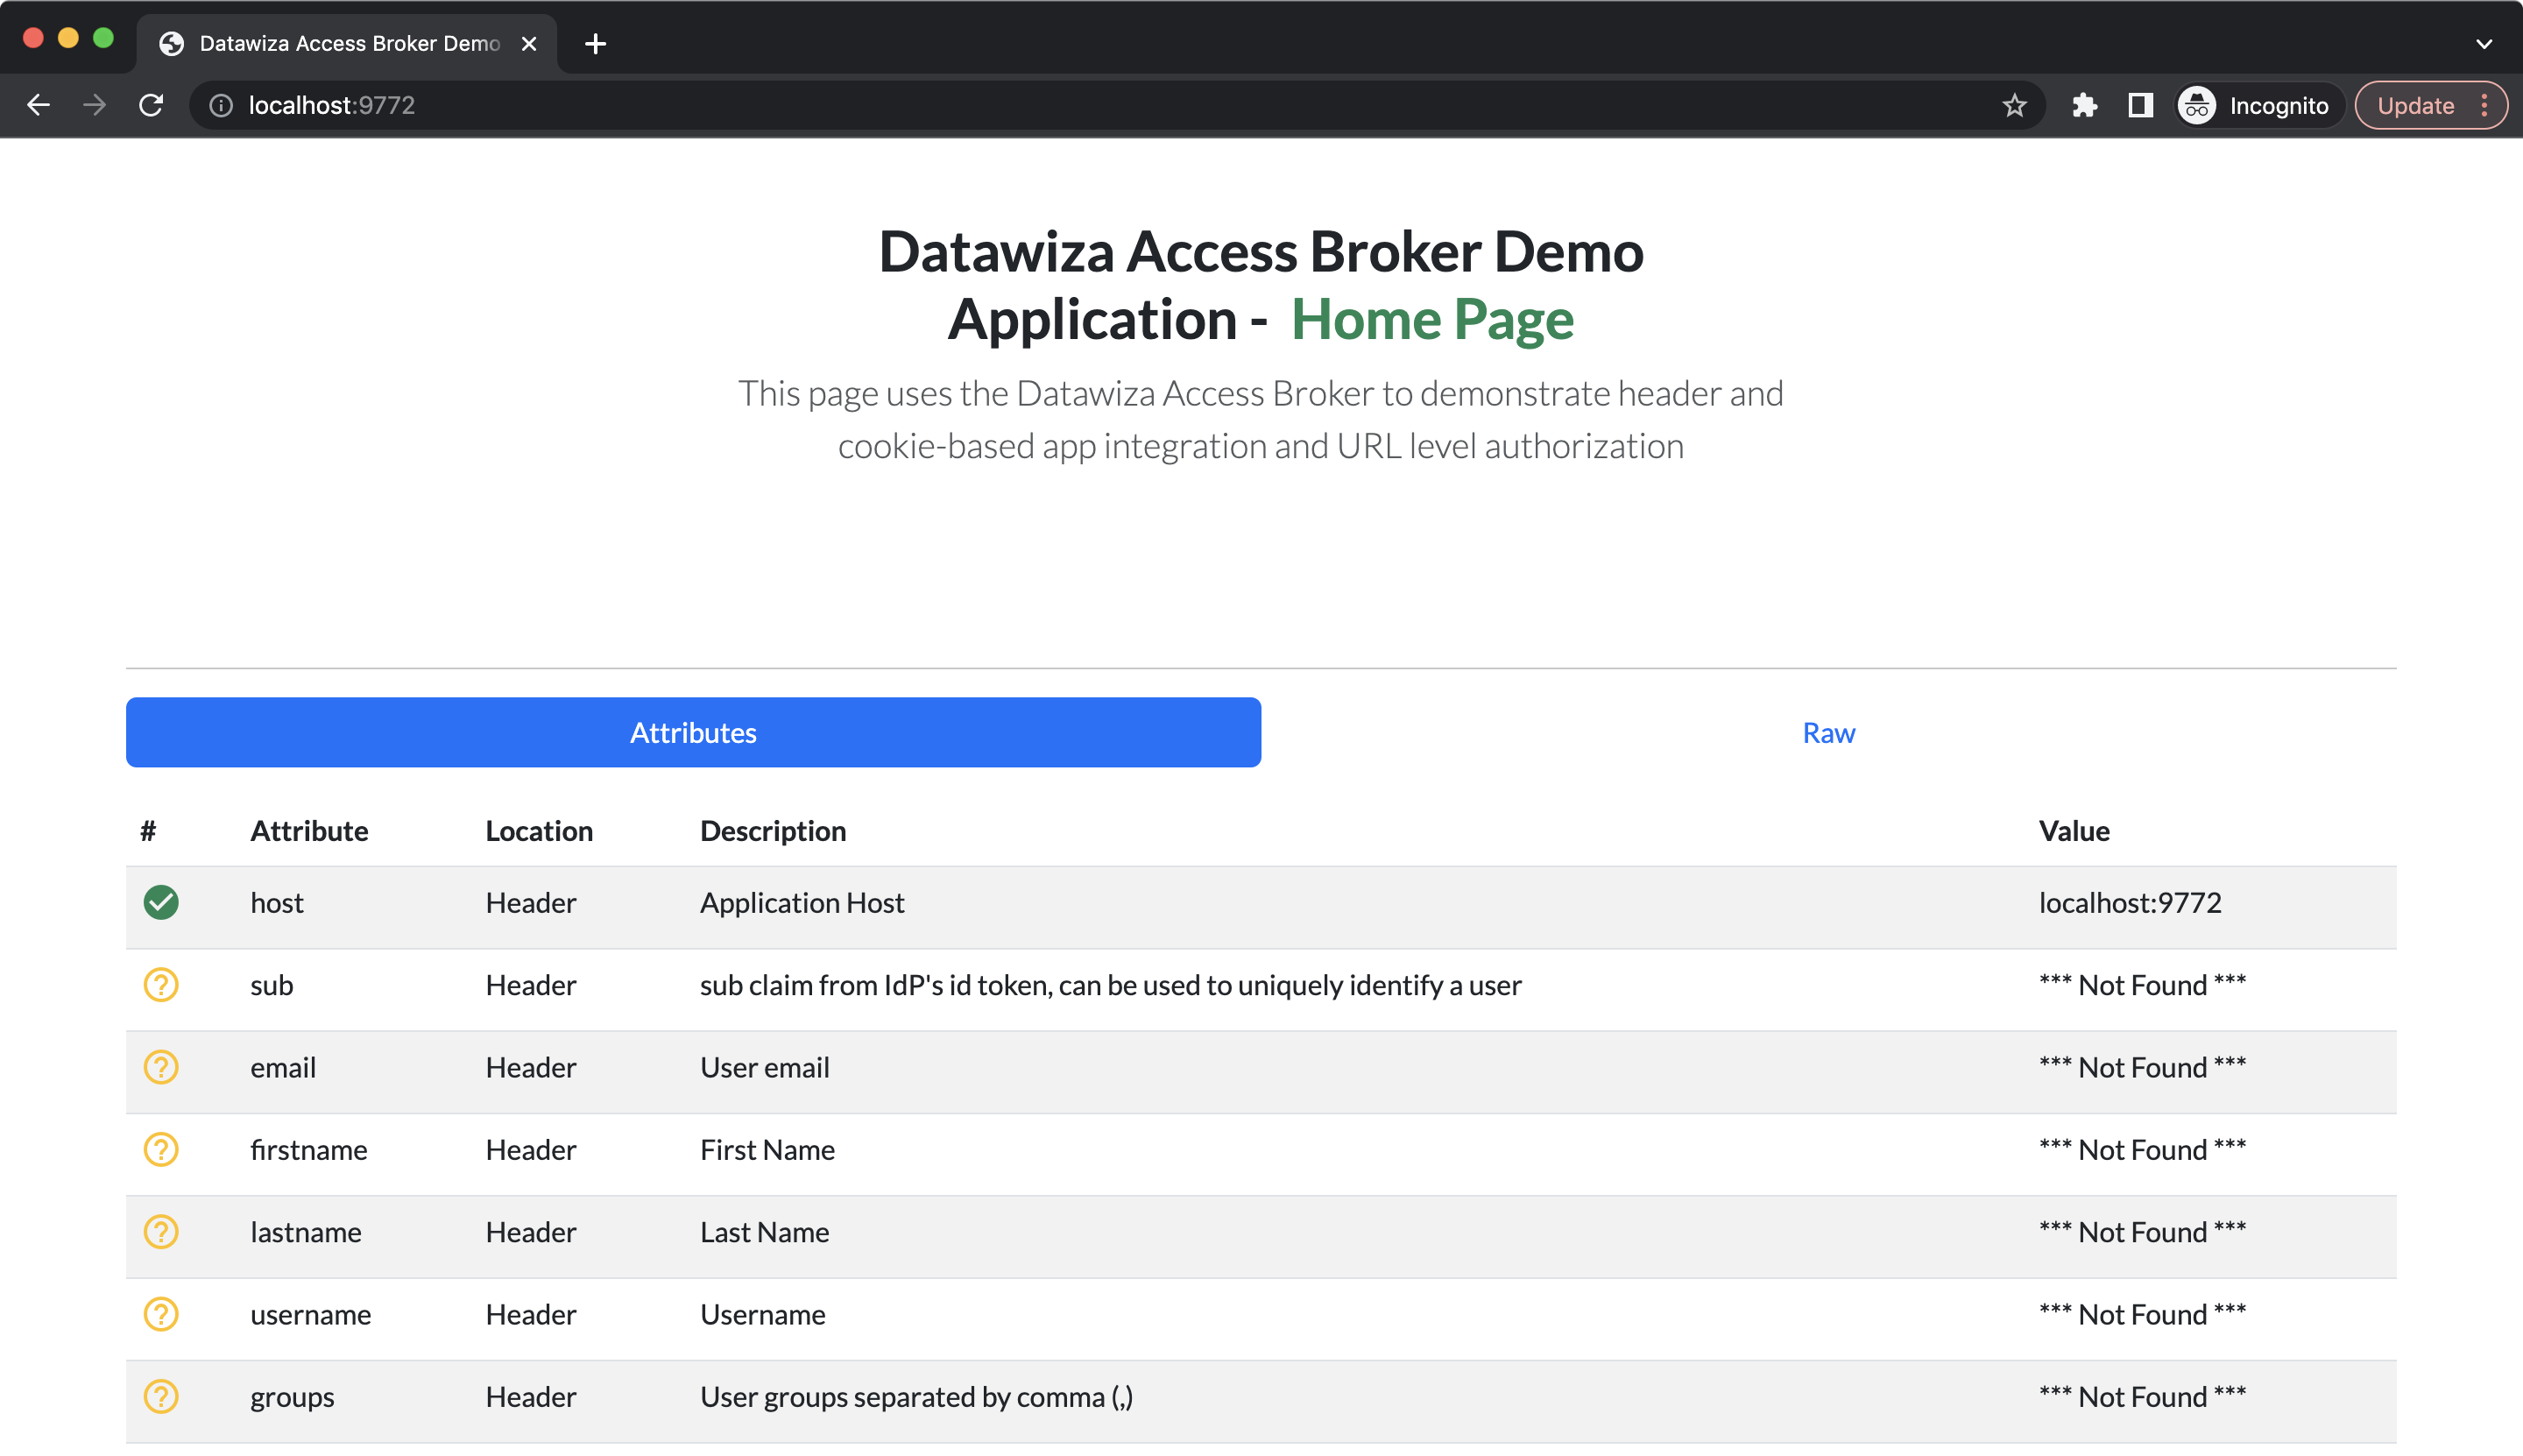 Since we set the type of the attribute pass to JWT, the user attributes will be stored in HTTP headers
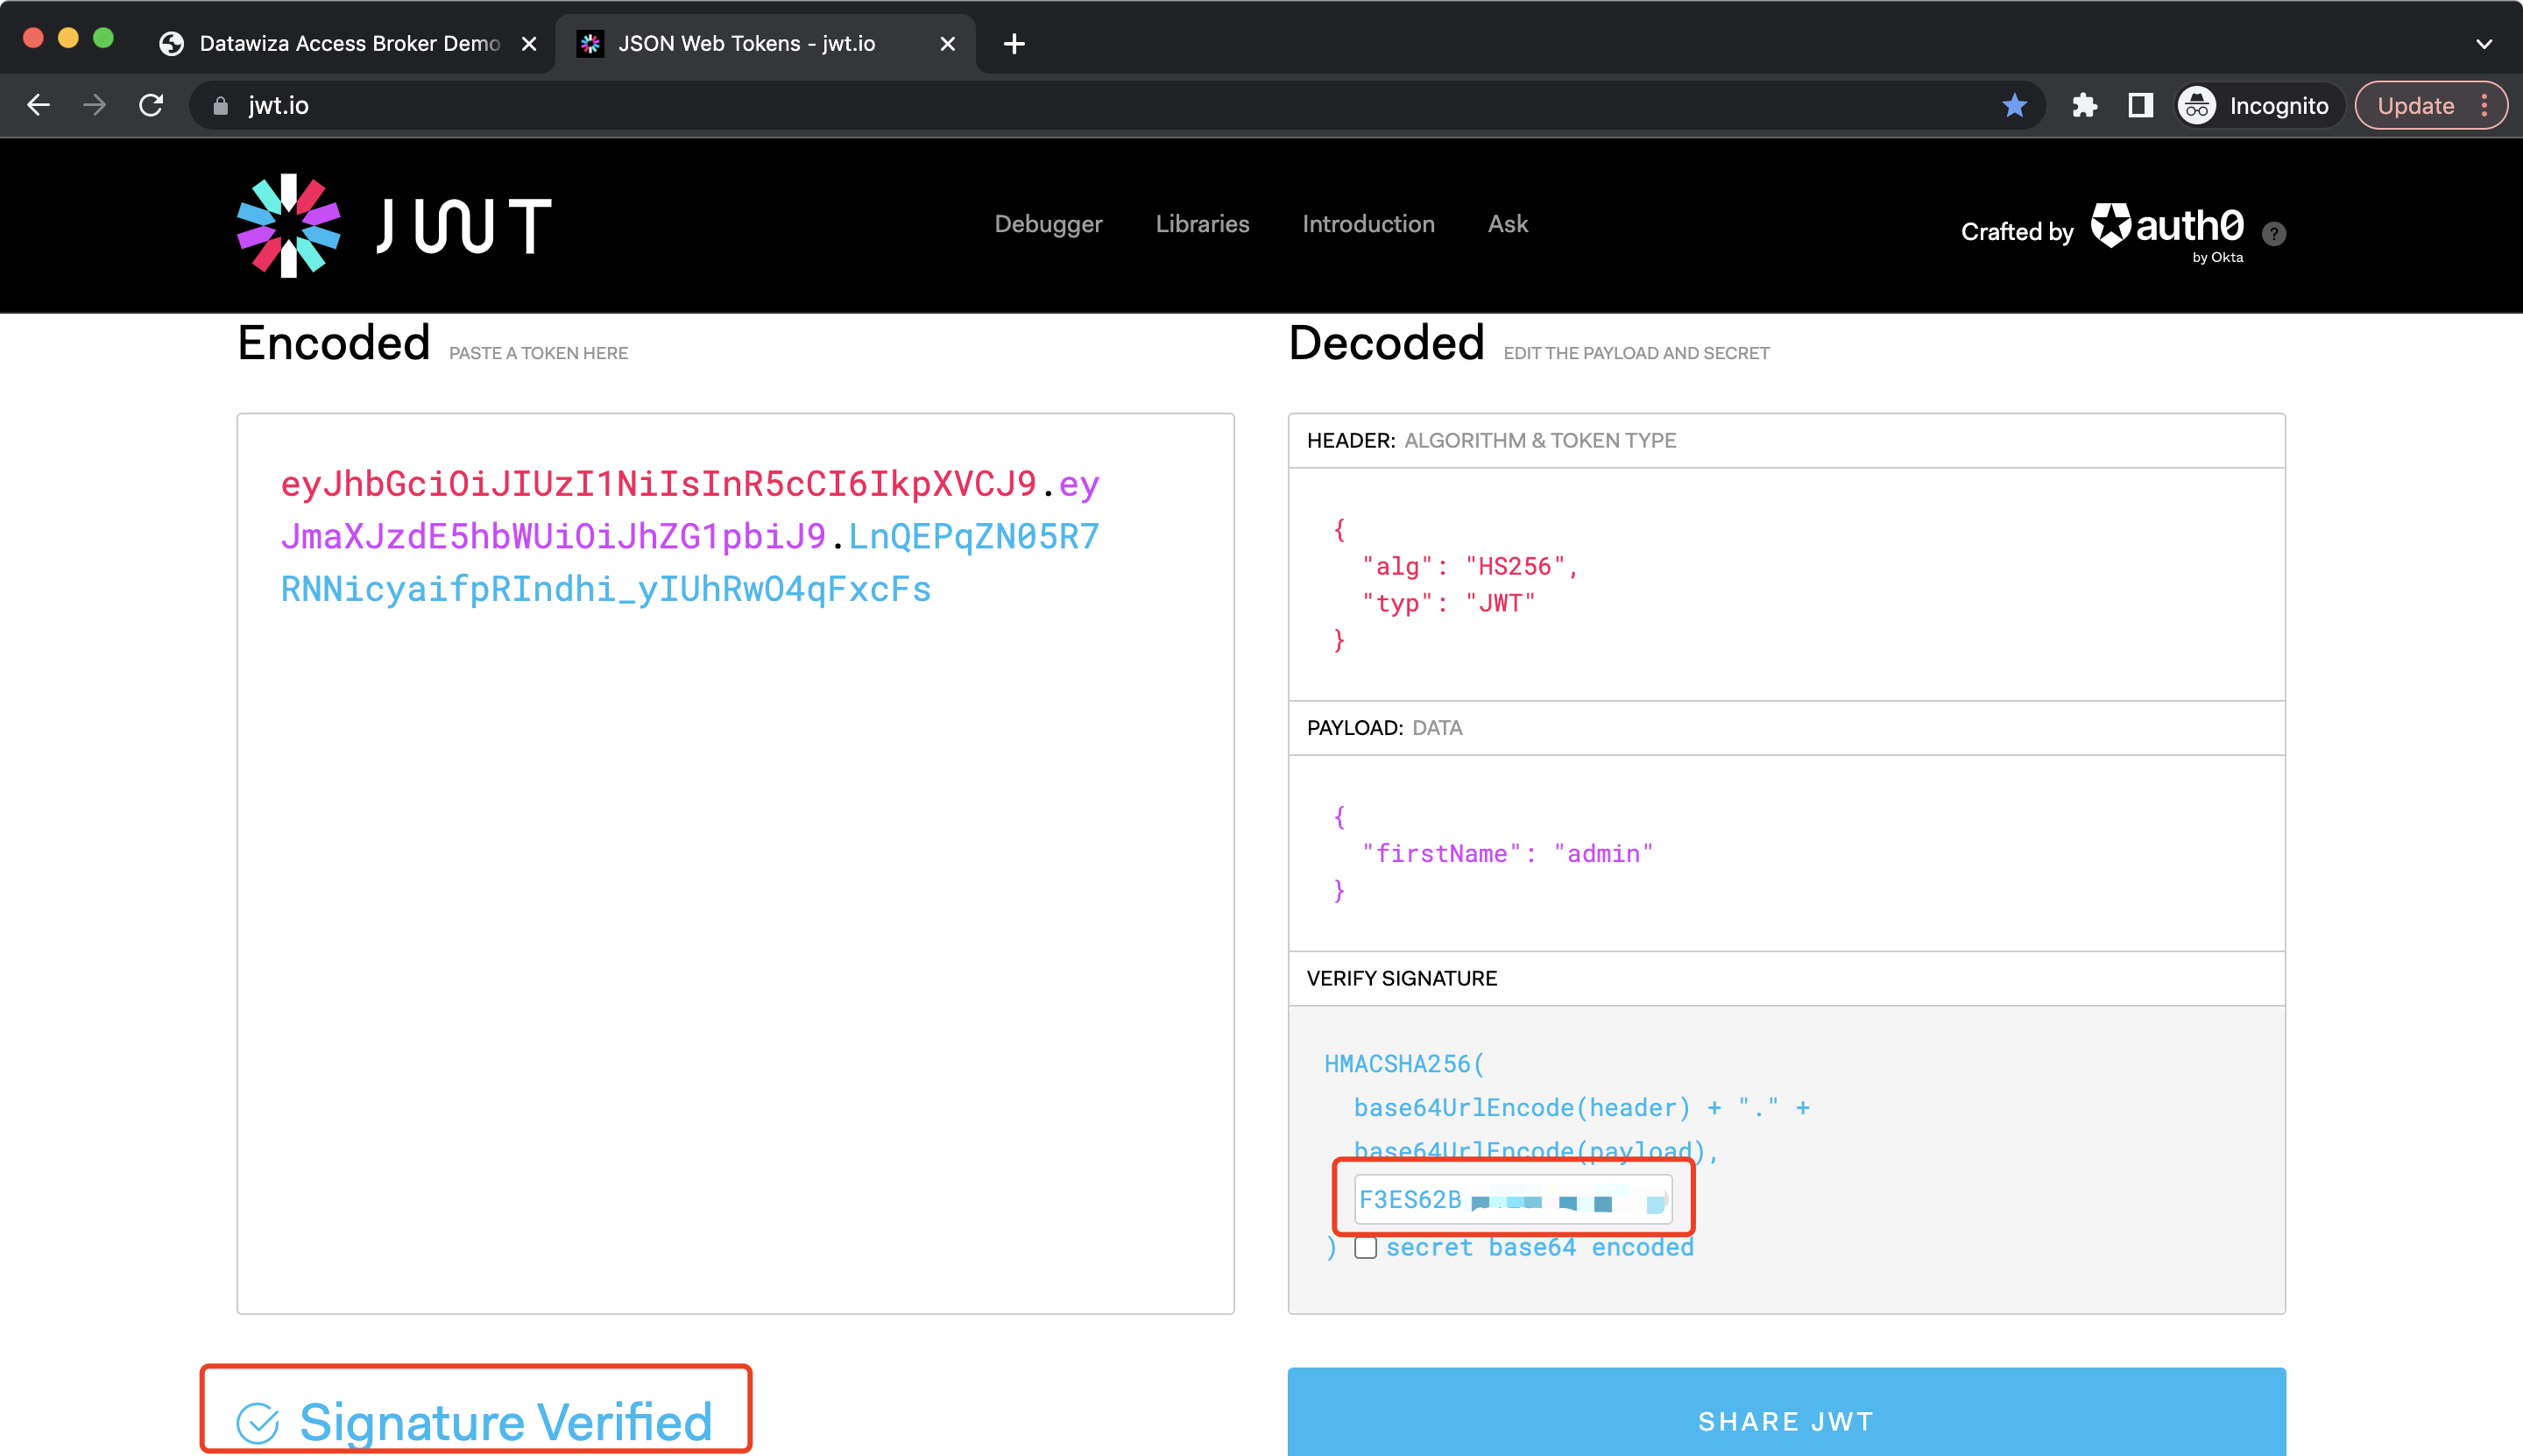
 DW-TOKEN. Click Raw, and the DW-TOKEN should be shown: 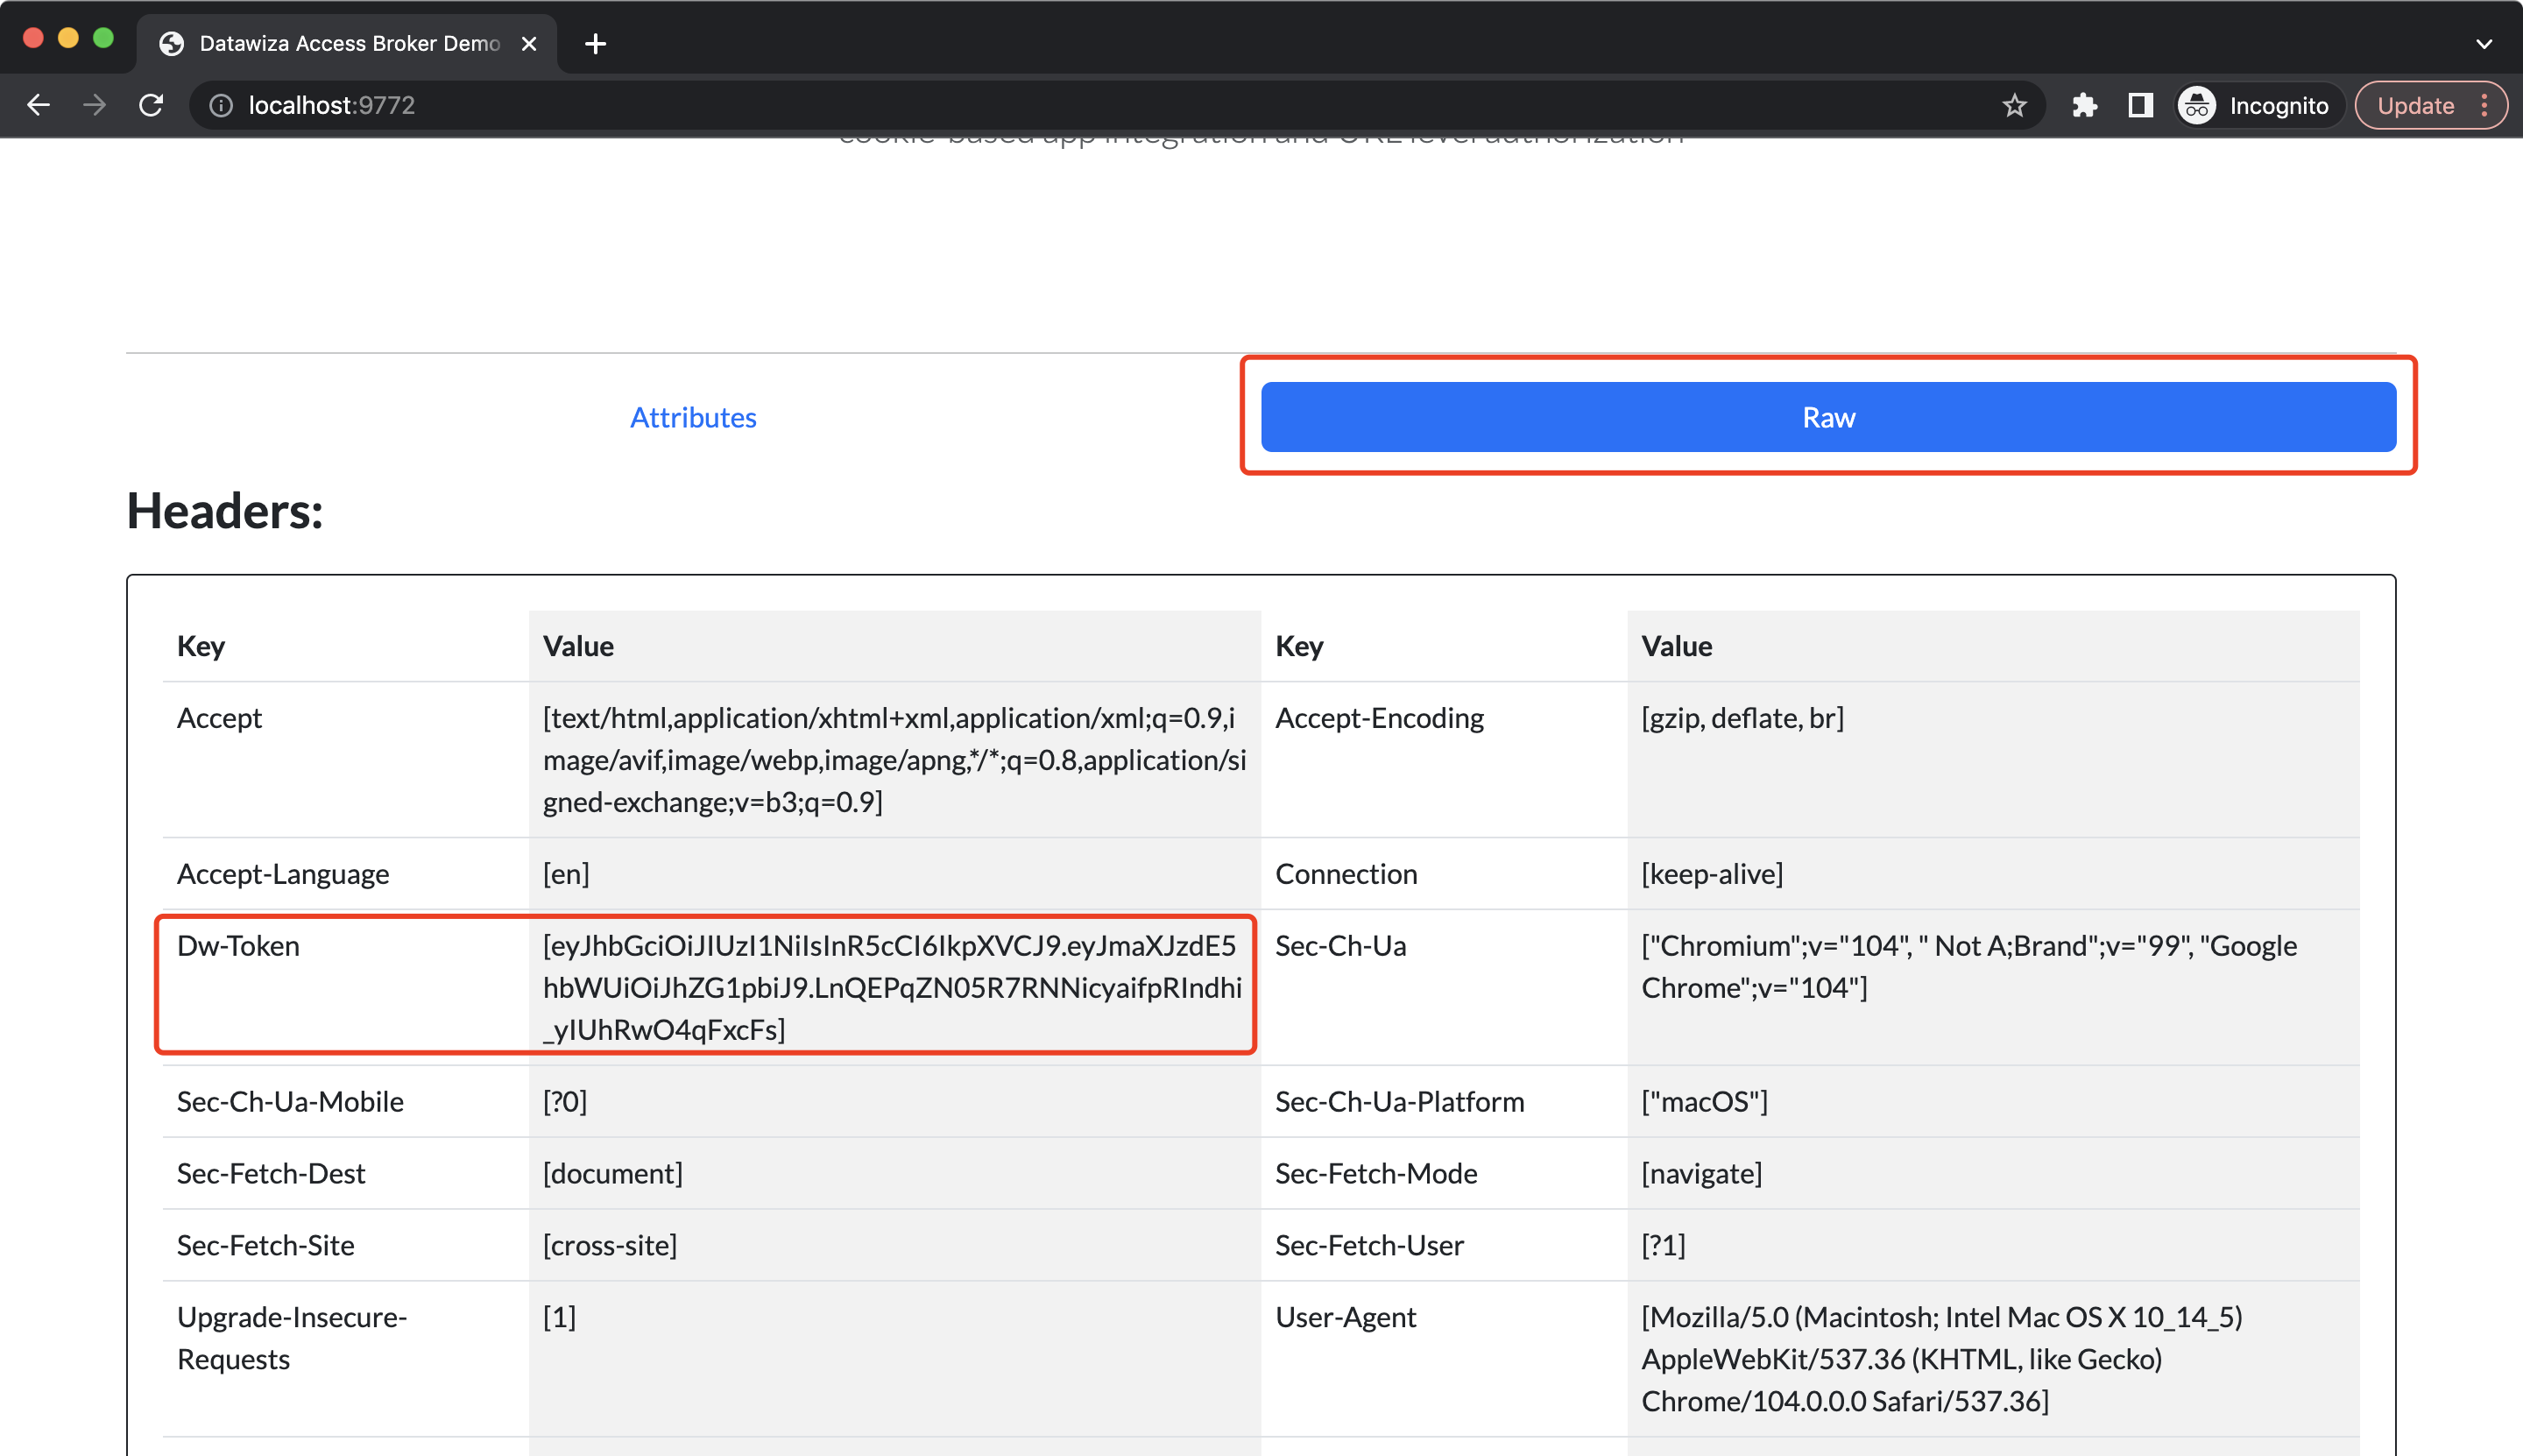 You can go to jwt.io to check it. Copy and paste the JWT, the user attribute will be shown in the
 PAYLOAD block, the algorithm will be shown in the HEADER block and you should see the Invalid Signature warning since we didn't enter the secret: 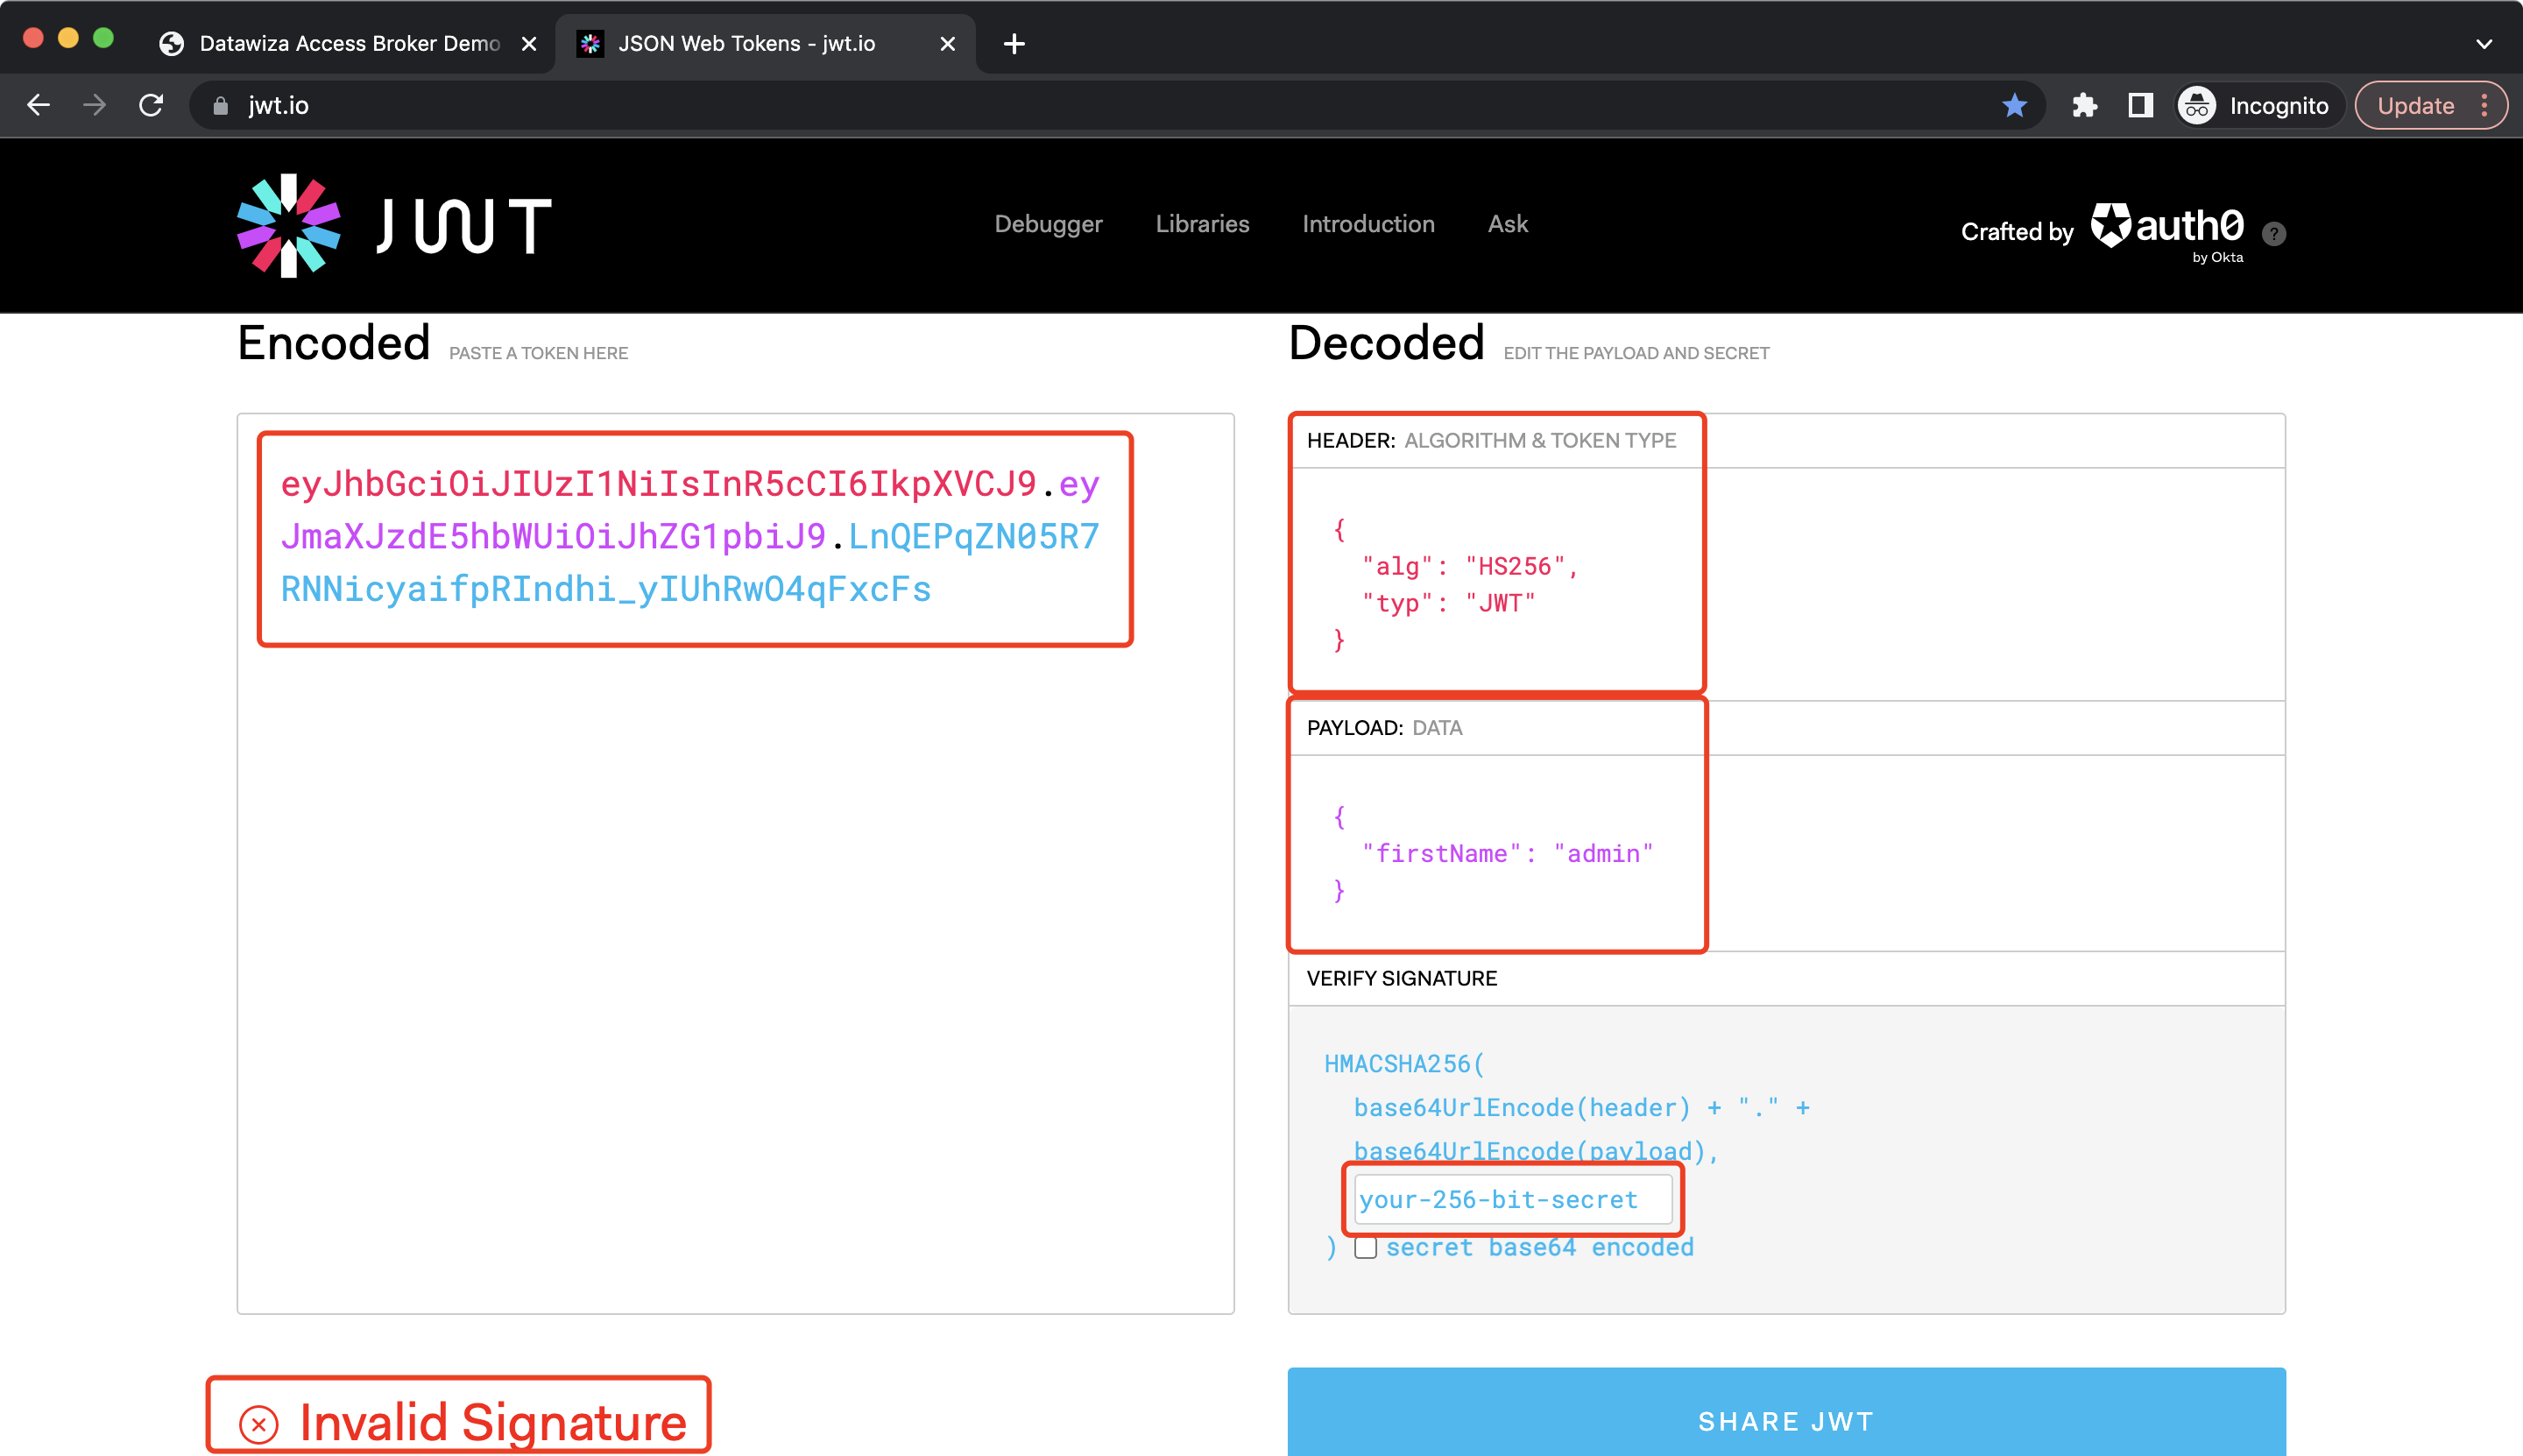 After entering the secret, you should see the
 Signature Verified notification: